Dream Arcade Simulator
Overview
Dream Arcade Simulator is a game made by me and my friends as last project in Centennial College in 2021. We were a team of five, and would often call ourselves the dream team because most of us were used to working together. The game is as simple as that, a Arcade Simulator made in just three to four months in between classes. We wanted to add many other functionalities but we wouldn’t have much time to properly test everything, so they were scrapped. You can buy different arcades, add them to your shop area, move it around whenever, rotate, sell, buy new, change decorations just for aesthetics, and robots will come in, play, if waiting is too long they will leave, at times they will be mad and will break stuff.
CLICK FOR MORE
How it works
The game flows in like turns: First you have night time, which time doesn’t flow. You can manage your place, buy stuff, move, take your time. When you are done and proceed to daytime you can even speed up the game but here the day flows by itself.
During nighttime, you can open the shop and choose what you want to buy divided by the tab system. From there, you can place, rotate, move and sell objects as you wish. Once you are done, you can press the play button at the top. During daytime, robots will come in according to the fame of your place. They will walk around and might decide to give it a shot. Each have a specific type of game they rather play. If no machines are available they will wait for a while. If they decide to leave, they might break your machines so you will repair them later (and pay for it).
To win, you need a lot of money and fame. Though it can be circunvented through an The Sims inspired cheat code system!
About some of the stuff I worked on the project
I did from the Day/Night Cycle, all the Night functionalities (Buying, Placing, Griding, the store, tabs, etc), audio controllers, and some other stuff. Also helped on the AI with bug fixing like a heating issue we ran into with not proper dispose.
A bit of coding showcase
Cheat Code System
{
    public void CodeList(string sentCode)
    {
        Debug.Log(sentCode);

        foreach(CheatCode cc in cheats)
        {
            if (cc.cheatCode == sentCode)
            {
                cc.cheatResults.Invoke();
            }
        }

        ClearCheatTry();
    }

    void ClearCheatTry()
    {
        isCheatSystemVisible = false;
        currentIndex = 0;
        cheatSystemText.text = String.Empty;
        cheatSystemInput.SetActive(false);
    }
}

[Serializable]
public class CheatCode
{
    public string cheatCode;
    public UnityEvent cheatResults;
}
BuildController
    public void SelectToBuild(ArcadeMachineSO am)
    {
        if (isBuilding)
        {
            Destroy(currentNewGO);
        }

        if (am.CostToBuy > es.GetCurrentValue())
        {
            return; //Cant buy. Later move this to somewhere that makes more sense, like when populating the list. #COMEBACK
        }

        currentNewGO = Instantiate(am.MachinePrefab, new Vector3(0, 0, 0), Quaternion.identity); //movableObject
        currentNewGO.GetComponent<ArcadeMachineController>().am = am;
        isBuilding = true;
        turnOffAndOnWhenBuilding.Invoke();
    }

    public void SellObject(ArcadeMachineController amc)
    {
        gm.RemoveMachine(amc);
        Destroy(amc.gameObject);
        es.Add(Mathf.CeilToInt(amc.am.CostToBuy * es.sellingPricePercentage));
        shopC.OpenWindow();
    }

    public void BuyObject(ArcadeMachineSO am)
    {
        if (es.GetCurrentValue() >= am.CostToBuy)
        {
            buyingMachine = am;
        }
    }

    public void CancelBuy()
    {
        buyingMachine = null;
    }

    public void Construct()
    {
        if (isBuilding)
        {
            currentNewGO.transform.parent = machineListObject;

            ArcadeMachineController amc = currentNewGO.GetComponent<ArcadeMachineController>();
            gm.AddMachine(amc);
            foreach (Collider c in amc.colliders)
            {
                c.enabled = true;
            }

            if (isMoving)
            {
                sc.FinishMove();
                isMoving = false;
            } else
            {
                es.Subtract(buyingMachine.CostToBuy);
                shopC.OpenWindow();
            }

            currentNewGO = null;
            isBuilding = false;
            reverseTurnOffAndOn.Invoke();
            StartCoroutine(sc.JustBuiltOrMoved());
        }
    }

    public void Destruct()
    {
        Destroy(currentNewGO);
        isBuilding = false;

        if (isMoving)
        {
            sc.CancelMove();
            isMoving = false;
        }
    }
DayNight Cycle
{
    public void SetToNighttime()
    {
        sky.SetFloat("_Exposure", cubemapExposureFinalValue);
        SkyboxShaderModifications(1);
    }

    public void SetToDaytime()
    {
        sky.SetFloat("_Exposure", cubemapExposure);
        SkyboxShaderModifications(0);
    }

    public void DayAtCurrentTime(float timeSpentPercent)
    {
        if (timeSpentPercent > 1)
            timeSpentPercent = 1f;

        float transitionAndColor = timeSpentPercent * cubemapTransitionMaxValueBeforeNight;
        SkyboxShaderModifications(transitionAndColor);
    }

    public void StartDay()
    {
        StartCoroutine(BlendNightDay());
    }

    public void StartNight()
    {
        StartCoroutine(BlendDayNight());
    }

    private IEnumerator BlendDayNight() //Transition from Day to Night
    {
        float timeSpentPercent = 0f;
        float exposureStep = (cubemapExposureFinalValue - cubemapExposure) / timeTransitionDayToNightInSeconds;
        float transitionStep = (1f - cubemapTransitionMaxValueBeforeNight) / timeTransitionDayToNightInSeconds;

        while (timeSpentPercent < timeTransitionDayToNightInSeconds)
        {
            float transitionAndColor = (transitionStep * timeSpentPercent) + cubemapTransitionMaxValueBeforeNight;
            SkyboxShaderModifications(transitionAndColor);

            float exposureValue = (exposureStep * timeSpentPercent) + cubemapExposure;

            sky.SetFloat("_Exposure", exposureValue);

            yield return new WaitForSeconds(stepForTransitionsInSeconds);

            timeSpentPercent += stepForTransitionsInSeconds;
        }

        SkyboxShaderModifications(1f);
        sky.SetFloat("_Exposure", cubemapExposureFinalValue);

        //Unfortunately, had to put these hardcoded. Unity Event cant be a parameter to methods in Inspector just yet.
        gm.StartNighttime();
    }

    void SkyboxShaderModifications(float transitionAndColor)
    {
        sky.SetFloat("_CubemapTransition", transitionAndColor);
        sky.SetColor("_TintColor", cubemapDayNightColor.Evaluate(transitionAndColor));
        directionalLight.color = lightDayNightColor.Evaluate(transitionAndColor);
    }
Part of the AudioManager
[Serializable]
public class AudioObject
{
	public AudioTypeEnum audioType;
	public AudioClip audioClip;
}

[Serializable]
public class AudioTrack
{
	public AudioSource source;
	public List<AudioObject> audio;
}

private class AudioJob
{
	public AudioAction action;
	public AudioTypeEnum type;
	public float delay, fadeInTime, fadeOutTime;
	public bool fadeIn, fadeOut;

	public AudioJob(AudioAction _action, AudioTypeEnum _type, float _delay = 0f, bool _fadeIn = false, float _fadeInTime = 0f, bool _fadeOut = false, float _fadeOutTime = 0f)
	{
		action = _action;
		type = _type;
		delay = _delay;
		fadeIn = _fadeIn;
		fadeInTime = _fadeInTime;
		fadeOut = _fadeOut;
		fadeOutTime = _fadeOutTime;
	}
}

private enum AudioAction
{
	START,
	STOP,
	RESTART
}
Challenges
Our prototype took a long time because many of the functionalities would need to be done or close to done before we could see if the project was fun, which is one risk factor we didn’t know before tackling the project. One member of the group wasnt as close as the rest with us and was hard to get him to be as interested and working as much as the rest of us did and that caused a lot of talks that no one really wants to have with others.
Images
Video
VR Carnival
Overview
This project was made in less than a month while having classes on VR. Most of the assets are from either free places online or from the Unity Asset Store. The project ended up being four minigames that the group aimed to be stuff you can play sitting down and do not need to actually move, but, every single on is very physical and different.
The games are: Shooting Gallery (w/ Bow and arrow) Whack A Mole 360 Basketball Simon Says (Click buttons as they get lit up)
CLICK FOR MORE
How was each made
First, we discussed what we wanted to make, and that we wanted stuff you could do sitting down since none of us had a big space to actually put the VR headsets in our homes. From there, pitched the idea of Whack A Mole in 360 like I saw in one episode of an Anime long time ago, and it did seemed fun. Though, you would play with two people. We adapted the idea to the VR, then, the rest of the group obviously mentioned basketball being part of a common thing in carnivals, and we discussed the shooting game since the VR example from Steam VR having a shooting example. The Simon Says idea was also mine because the thought of having buttons to press all around being very physical and that it would probably be fun considering I had already made the other three games by the time we discussed this one.
Our objective since time constraint was: Make the four minigames fast, then, overtime, we start figuring out quality of life we can add in, since all of them would be possibly last minute.
Being the only programmer in the group, had to try and make the games feel very different from one another, or we would have to rediscuss the games. Basketball was based on the cube grabbing from the Steam VR example. Using the same way to grab stuff, the area was added, put a collider in the basket, recalibrated the physics material of the ball and it was pretty much done. Small changes and quality of life like if the ball got lost, if the ball hit the ground, how much time each minigame should last, and so on was added with time playing this game.
Then was time to make Whack A Mole. This was a bit more challenging, first finding what would be the “mole”. We ended up loving a clown when testing few models, because, when we saw shadow hitting it, we laughed so hard on it, that it had to be it. To make things faster, when the game starts had to code materializing the hammer on the player’s hands, which I reused the same portion later on for the Shooting Gallery. Then you can rotate around and whack the moles. Nothing fancy, just hit them. With time, we also added more visual effects on these to make sure you know you are getting scores and all.
From there, I grabbed the bow and arrow from the Steam VR, and had to change it to work as I wanted, appear in the players hand, which, unfortunately did not have time to add a left or right hand choosing. In this game a lot of balloons will randomly appear as time keeps up and you just have to pop them as fast as possible. As well, all around, most of these games have stuff happening all around you, to keep you moving in place. Same thing for quality of life, as others were added so was here.
And lastly was made this the Simon Says. The button was made with primitives, if aint mistaken, and the frame where it is in was made with some online free canvas frames. I just used it was borders for putting the buttons in. It was simply using the same idea from Steam VR for button pushing, but using it to trigger, if correct, the system will add score from it and choose new button to light up. There is always a few buttons lit up.
About some of the stuff I worked on the project
All the minigames inherited from a MiniGameManager Singleton to, first, ensure that only was going on at a time, but also that only one of those games existed at a giving time in the Managers as well. So each code would exist solely once.
These Singletons were also responsible for game time, and what to do before the game duration yield, after the yield and a wrap up. These were protected virtual methods, allowing them to be changed anytime.
IEnumerator MiniGameController(float totalGameTime)
{
	while (totalGameTime > 0)
	{
		BeforeYield(totalGameTime);
		yield return new WaitForSeconds(stepTime);
		totalGameTime -= stepTime;
		AfterYield(totalGameTime);
	}

	AfterWhile(totalGameTime);
}

protected virtual void AfterWhile(float totalGameTime)
{

}
One important thing you will be able to see on the images below is how we tried to allow everything be as modifiable as possible, so that we could easily tweak the games and make them easier or more difficult, balance them.
[ContextMenu("Start Target Range")]
public void StartTargetRange()
{
	if (GameMenuManager.Instance.IsPlayingMinigame())
		return;

	GameMenuManager.Instance.MinigameHasStarted();

	AudioManager.instance.PauseSound();
	AudioManager.instance.PlaySound(musicToPlay);

	score = 0;

	Debug.Log("Give VR bow to player here");
	if (selectedHand == null)
		selectedHand = rightHand;
	HandBow();
	for (int i = 0; i < howManyTargetsPerTime; i++)
	{
		var targetSubset = targetList.Where(x => !x.activeSelf).ToList();
		if (targetSubset.Count > 0)
		{
			targetSubset[Mathf.FloorToInt(Random.Range(0, targetSubset.Count * 1000000) / 1000000)].SetActive(true);
		}
	}
	StartMinigame();
}

void ChangeHand(Hand hand)
{
	selectedHand = hand;
}

void HandBow()
{
	spawnedBow = itemPackageSpawnerBow.CallSpawnAndAttachObject(selectedHand, grabTypeBow);
	if (spawnedBow != null)
	{
		StartCoroutine(BowDissolve());
	}
}

IEnumerator BowDissolve(bool isDissolveOut = false)
{
	float cutoffValue = 1f;

	if (isDissolveOut)
	{
		cutoffValue = 0f;
	}

	List<Renderer> childRenderer = spawnedBow.GetComponentsInChildren<Renderer>().ToList();

	if (isDissolveOut)
	{
		for (float f = 0; f <= dissolveTime; f += dissolveStepTime)
		{
			cutoffValue = f / dissolveTime;
			foreach (Renderer r in childRenderer)
			{
				r.material.SetFloat("_Cutoff", cutoffValue);
			}
			yield return new WaitForSeconds(dissolveStepTime);
		}

		itemPackageSpawnerBow.CallTakeBackItem(selectedHand);
	}
	else
	{
		for (float f = 0; f <= dissolveTime + dissolveStepTime; f += dissolveStepTime)
		{
			cutoffValue = 1 - (f / dissolveTime);
			foreach (Renderer r in childRenderer)
			{
				r.material.SetFloat("_Cutoff", cutoffValue);
			}
			yield return new WaitForSeconds(dissolveStepTime);
		}
	}
}

void UnhandBow()
{
	if (spawnedBow != null)
	{
		StartCoroutine(BowDissolve(true));
	}
}

void TurnOffTargets()
{
	foreach (GameObject go in targetList.Where(x => x.activeSelf))
	{
		go.SetActive(false);
	}
}

protected override void BeforeYield(float totalGameTime)
{
	//Debug.Log("Time Left " + Mathf.Floor(totalGameTime));
	GameMenuManager.Instance.textAnimation.ChangeText(Mathf.Floor(totalGameTime).ToString("00"));
}

protected override void AfterYield(float totalGameTime)
{
}

protected override void AfterWhile(float totalGameTime)
{
	GameMenuManager.Instance.MinigameHasEnded();

	Debug.Log("Total hits: " + score);
	UnhandBow();
	TurnOffTargets();

	ScoreManager.Instance.AddCurrentScore(score);

	AudioManager.instance.UnpauseSound();
	AudioManager.instance.StopSound(musicToPlay);
}

public void OnTargetHit(Transform hitObject)
{
	GameObject go = Instantiate(animationHitPrefab, hitObject.position, Quaternion.identity);
	go.GetComponentInChildren<AnimationDataAndController>().ScoreValueChange(scoreValue.ToString());

	score += scoreValue;
	var targetSubset = targetList.Where(x => !x.activeSelf).ToList();
	Debug.Log("targetList " + targetList.Count);
	if (targetSubset.Count > 0)
	{
		targetSubset[Mathf.FloorToInt(Random.Range(0, targetSubset.Count * 1000000) / 1000000)].SetActive(true);
	}
}
Challenges
We had one less team member almost from the start, and one that barely was helping at all. So we had one person doing the decoration on the area and being very supportive while keeping documents and team management as perfect as possible, one that was responsible for the main menu and sound programming but was barely there so many of the stuff had to be redone. And me doing everything else because I had the most experience, so where someone did not know how to do I had to fill in. To be honest, I believe this project was a lot for all of us mostly because of time constraint, and how much stress we were under having to make more games for more classes in such short time. Basically, this was a crunch.
Images

Video
Blender Plugin
Overview
A simple plugin made to help the animator use less clicks when changing the textures of the facial expressions of the characters.
How it helps
It saves a lot of time for the animators. Around 3 clicks per keyframe in face swapping.
CLICK FOR MORE
How it works
The facial files follow specific naming conventions linking them to the face objects.
Like CharacterName_Face_LeftEye would look for the folder in the root of the .blender file named CharacterName and inside would look for the Face folder, then the LeftEye folder. While in the Blender project, the Main body of the object would be CharacterName, with a face object named Face, then the LeftEye at the bottom of that structure.
Everything in there would be loaded under Facial Expressions to be chosen. There also is a button to add a keyframe to the specific moment in time.
Challenges
Learn and do a plugin fast enough to be useful, work well in the pipeline, but not waste time since this was a side project for the company and not actual part of the job.
Video
App Fiat - Treinamento de Gestor da Qualidade
Overview
Another project for Fiat, where we are to aid in training of Quality Managers in their car dealers.
How was it done
Some people from Fiat teamed with D2R in long periodic meetings to discuss changes to the project, and, data collection that was done by them about real scenarios that had happened with Quality Managers around the country.
With that information in an Excel sheet, we converted it into a JSON, added it to a No SQL database, and downloaded it during runtime on Unity.
That data would then feed the possible quests and solutions for the simulation.
CLICK FOR MORE
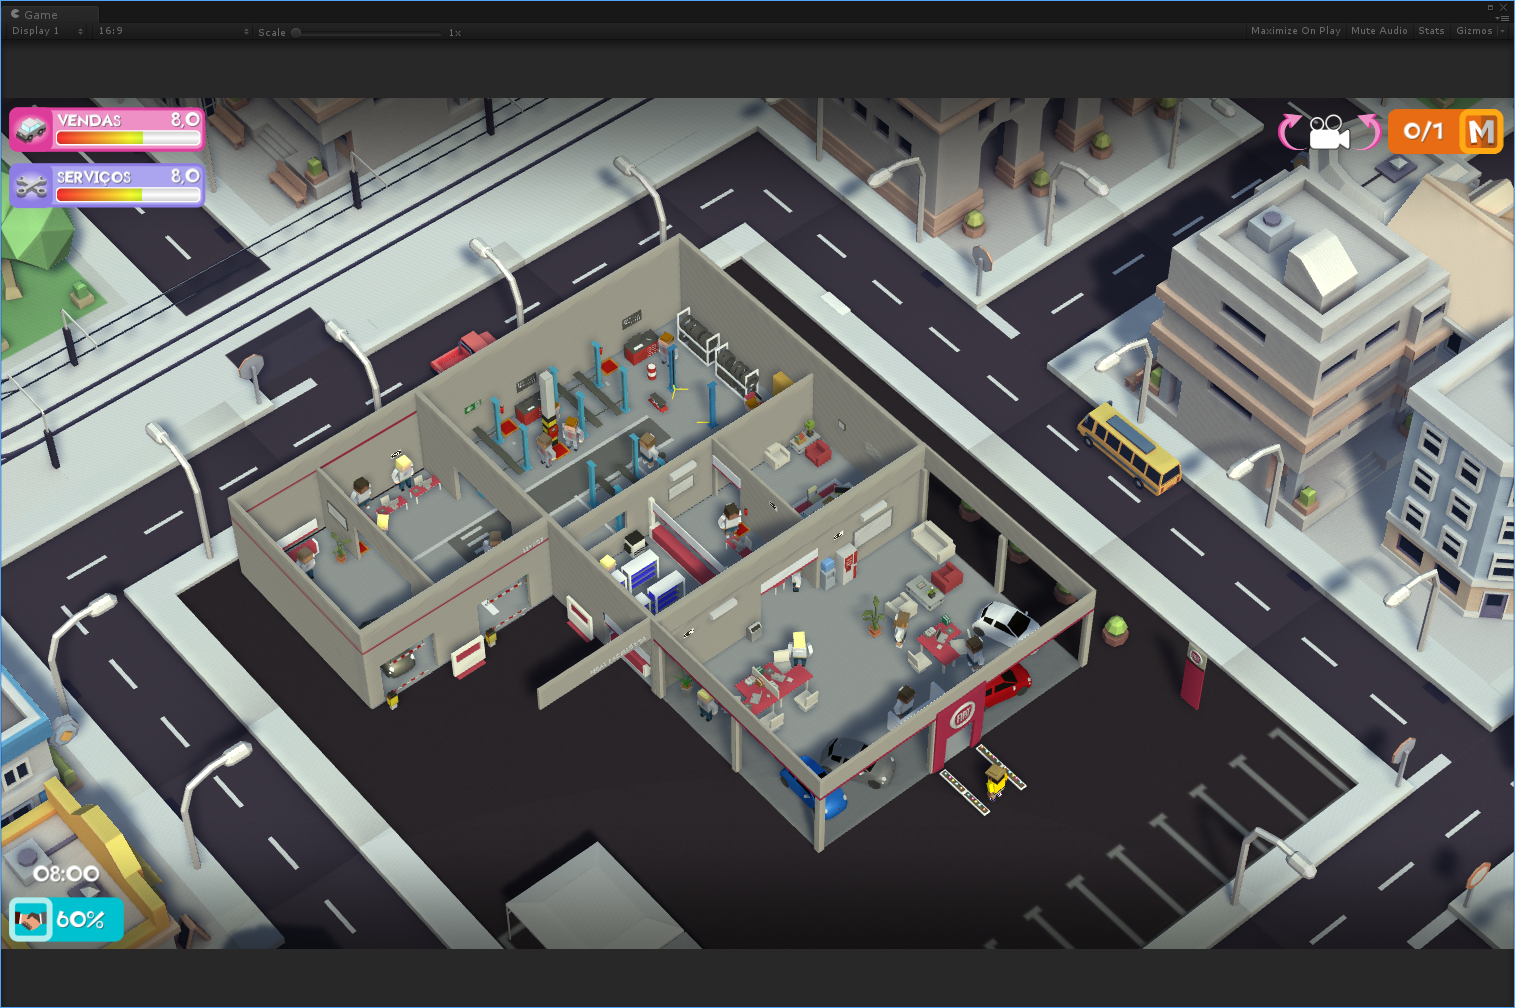
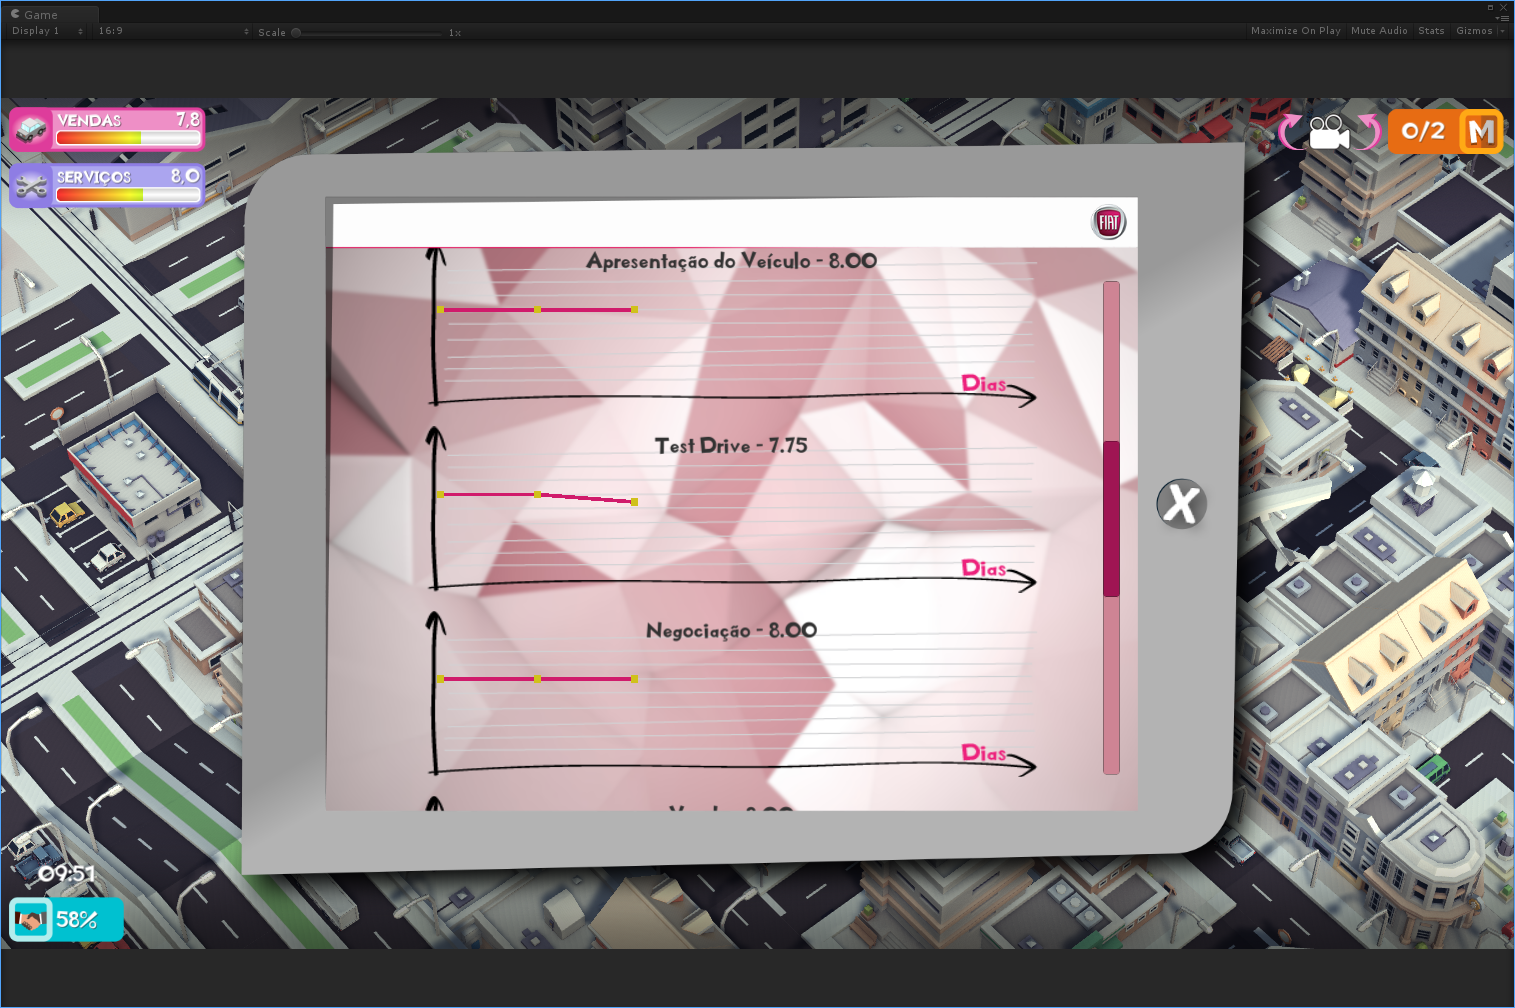
How it works
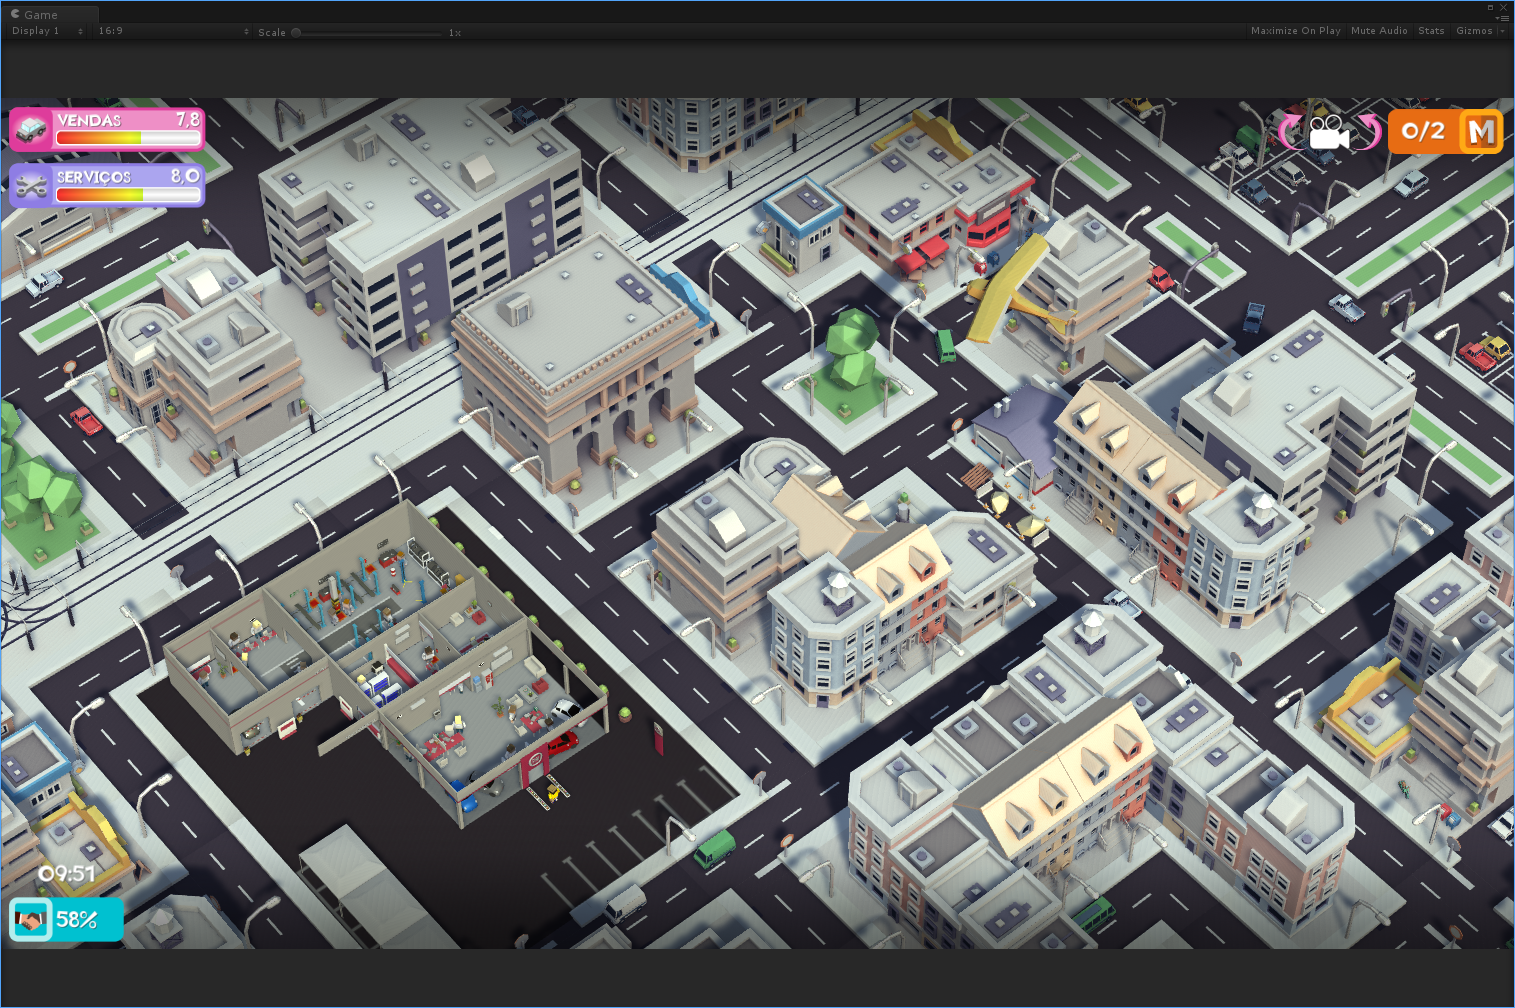
In this game the player follow all the graphs a Quality Manager must read and turn it into two data points. This makes it easier to track, in average, how the place is doing. You can also see them individually. (graphs.png image)
With their knowledge, they will read the graphs, and the issues that are happening and try to find solutions for them. All issues in this game - that are around 76 right now, but has an admin system for the company to add more - are read from a json that we pick up from the web admin system. They were written by a consultant that goes around Brazil aiding in solving car dealers problems when their manager can’t, so it’s with things she saw everywhere that she put up this issues.
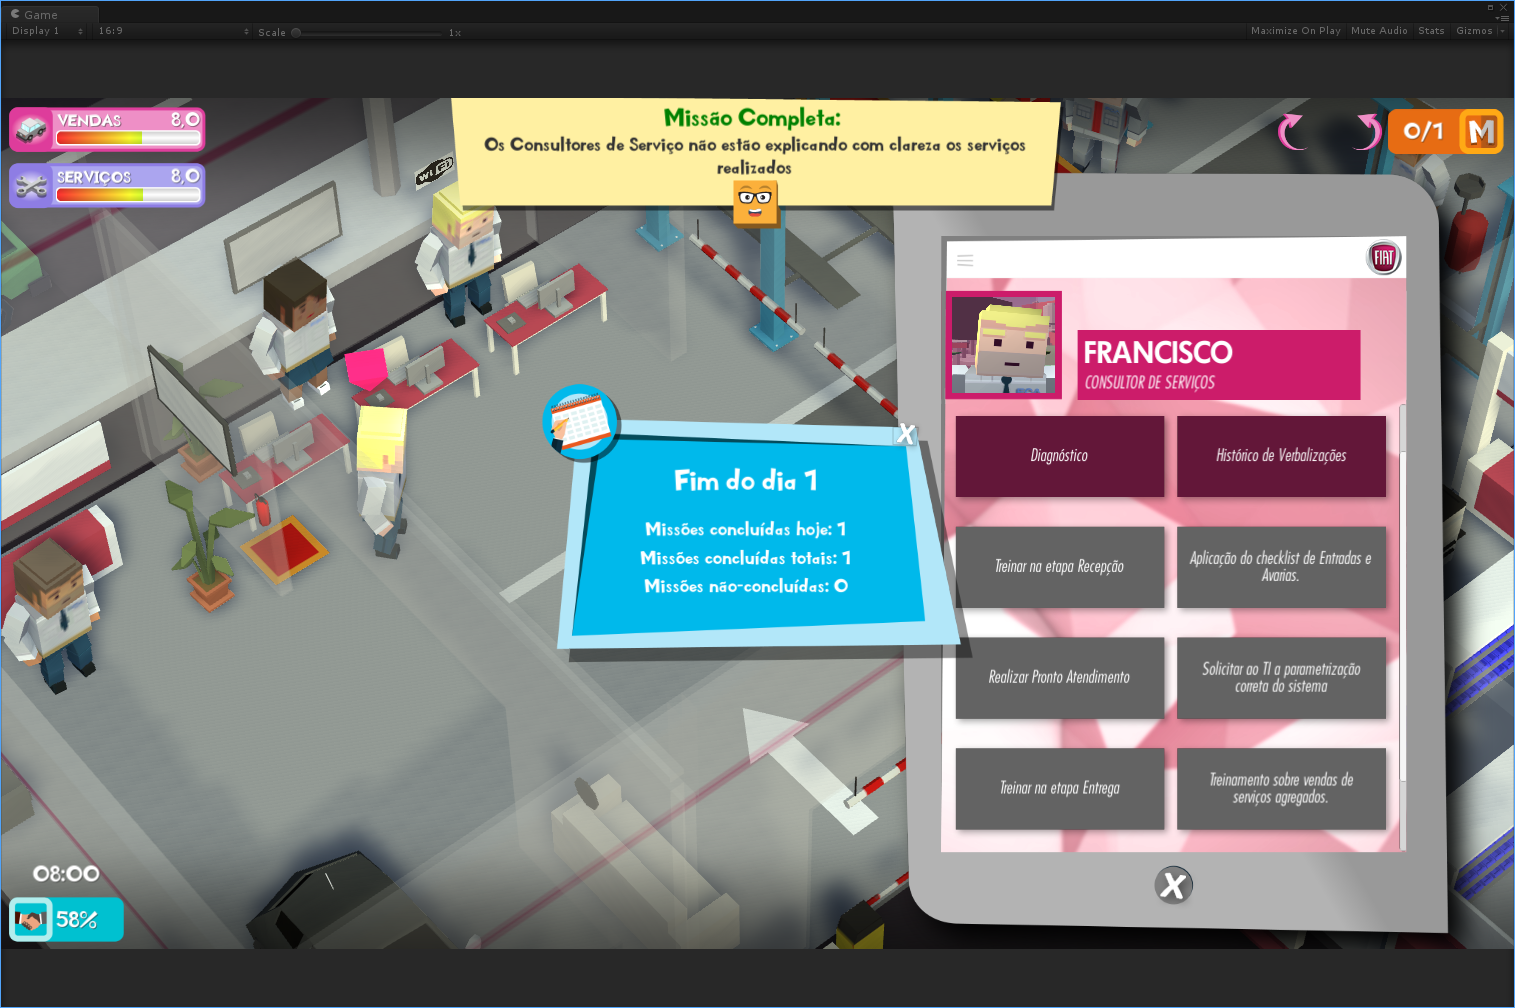
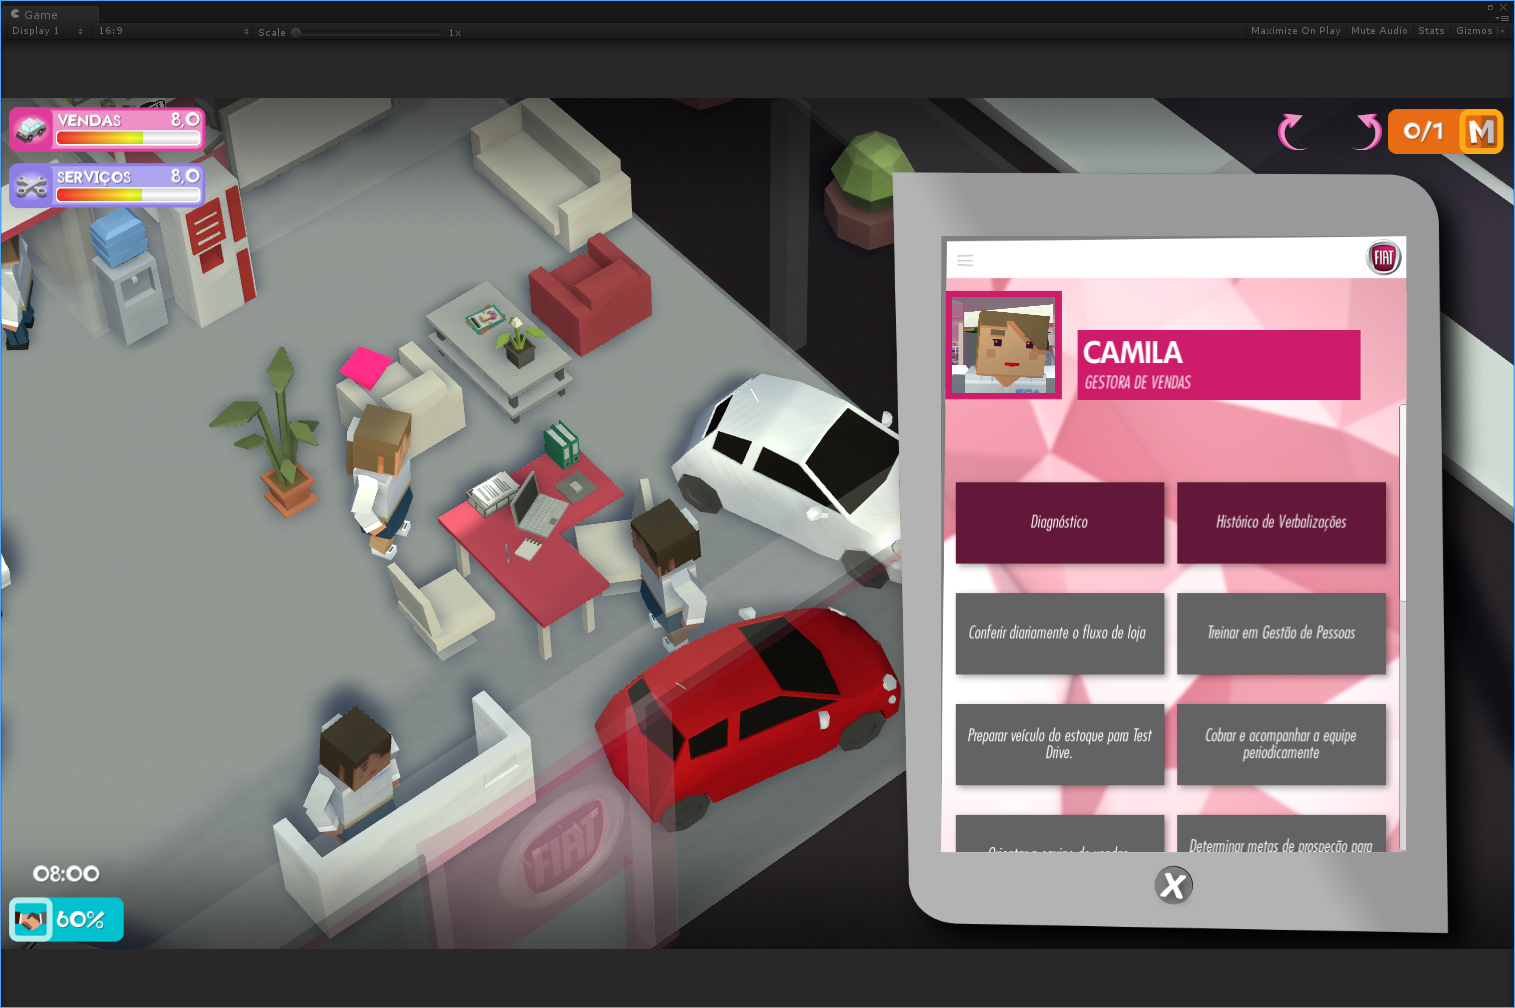
Knowing the issue and checking the graphs helps the manager to pinpoint which part of the process in car dealing that the issue must be in, and who probably is involved, so they then will go after checking the NPCs and click them, and diagnose the issue - which means they will talk to them about what’s going on to see if they can figure out who needs a bit of talking to get better. If you choose the right speech balloons, you will get influence - because the quality manager doesn’t command, he can just suggest solutions to people, it’s up to them to take it, so every action you do, consumes time, but the more influence you have, the faster you convince someone to do it. If you poorly choose the balloons, you will lose influence instead.
When you think you know what is the solution, and who it is related to, you choose the grey options in the npc if you are correct, you will get a mission complete at the top. If it’s also the last issue on that day, or if you run out of time that day, the next starts. You keep the unfinished issues from the prior day, and may receive knew ones, depending on how far on the game you are. All issues have a count of difficulty between 1 and 4, and it scales between seven days between fibonnaci - with possibility to custom it off - values. So, in the 7 day you can have at most 13 difficulty 1 issues, or a mix between the difficulty levels.
Images


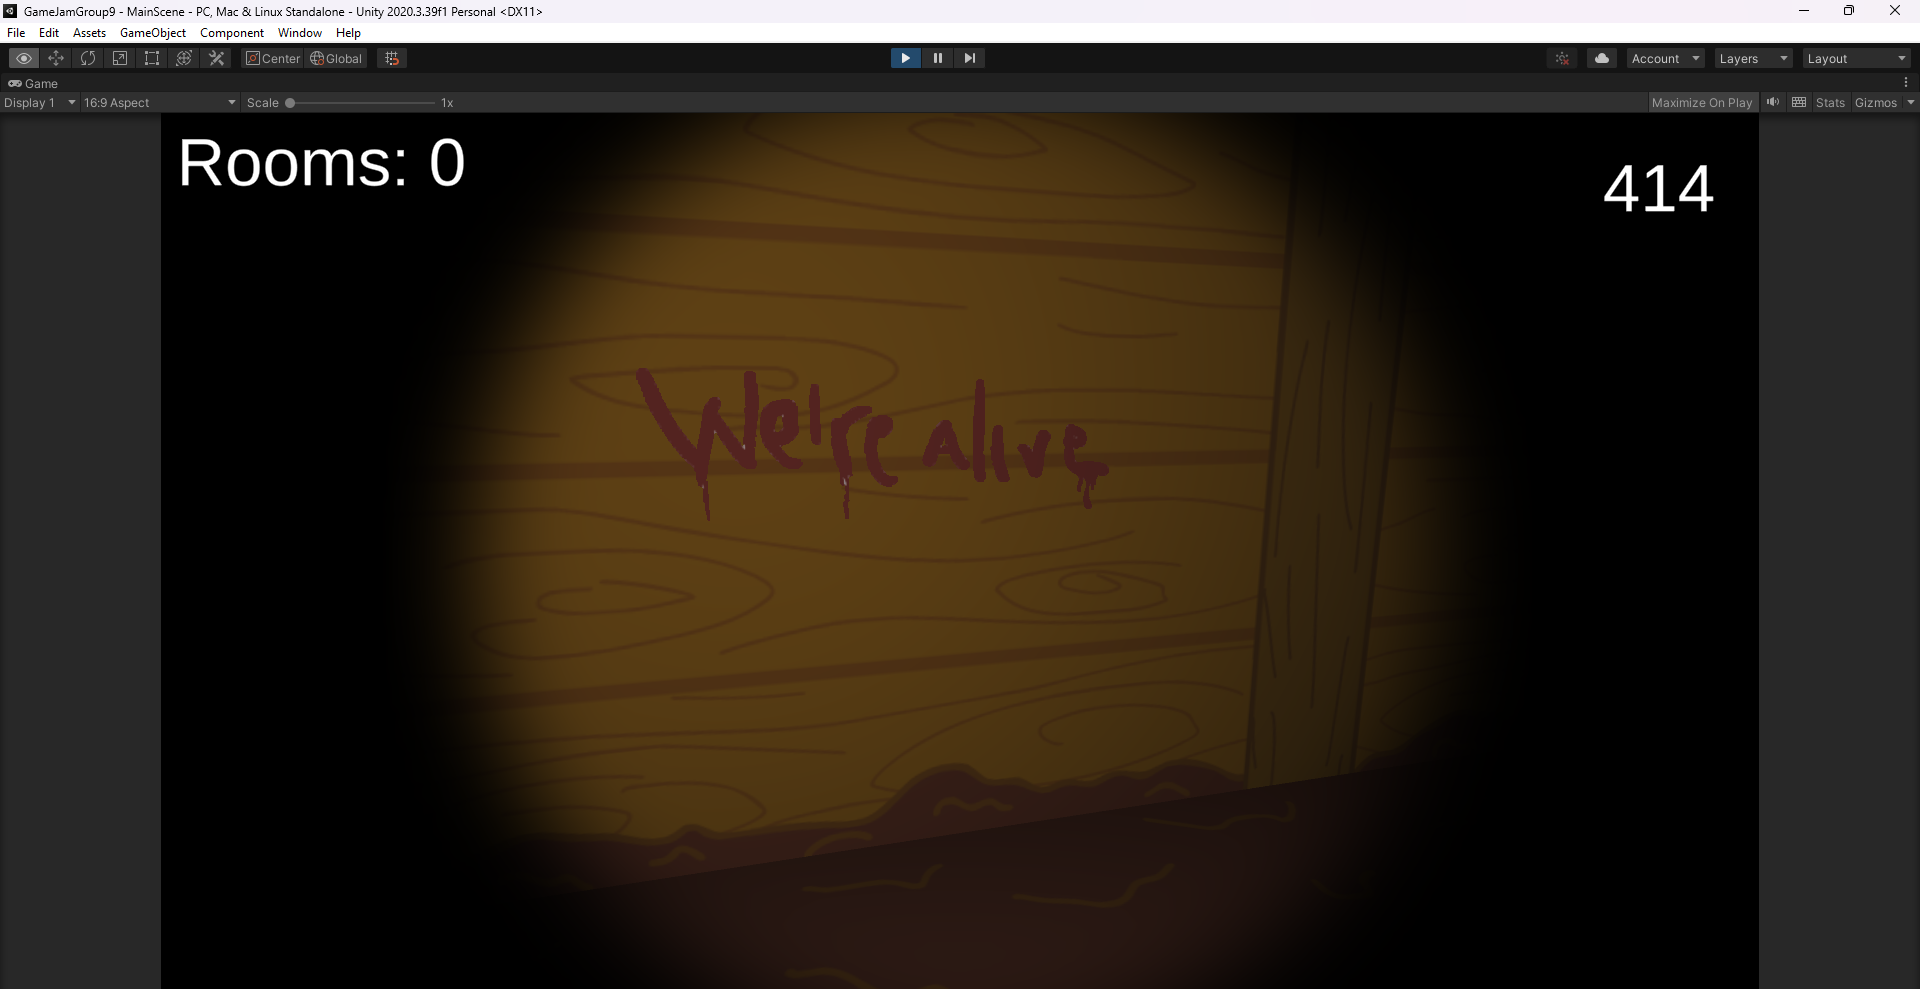
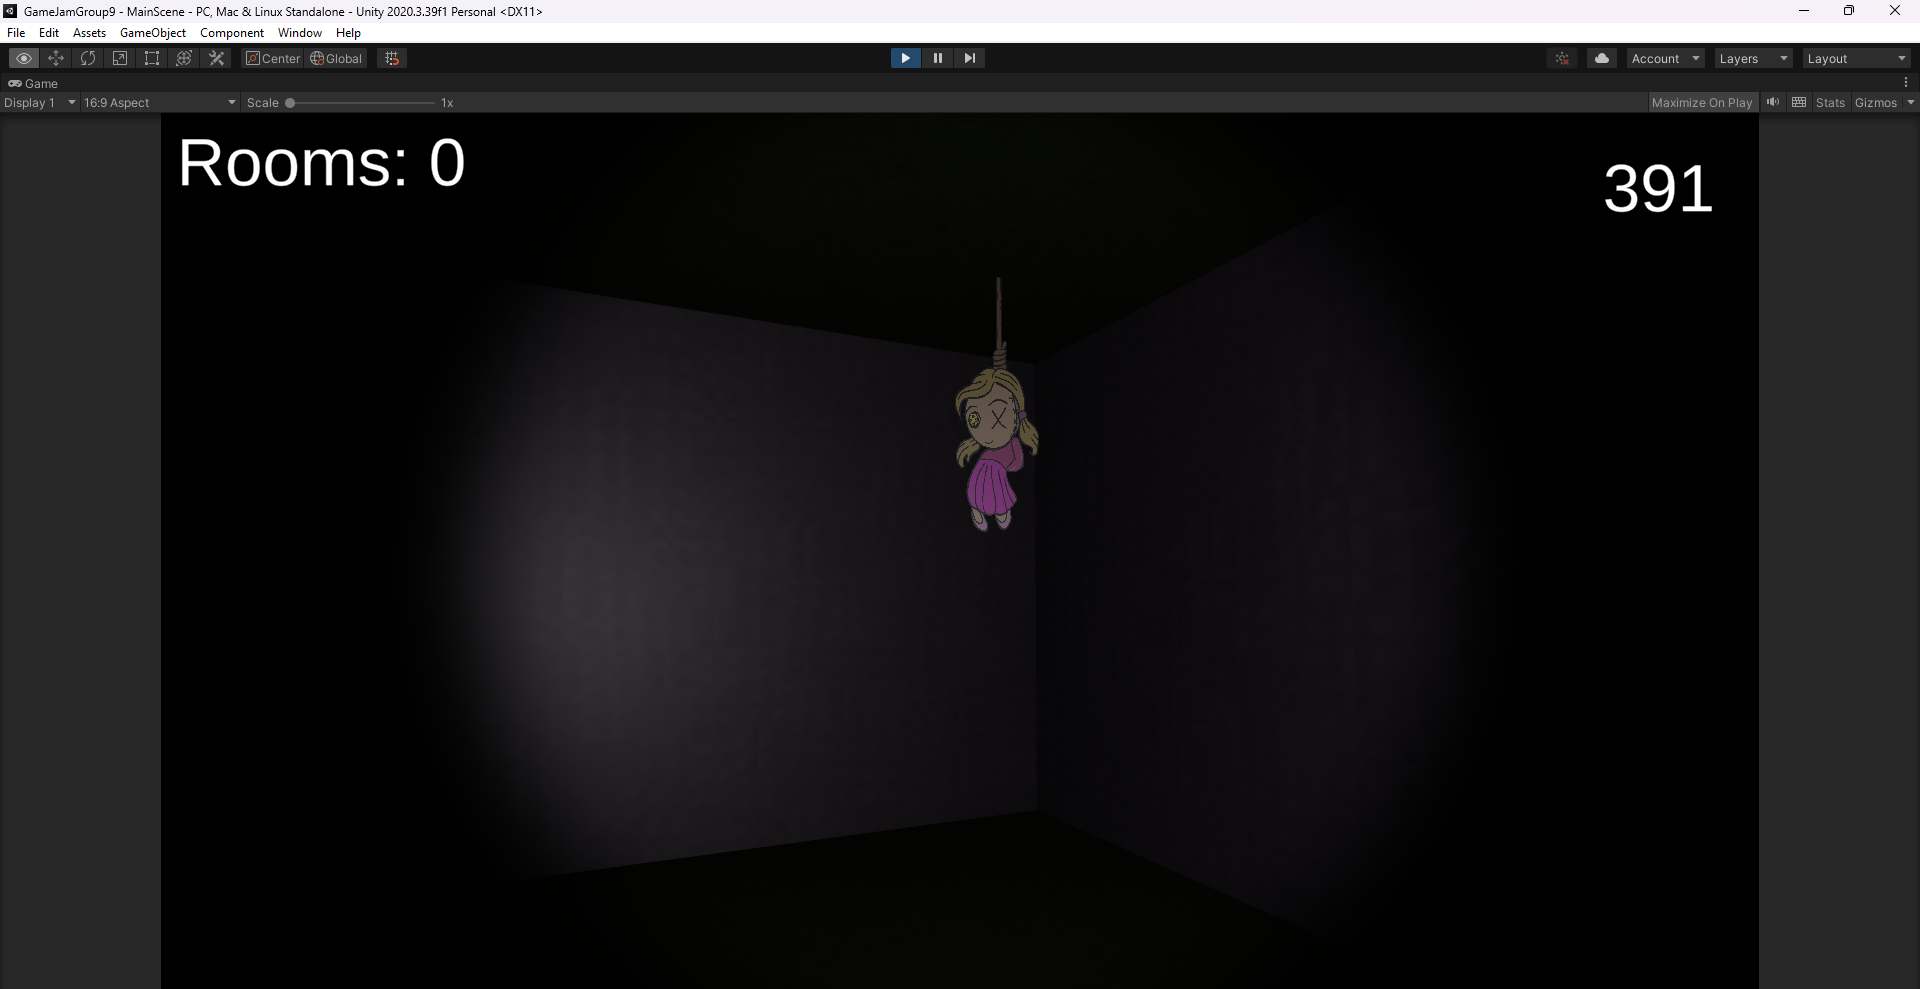
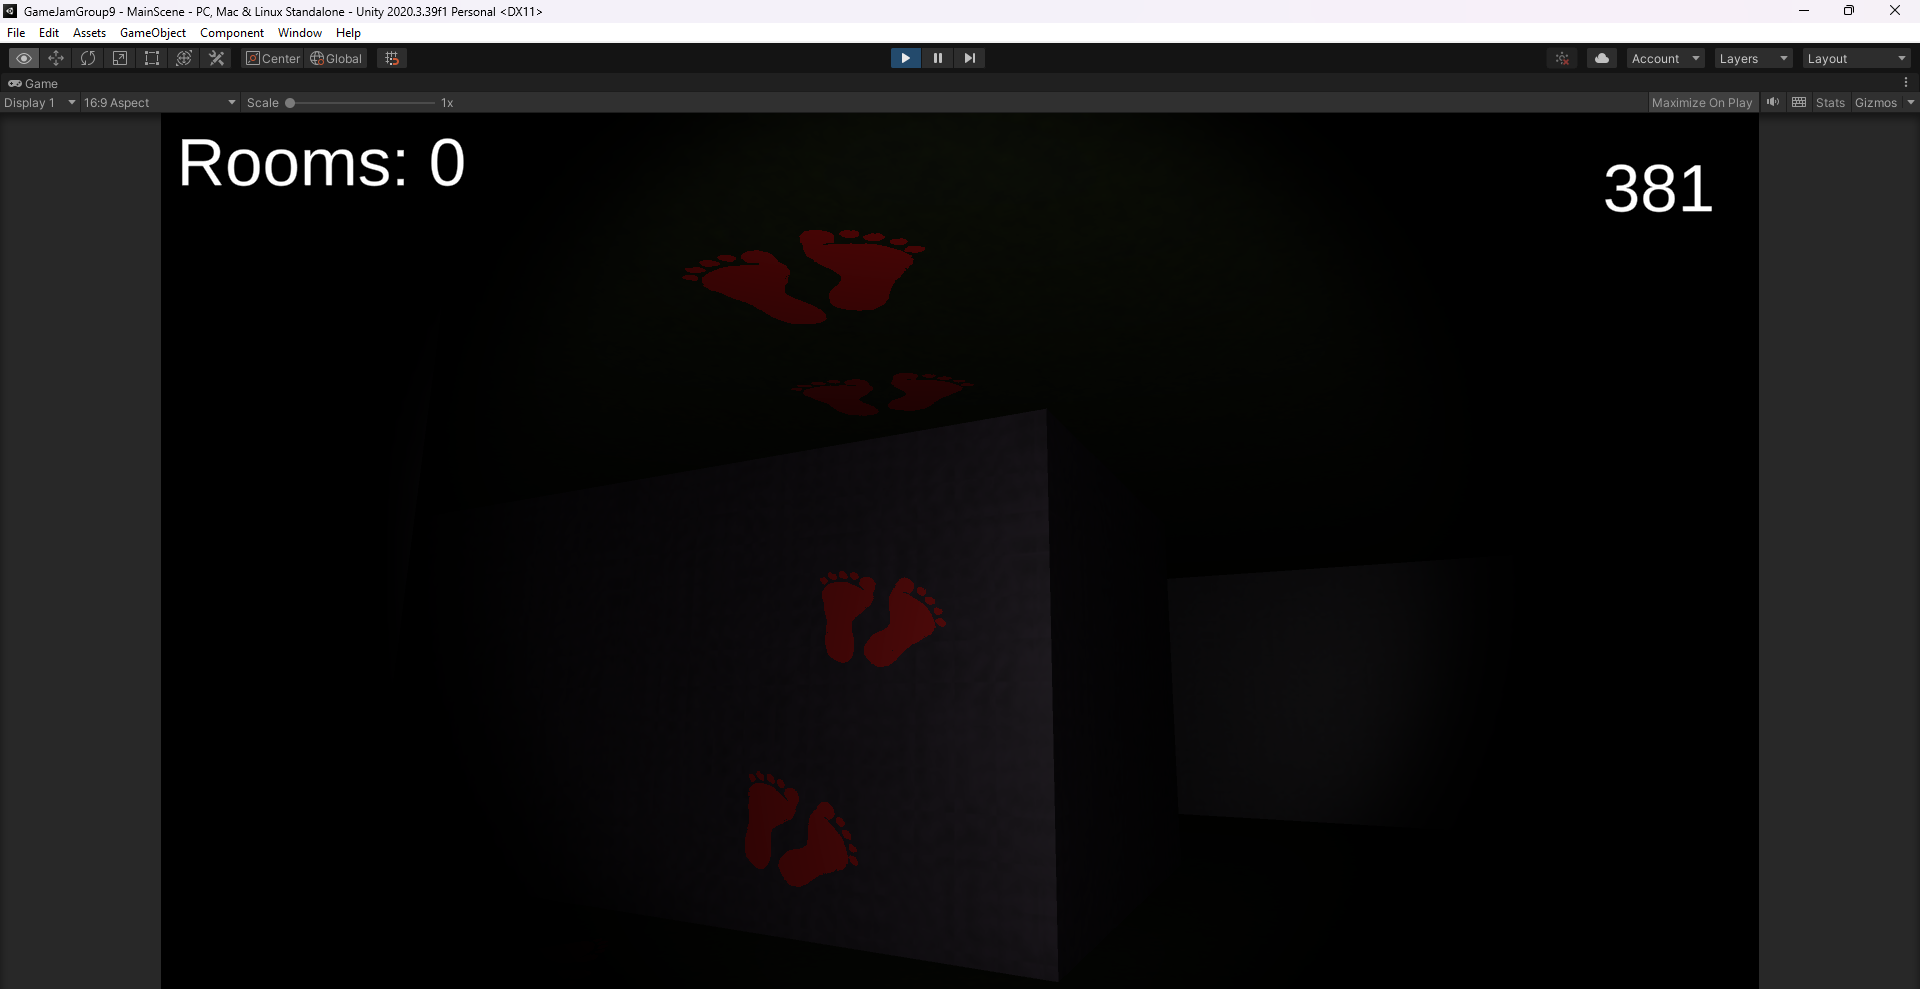
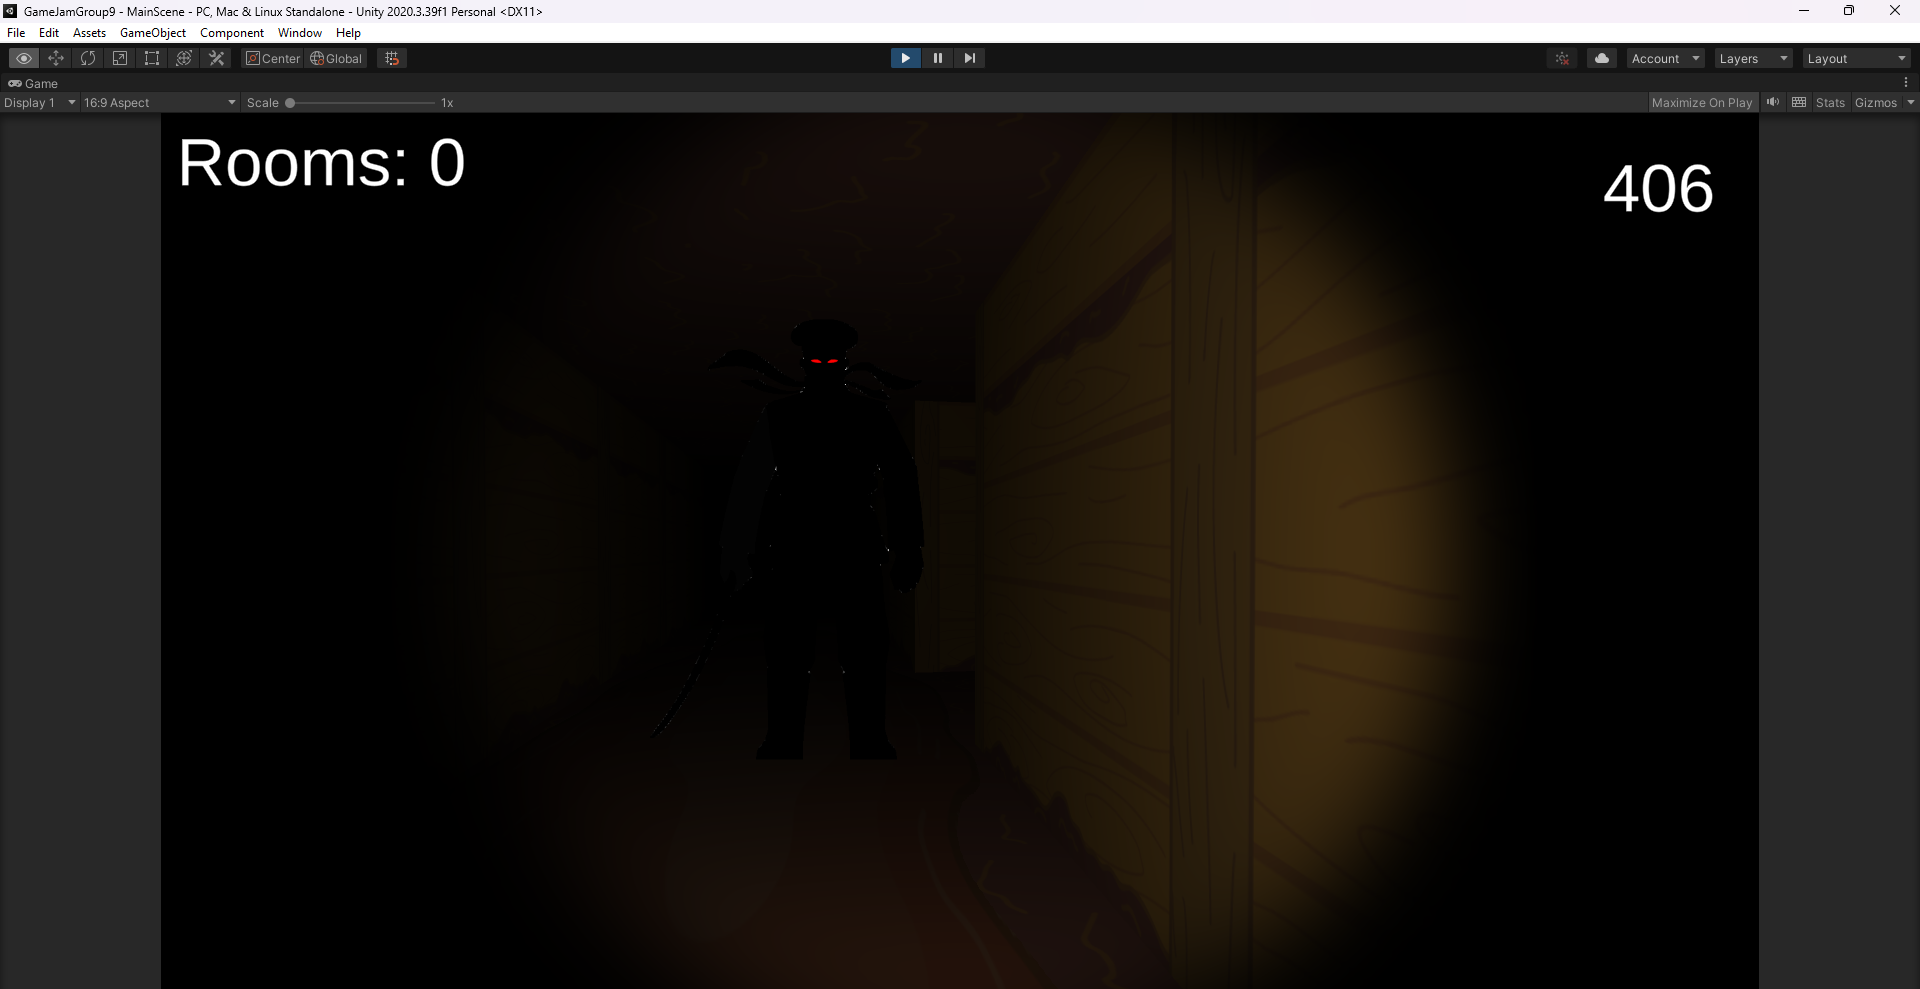
College Game Jam - Coma
Overview
Forced college Game Jam midterm with random students selected by the coordinator. I was put in a group with people that knew close to nothing on purpose since I had more knowledge than most students and could lead the team. With that in mind, we sat down and chose what we wanted to do and went with the horror genre. The Game Jam topic was “Another World”
Available At
CLICK FOR MORE
How it works
We created text based story, leaving to one student to do the menu, and I made all coding portions of the game itself adding all people wanted. Most of the group were artists of some kind so I tried allowing them to create what they wanted and later I would pick their levels and prefabs and add the functions I made to show how to make prefabs. From there, they would try to level design with the prefabs made and I would later check with them and playtest so we could change as needed.
About some of the stuff I worked on the project
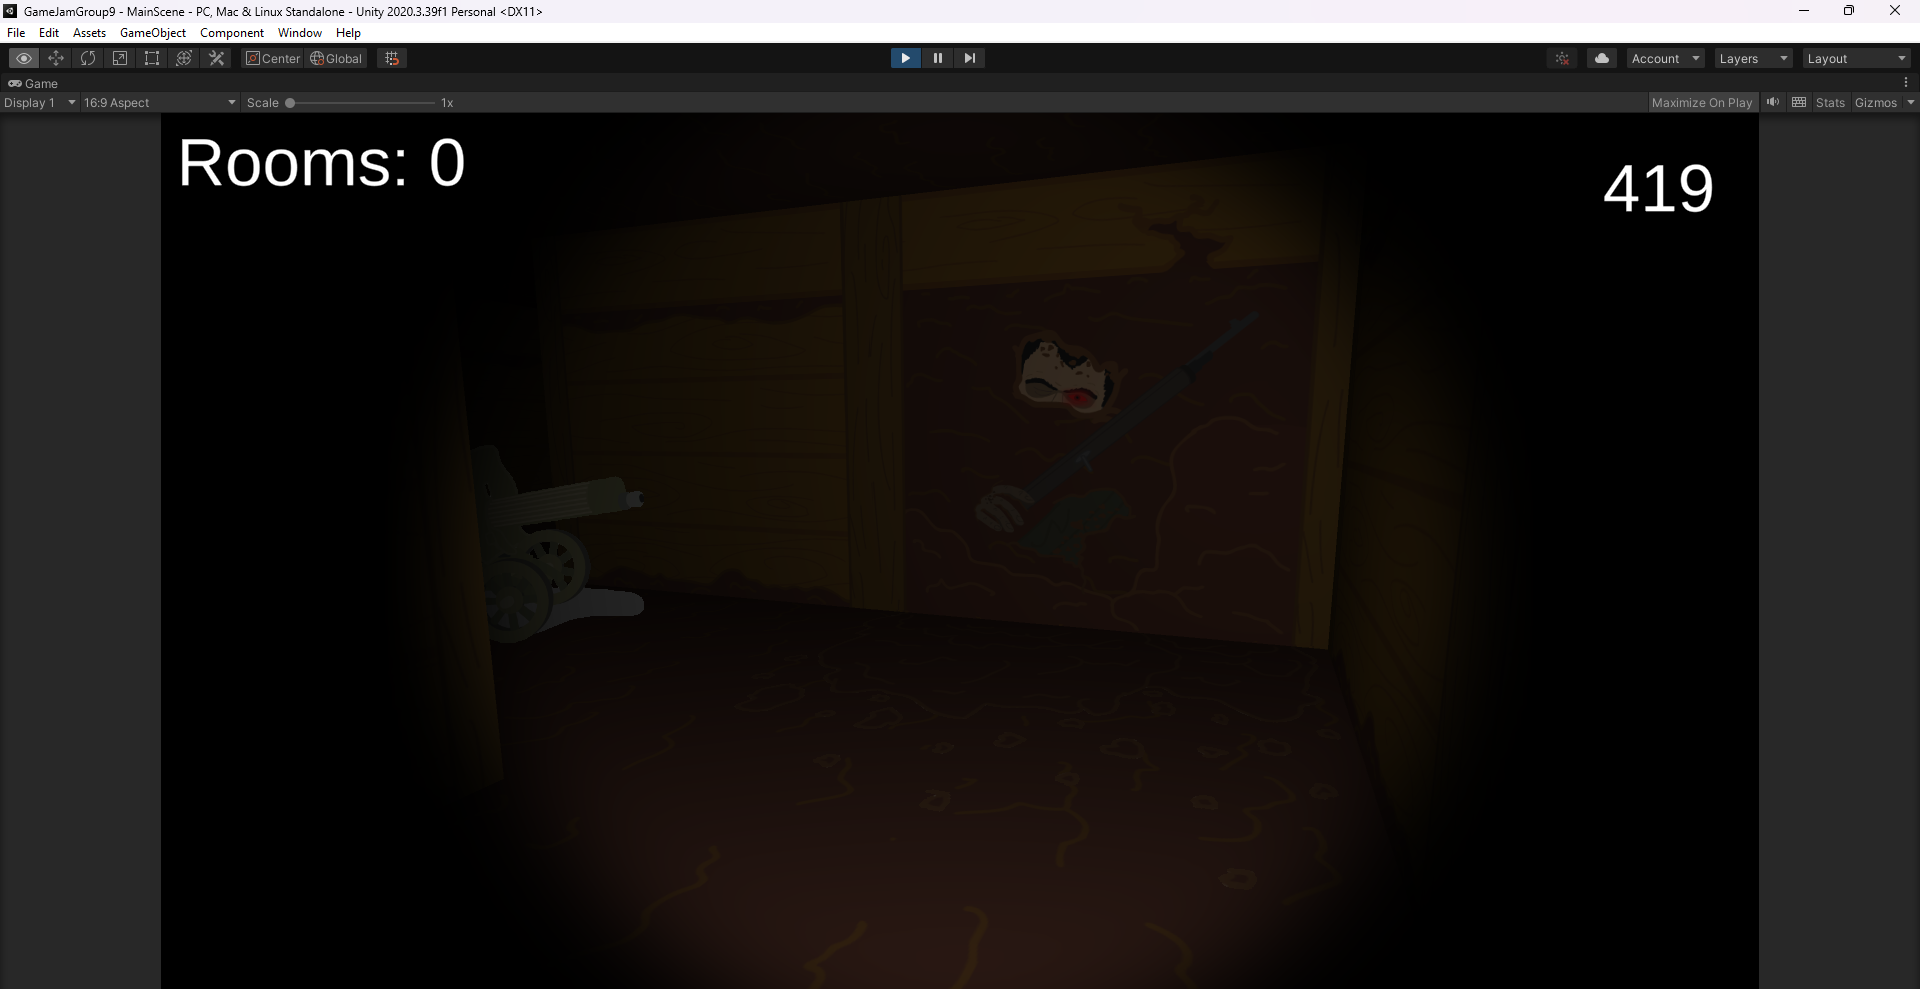
So, the biggest system was two: One a random generator for the map that would be then saved to be decorated by someone since we would not have enough time to properly create a whole randomly placement as well. This was made with changes to https://www.kodeco.com/82-procedural-generation-of-mazes-with-unity And the Trigger Event for the different stuff that can happen in the game.
The random generator is divided in three parts: Constructor Data Mesh
The Constructor would hold the Data and Mesh and create the start and end position, display the maze, and so on. The controller of the constructors, basically.
The data is as “simple” as:
public int[,] FromDimensions(int sizeRows, int sizeCols)
{
int[,] maze = new int[sizeRows, sizeCols];
int rMax = maze.GetUpperBound(0);
int cMax = maze.GetUpperBound(1);
for (int i = 0; i <= rMax; i++)
{
for (int j = 0; j <= cMax; j++)
{
if (i == 0 || j == 0 || i == rMax || j == cMax)
{
maze[i, j] = 1;
}
else if (i % 2 == 0 && j % 2 == 0)
{
if (Random.value > placementThreshold)
{
maze[i, j] = 1;
int a = Random.value < .5 ? 0 : (Random.value < .5 ? -1 : 1);
int b = a != 0 ? 0 : (Random.value < .5 ? -1 : 1);
maze[i + a, j + b] = 1;
}
}
}
}
return maze;
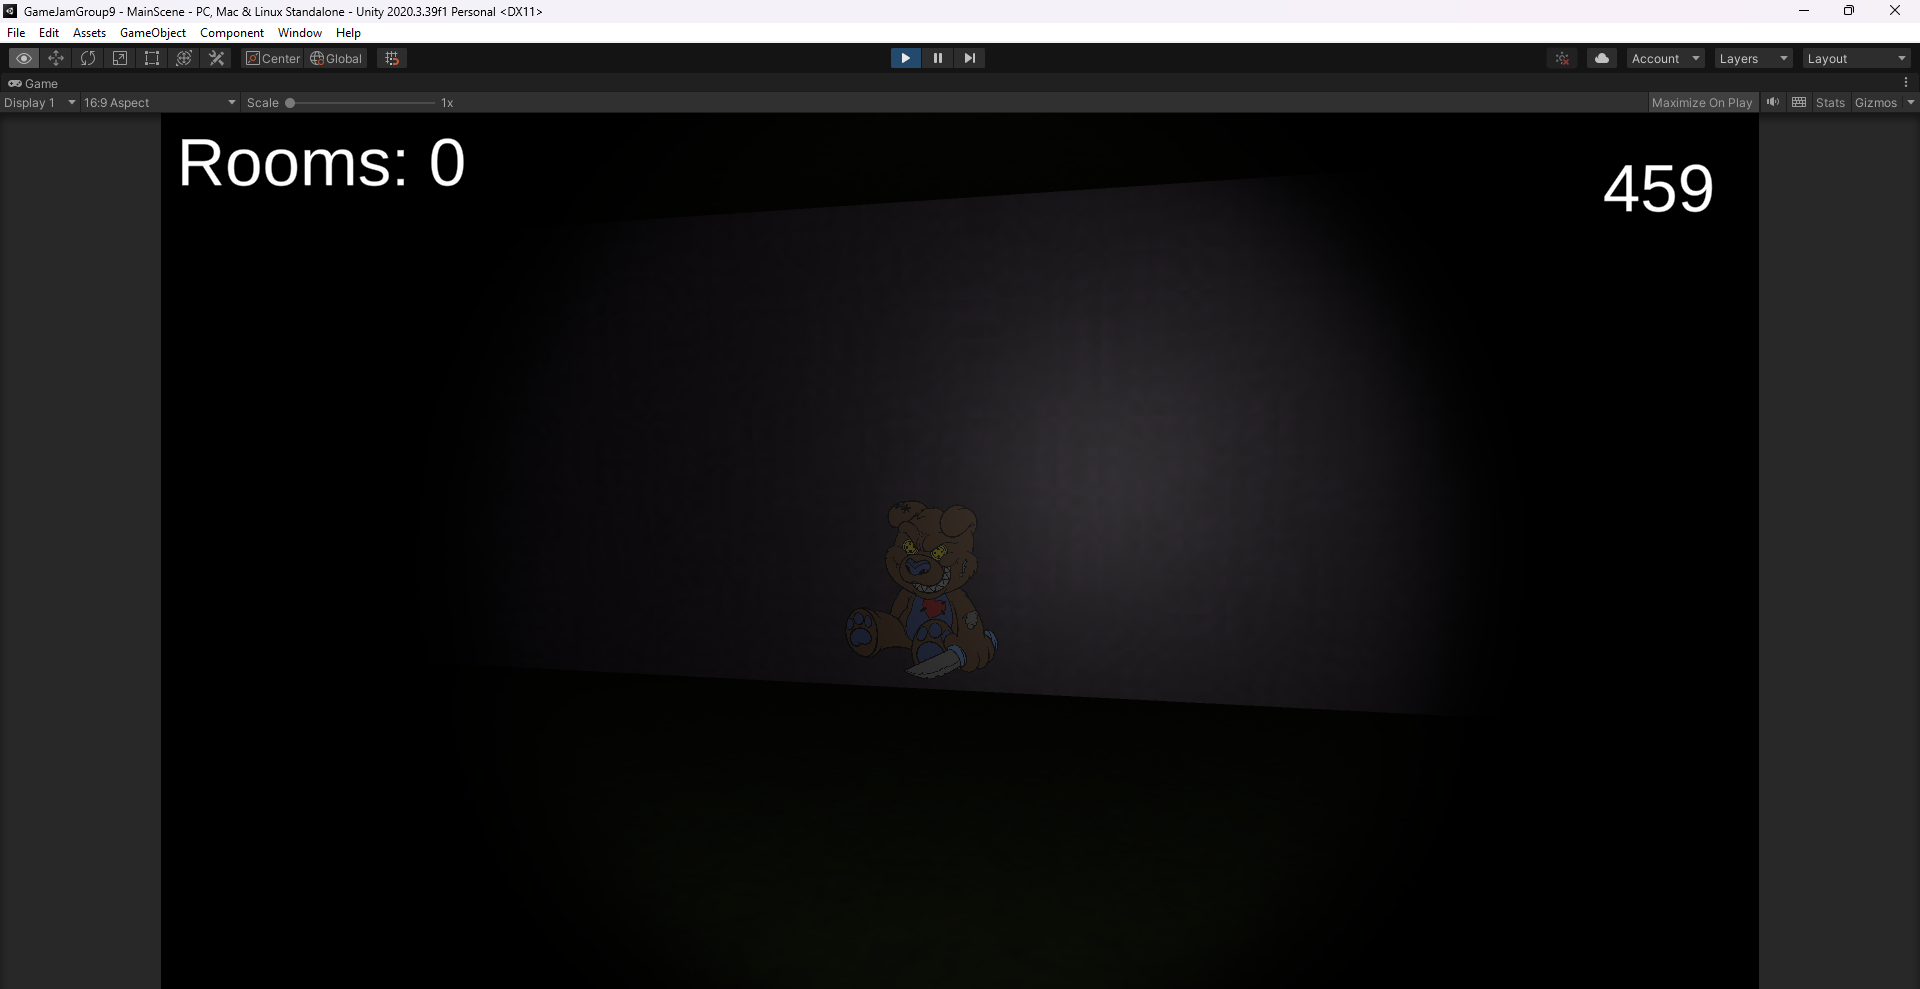
}The game uses 2D in 3D since, again, the students were very new, so, to achieve the horror we wanted, I added a simple look at code to the objects to aim their looks at the player.
public class LookAtCamera : MonoBehaviour
{
    private Transform cameraMain;
    private Renderer myRenderer;

    private void Awake()
    {
        if (Camera.main != null)
        {
            cameraMain = Camera.main.transform;
        }
        myRenderer = GetComponent<Renderer>();
    }

    private void Update()
    {
        if (!myRenderer.isVisible)
        {
            return;
        }

        if (cameraMain == null)
        {
            if (Camera.main != null)
            {
                cameraMain = Camera.main.transform;
            }
        }

        transform.rotation = cameraMain.rotation;
    }
}
And how did the trigger system work? Well, it was a use of Unity Events with a cooldown so the trap could reset itself or be a one time use.
private void OnTriggerEnter(Collider other)
{
	if (isOnCooldown)
	{
		return;
	}

	if (other.CompareTag("Player"))
	{
		enterEventToTrigger.Invoke();
		if (playOnce)
		{
			enterEventToTrigger = new UnityEvent();
		}
		if (cooldown > 0)
			StartCoroutine(OnCooldown());
	}
}

private void OnTriggerExit(Collider other)
{
	if (isOnCooldown)
	{
		return;
	}

	if (other.CompareTag("Player"))
	{
		exitEventToTrigger.Invoke();
	}
}

IEnumerator OnCooldown()
{
	isOnCooldown = true;

	yield return new WaitForSeconds(cooldown);
	resetFunctions.Invoke();

	isOnCooldown = false;
}
And the options were in another script, so that the object would have both and just fill them as needed/if needed.
public void ChangeMaterial()
{
	oldMaterial = objectToChangeMaterial.material;
	objectToChangeMaterial.material = newMaterial;
}

public void RevertMaterial()
{
	objectToChangeMaterial.material = oldMaterial;
}


public void FlashlightDefect(float timeToFlicker)
{
	Debug.Log("Flashlight Defect called");
	StartCoroutine(Flicker(timeToFlicker));
}

IEnumerator Flicker(float timeToFlicker)
{
	GameObject lightGO = fpsMov.spotlight.gameObject;
	float timer = 0;
	while (timer < timeToFlicker)
	{
		lightGO.SetActive(false);
		float timeUsed = Random.Range(0.2f, 0.5f);
		yield return new WaitForSeconds(timeUsed);
		timer += timeUsed;
		lightGO.SetActive(true);
		timeUsed = Random.Range(0.15f, 0.3f);
		yield return new WaitForSeconds(timeUsed);
		timer += timeUsed;
	}
}

public void MoveScare(float time)
{
	objectToMoveScare.position = startingPosMoveScare.position;
	StartCoroutine(SmoothLerp(time));
	objectToMoveScare.position = finalPosMoveScare.position;
}

private bool hasHappened = false;
public void MoveScareOnce(float time)
{
	if (hasHappened)
	{
		return;
	}

	objectToMoveScare.position = startingPosMoveScare.position;
	StartCoroutine(SmoothLerp(time));
	objectToMoveScare.position = finalPosMoveScare.position;
	hasHappened = true;
}

public void MoveBackFromScare()
{
	objectToMoveScare.position = startingPosMoveScare.position;
}

private IEnumerator SmoothLerp(float time)
{
	float elapsedTime = 0;

	while (elapsedTime < time)
	{
		objectToMoveScare.position = Vector3.Lerp(startingPosMoveScare.position, finalPosMoveScare.position, (elapsedTime / time));
		elapsedTime += Time.deltaTime;
		yield return null;
	}
}

private bool inverted;
public void InvertControls()
{
	if (!inverted)
	{
		fpsMov.isInverted = true;
		inverted = true;
	}
}

public void InvertBackControls()
{
	if (inverted)
	{
		fpsMov.isInverted = false;
		inverted = false;
	}
}

private bool slowOrSpeed;
public void SlowOrSpeed(float amountToMultiply)
{
	if (!slowOrSpeed)
	{
		fpsMov.speed = fpsMov.speed * amountToMultiply;
		slowOrSpeed = true;
	}
}

public void SlowOrSpeedBack()
{
	if (slowOrSpeed)
	{
		fpsMov.speed = fpsMov.originalSpeed;
		slowOrSpeed = false;
	}
}
Challenges
I was the only student that really knew how to work with Unity and, apparently, the only one that was there the full time of the game jam. This made us have to think hard of what could be achieved in such a short time. Also having to redo a lot of the stuff the students made since they knew close to nothing and some didnt even want to be there and would just finish as fast as possible and not touch the project again. Like the menu was so messed up that had to be redone because scales were a mess and with no proper anchoring/scaling, and still wasnt top notch since it was realized that it didnt work well by last minute.
Images
App Vale - Porto de Tubarão
Overview
“This app was developed to a presentation room of Vale do Rio Doce in the Edifício Hélio Ferraz, inside Porto de Tubarão, and in partnership with Zor Design.
The system uses a desktop app that distributes the app to three bordless screens where the can be visualized images, videos and informations about Porto de Tubarão, and is controlled by another app on the iPad.” - http://www.d2rstudios.com/category/newmedia/
This project is from 2012 and remade in 2019 to use in a PC and Android with a better Networking system (UNet).
CLICK FOR MORE
2012 Version
The 2012 version was made by two people. I was an intern at D2R and was in charge of the desktop version. Back then, Unity had no 2D so I had to make my own code to create the sprite system. I was a beginner in Unity so I did not know much of Coroutines back then, but, used a speed variable together with Update to make it work.
The communication between Mac and iPad was made by the other developer, and was a database communication.
2015 Version
2015 had a few changes made to the project, a few new files and a few expansions made on the iPad to visually allow more images per file - there was no pagination system on it.
The PC version always had the Resources folder and as long as the images are named accordingly, there is not need to change level design or code. It’s pretty much generate build after adding them to the project.
2019 Version
The 2019 version had the biggest change and had only one month to make it happen. I remade the iPad version from scratch to the new and improved way Unity behaves with mobile and made changes to the PC for an actual networking system and leaving OnGUI behind in this project.
The project went from prior to Unity Hub to 2018.4 version.
Video
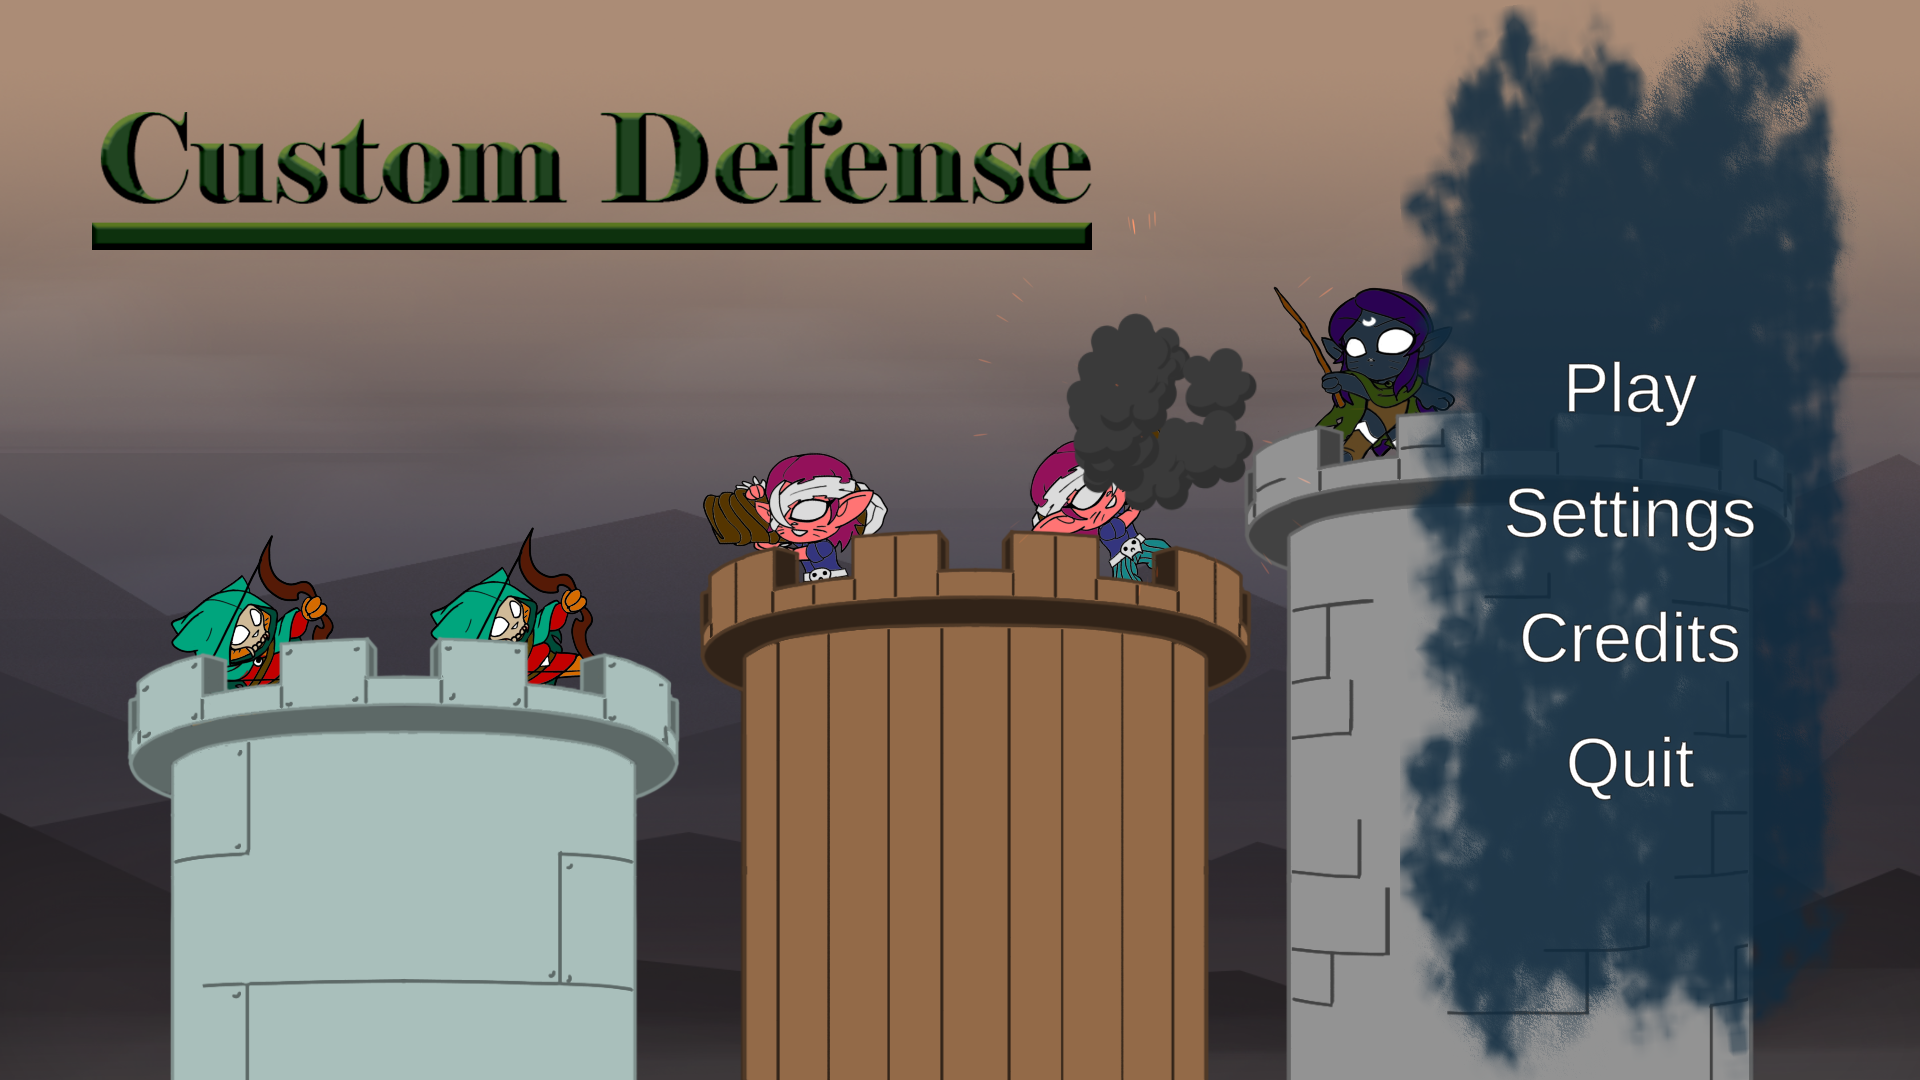
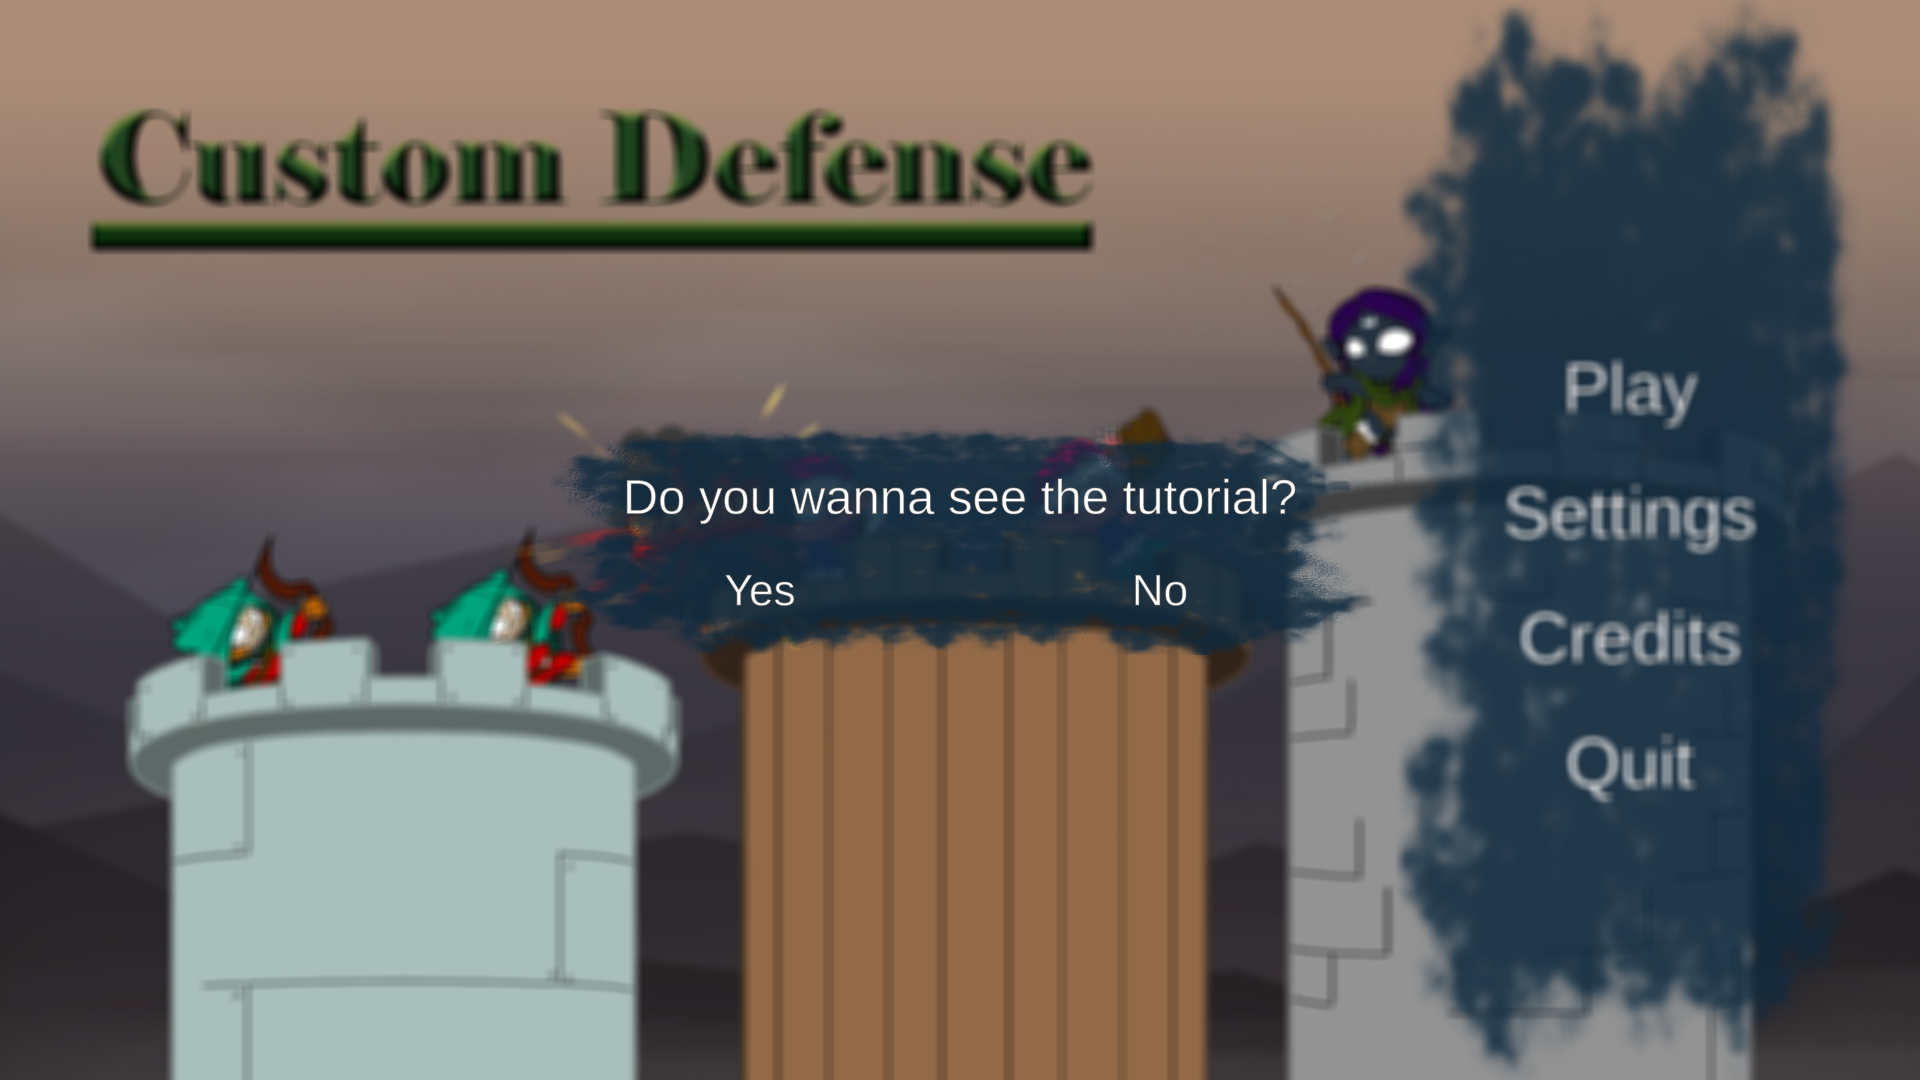
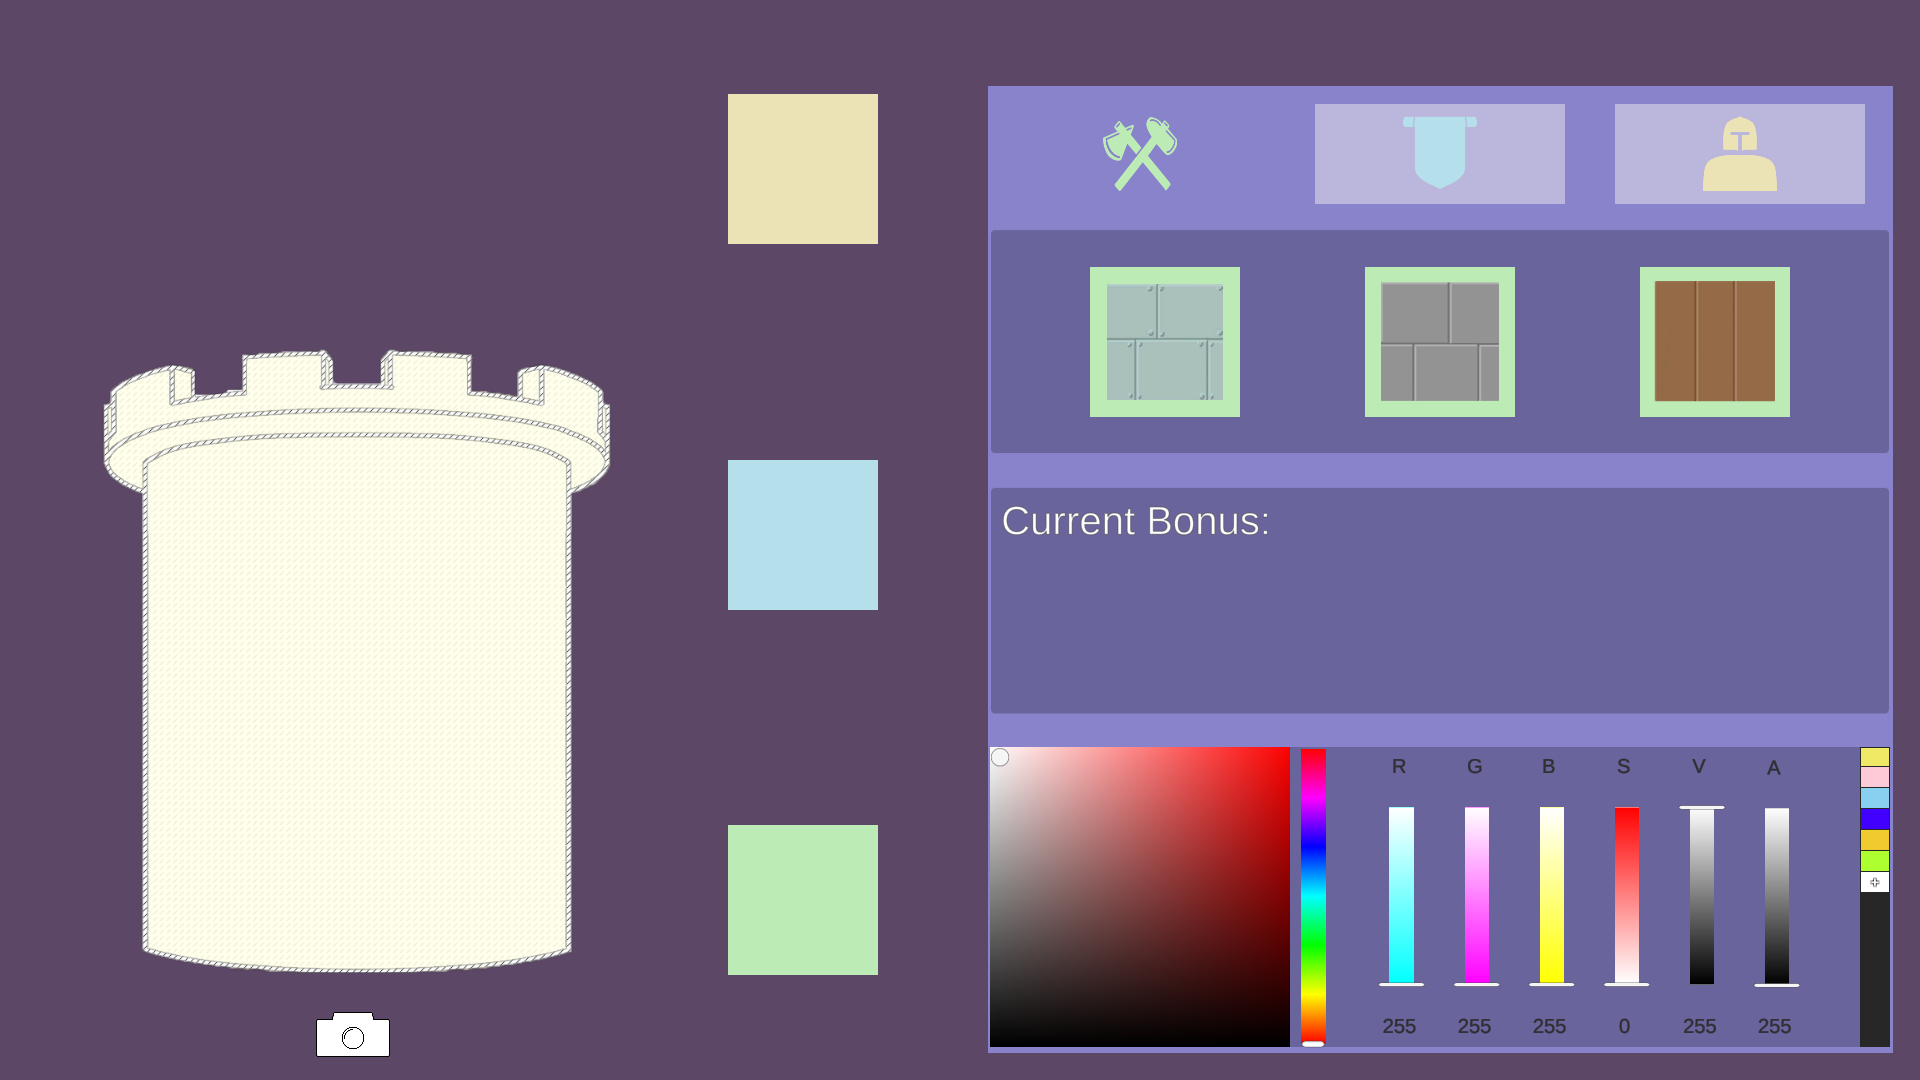
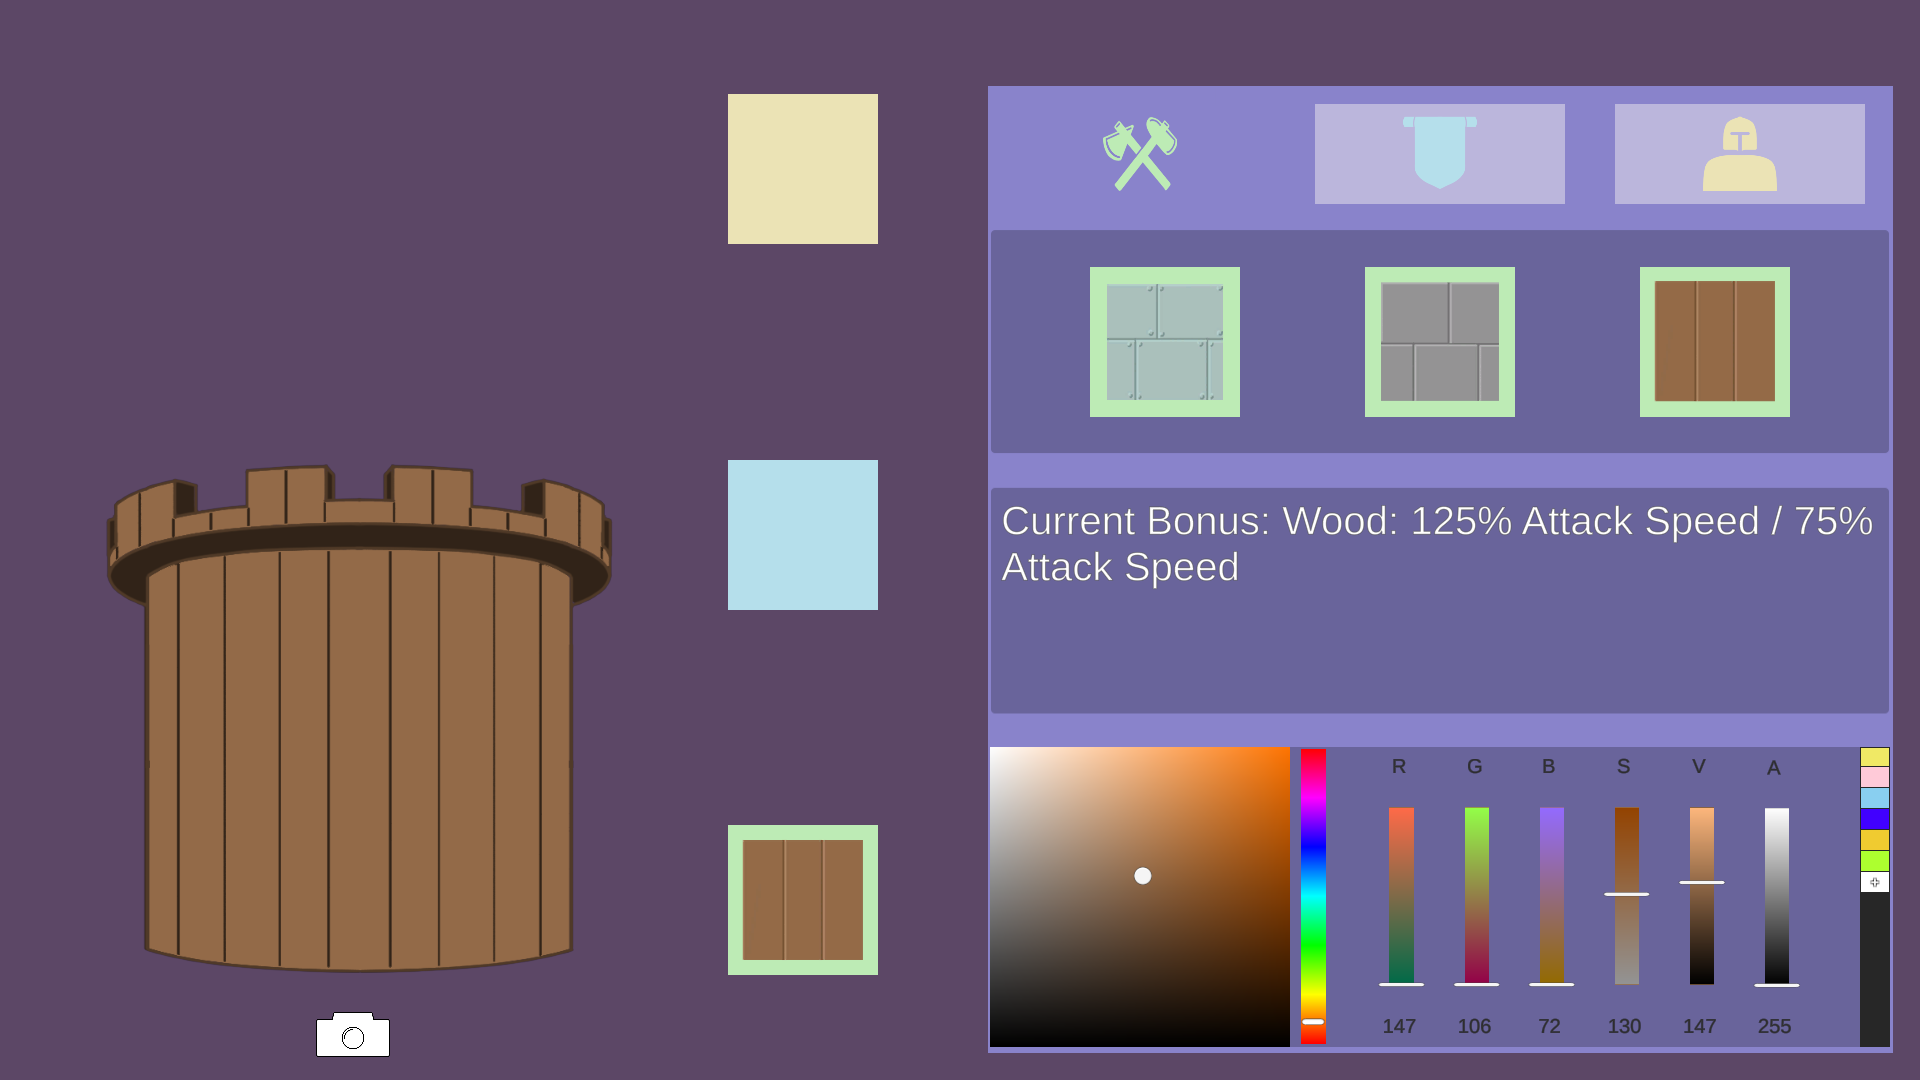
Custom Defense
Overview
This was a project made for a Centennial project during my third term in December 2020.
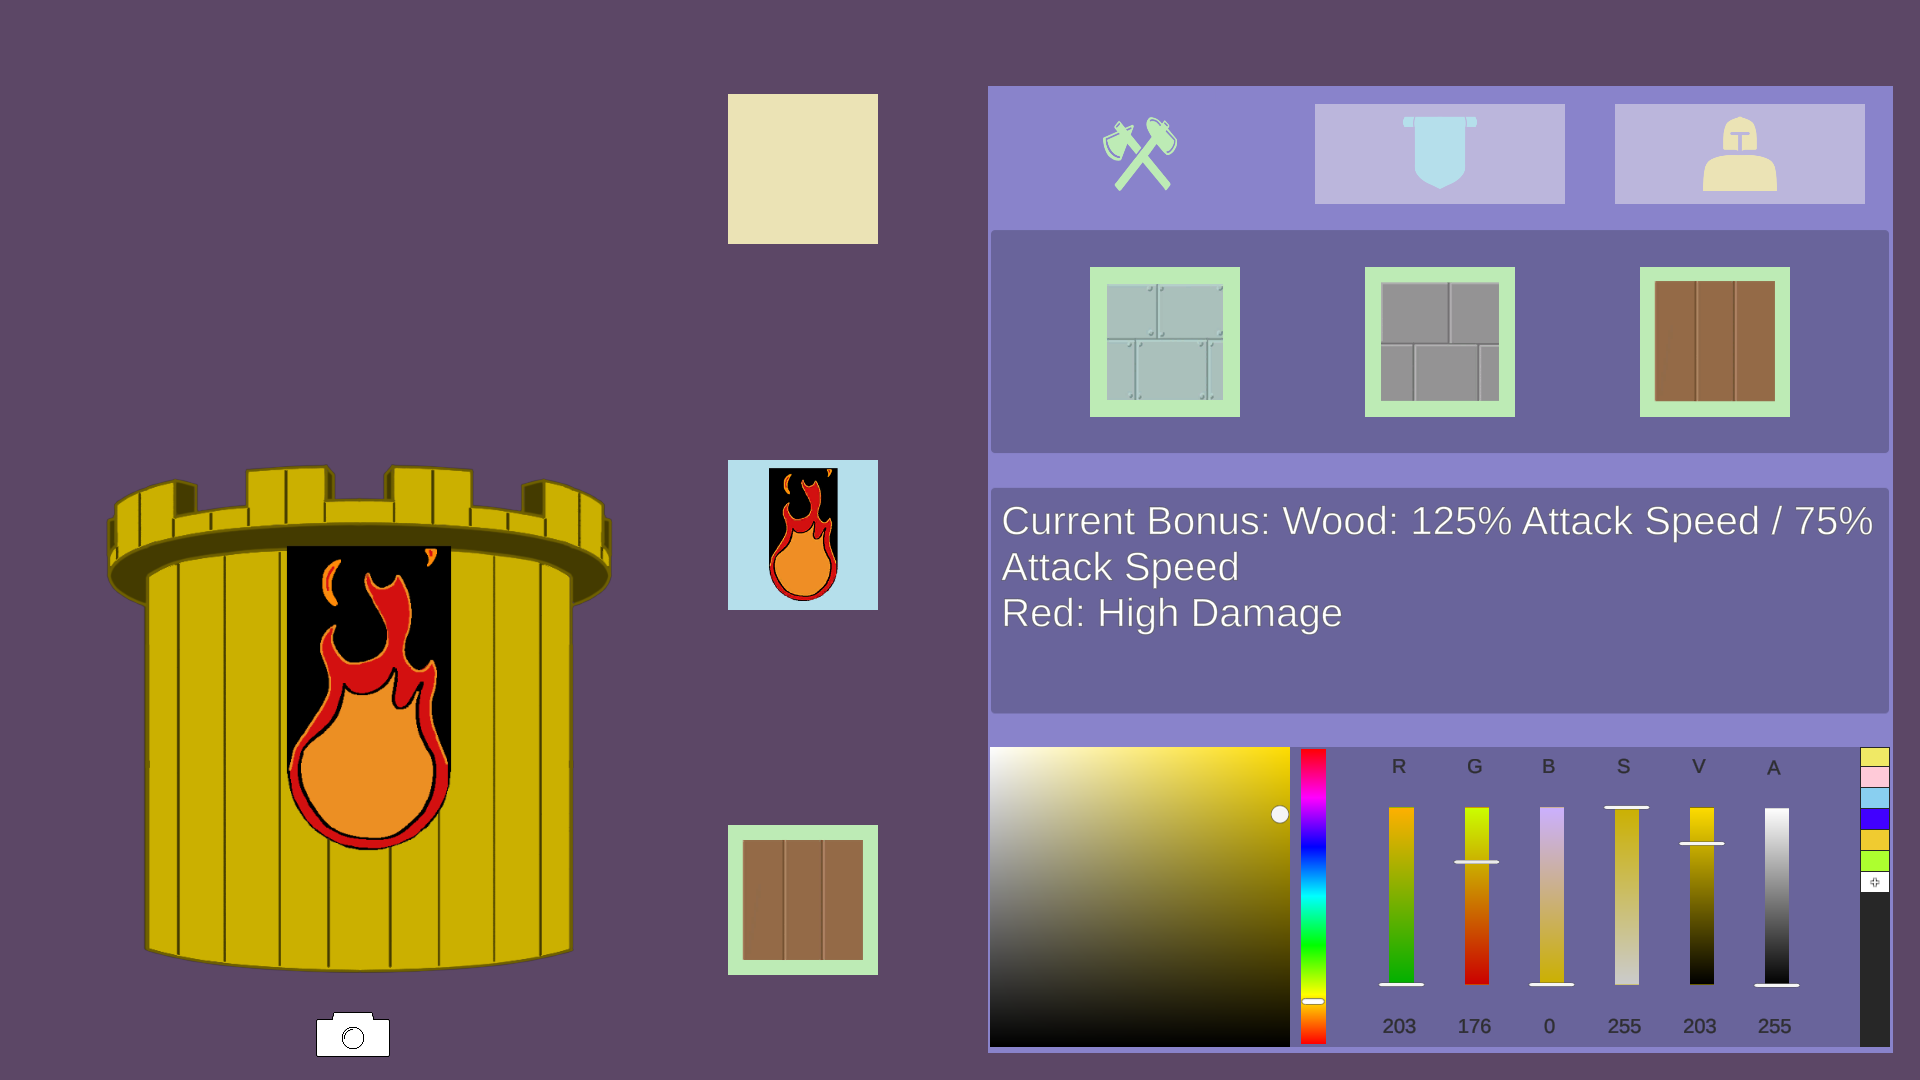
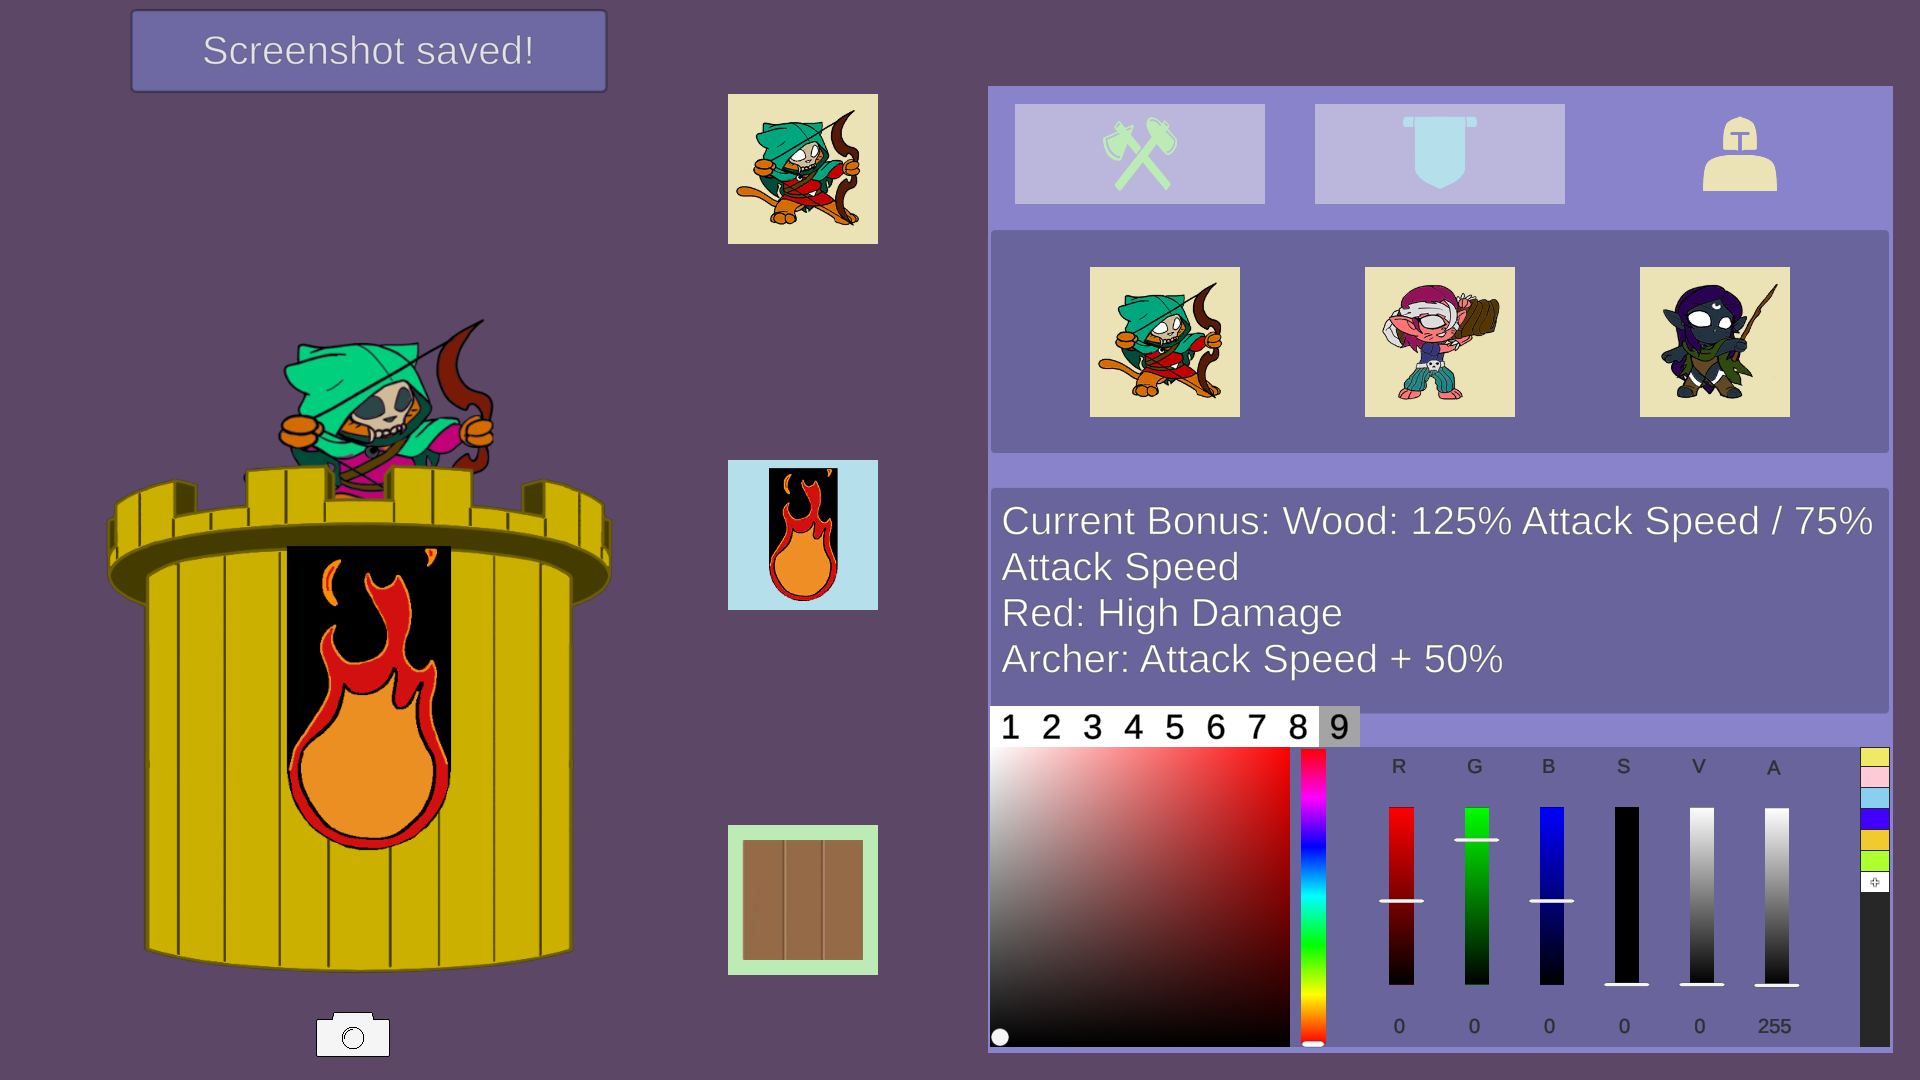
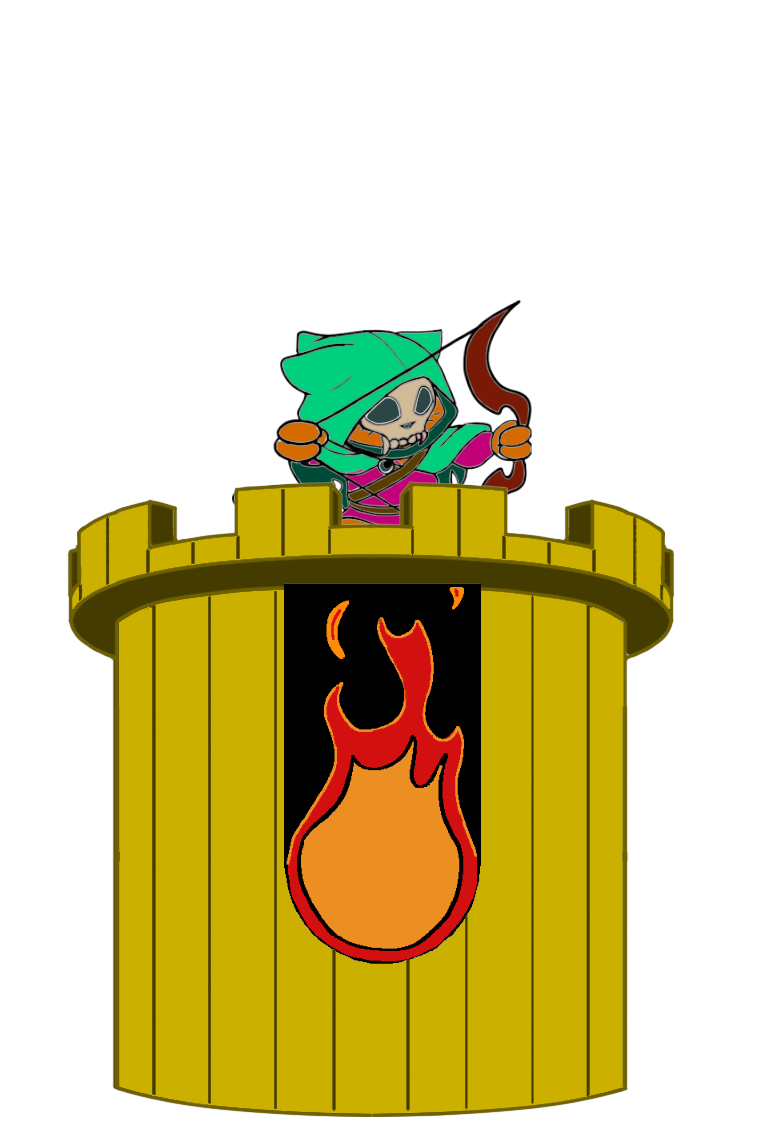
We had two weeks to create a project that showed what was taught during the term. We chose doing a character customization with a twist. Since we were also allowed to do a tower defense, we wanted to make a tower customization for a tower defense game.
Images
App Fiat - Personalização Fiat
Overview
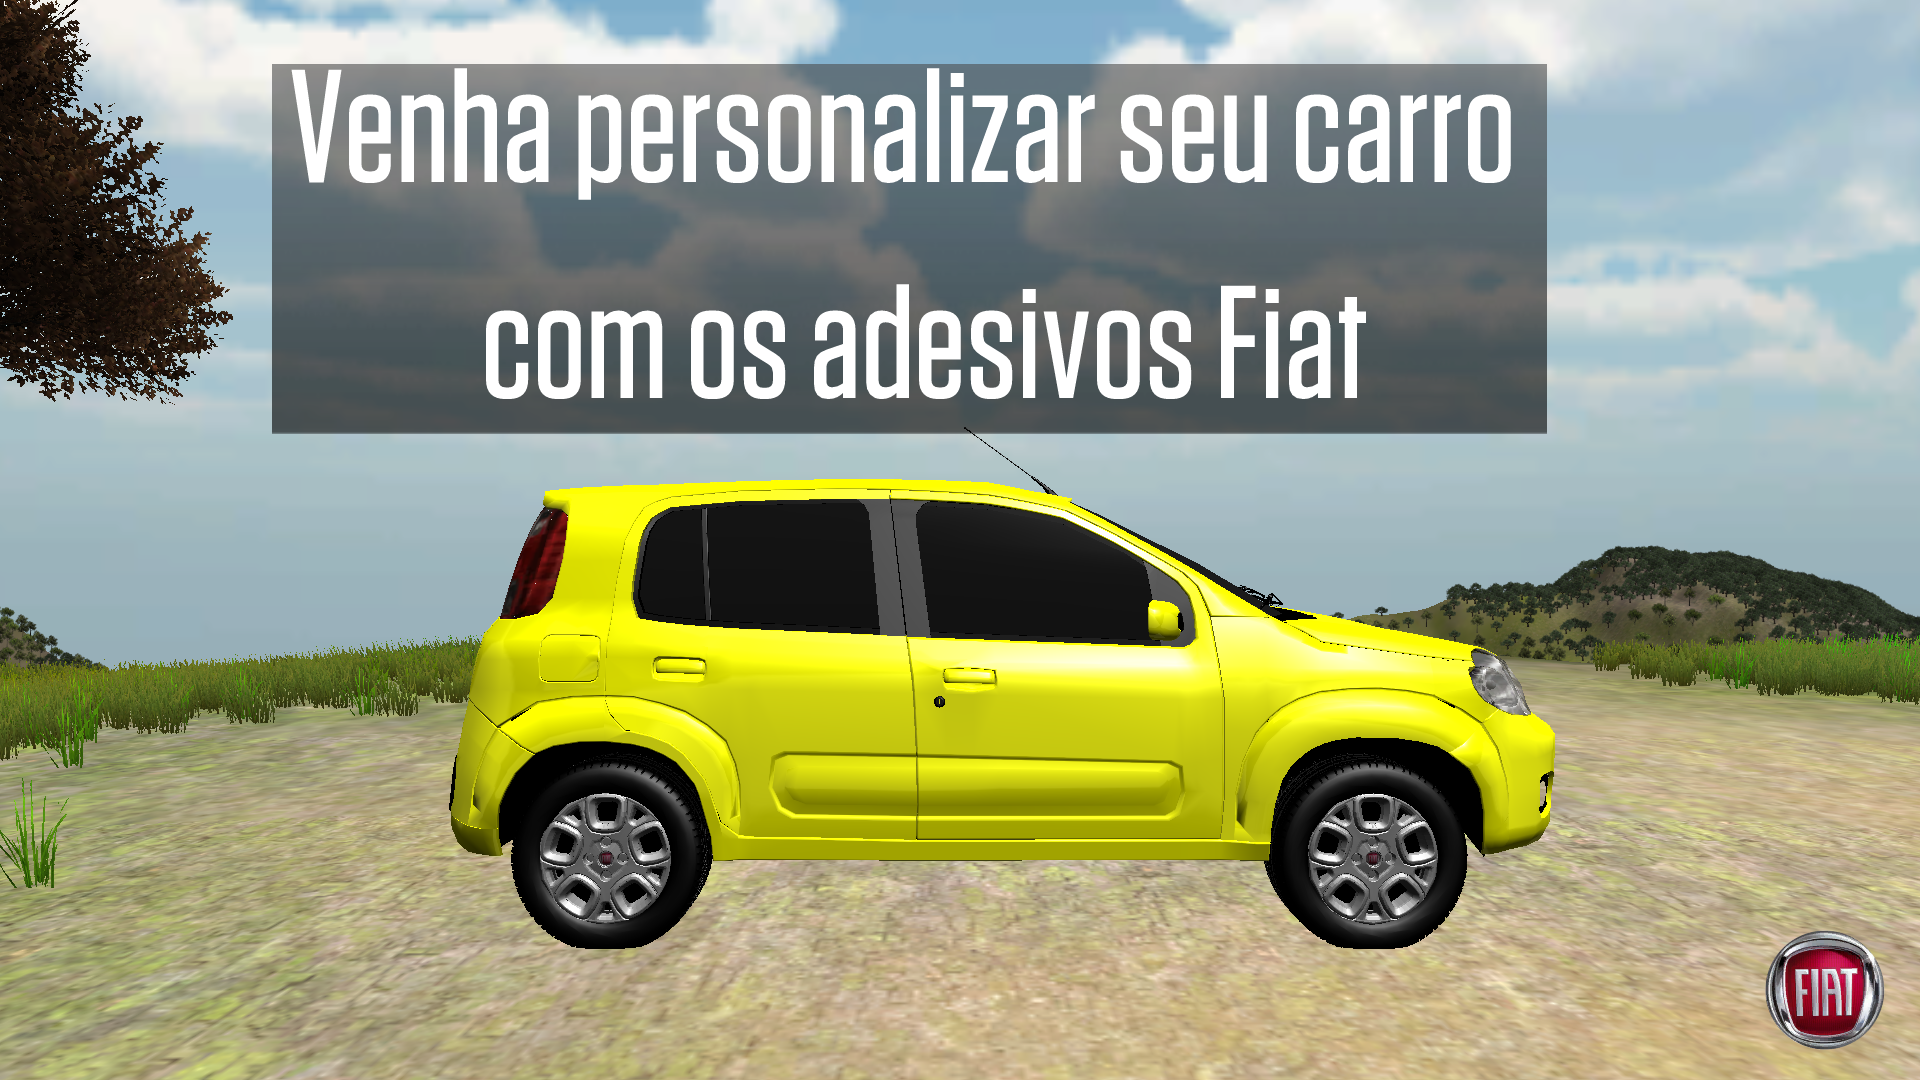
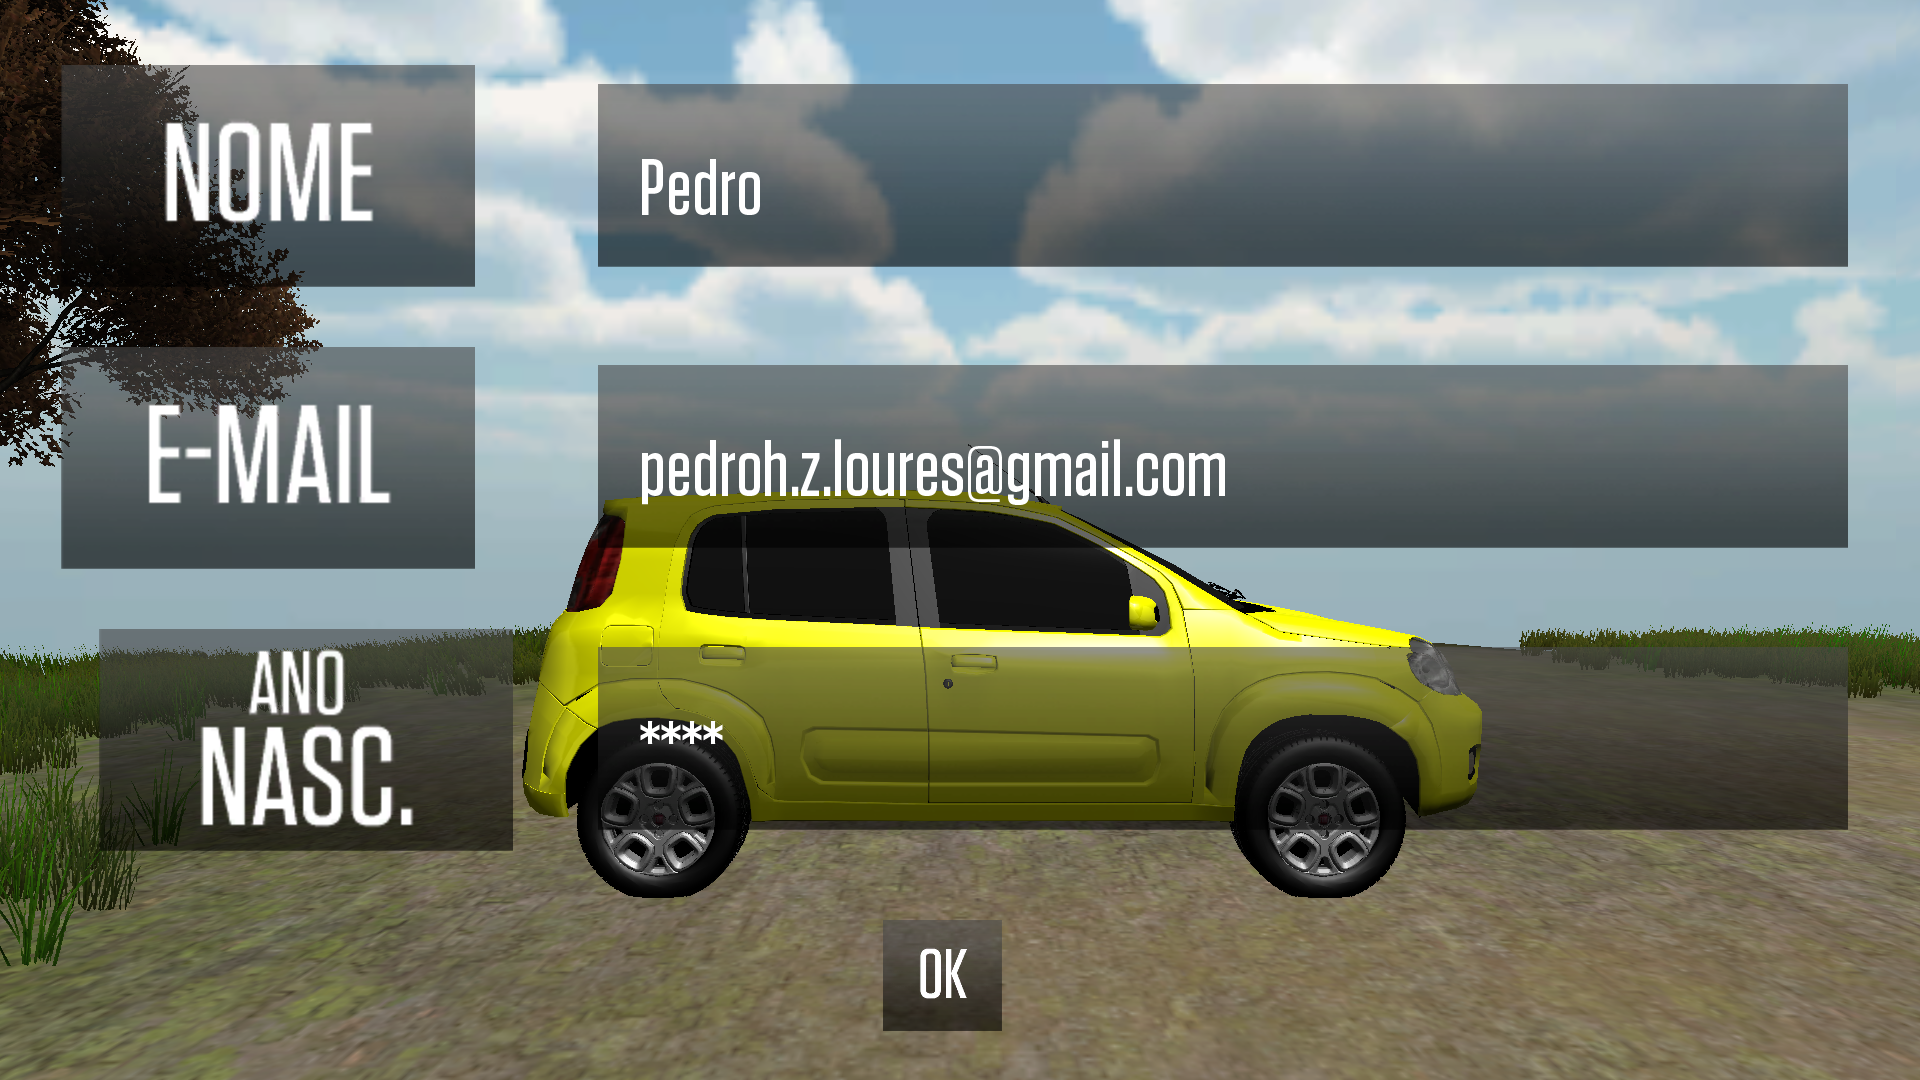
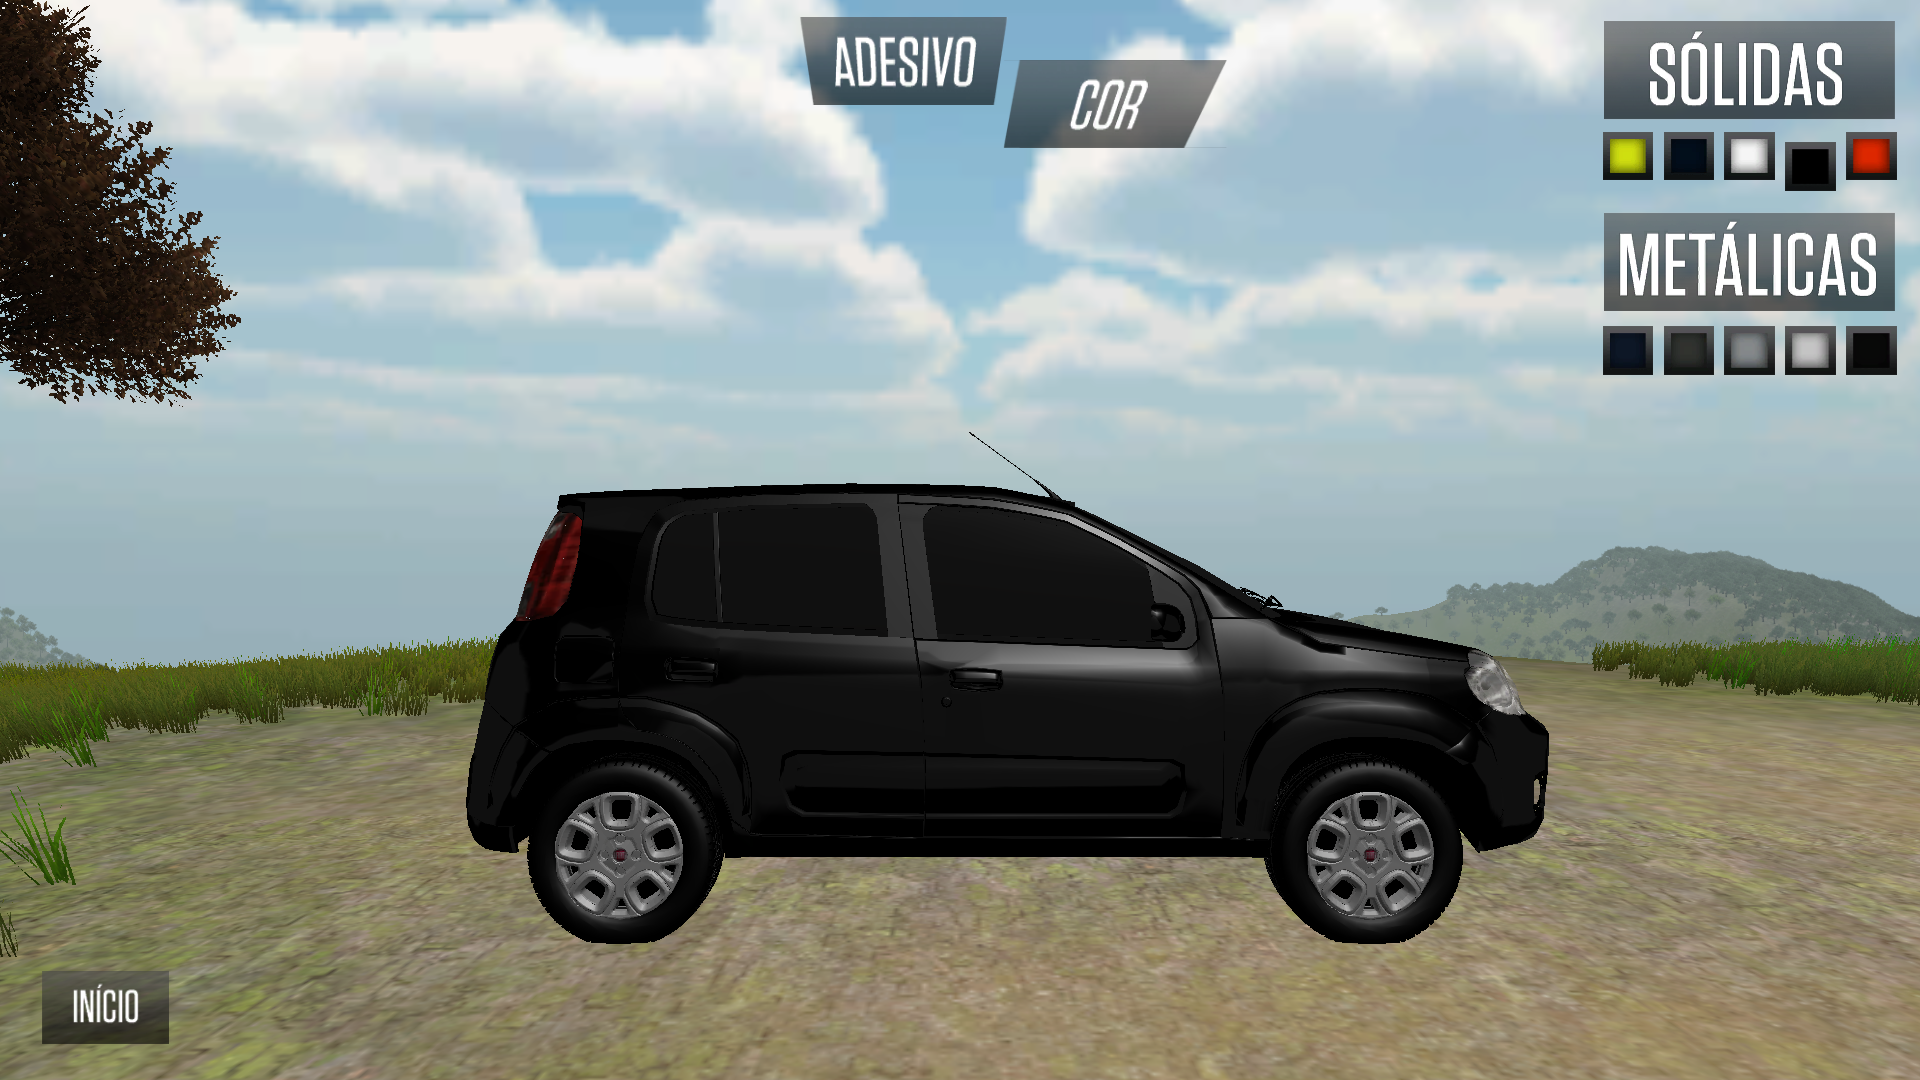
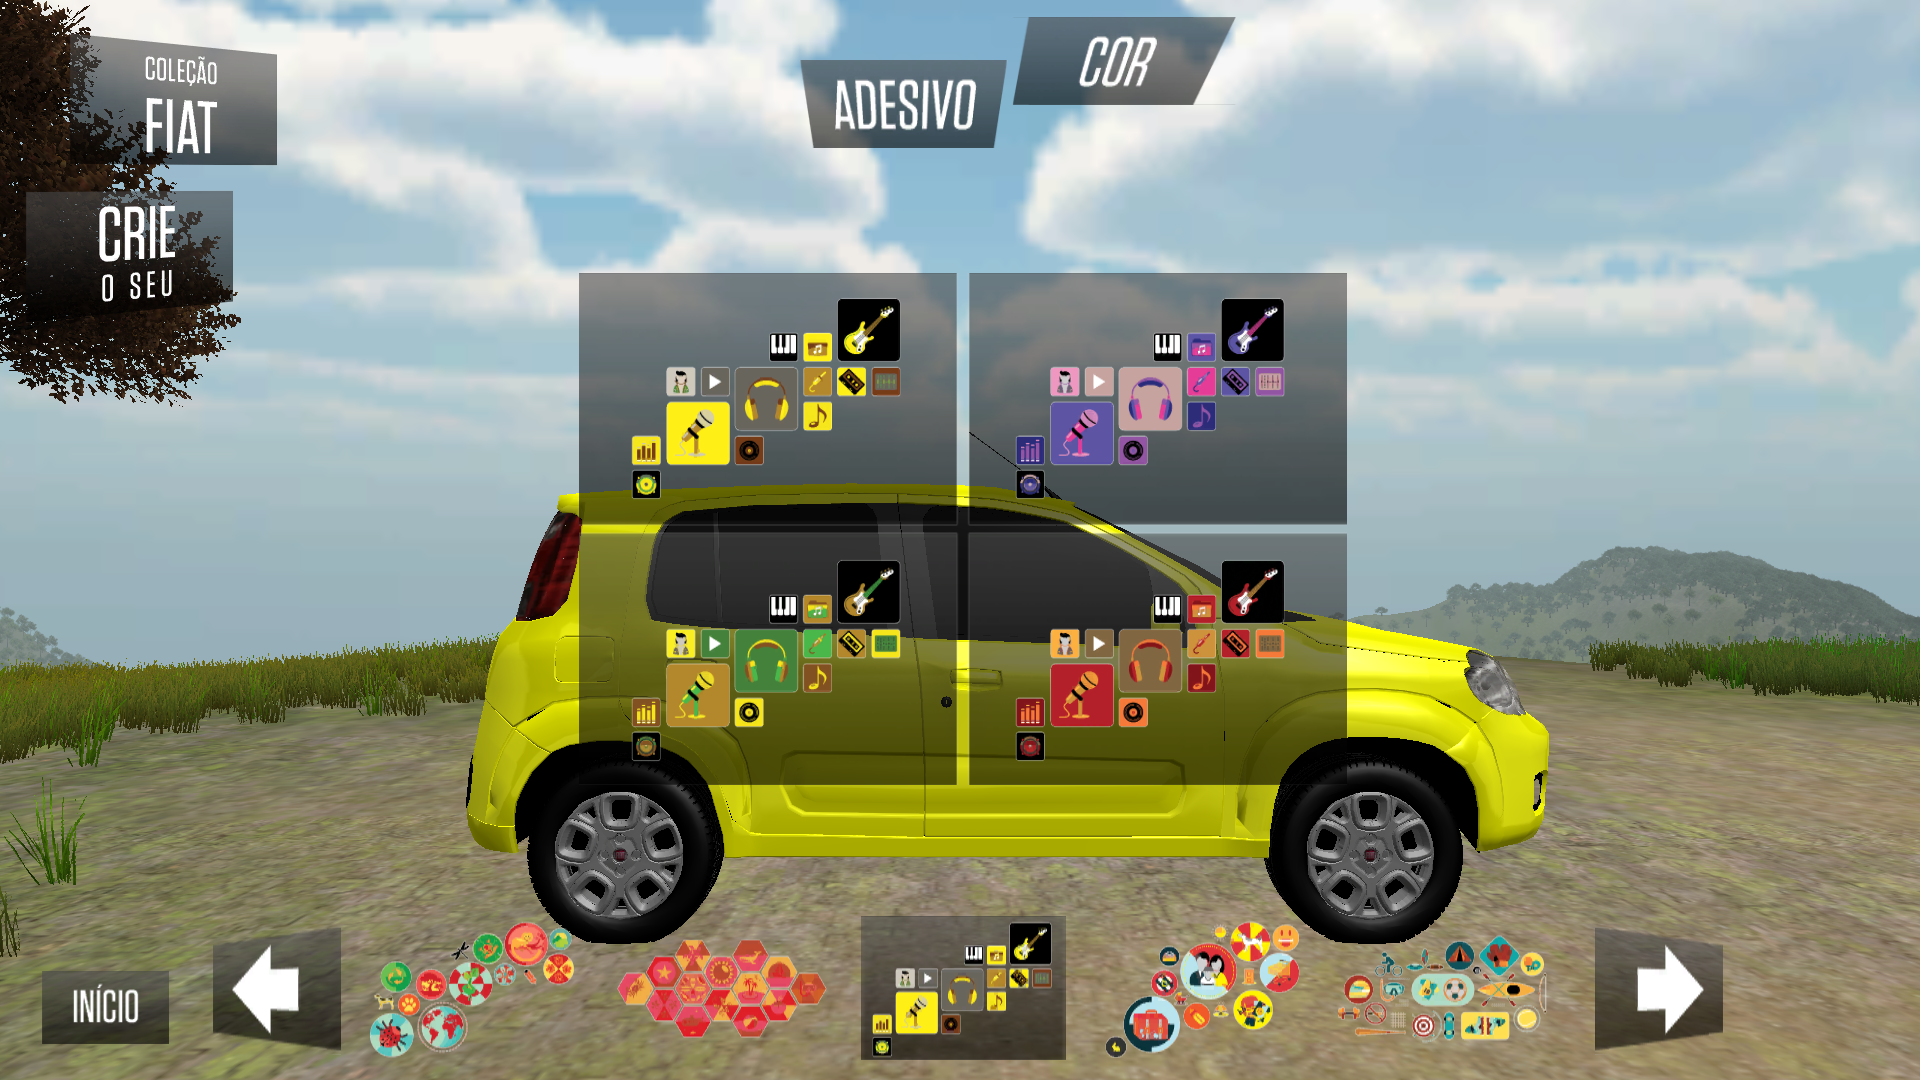
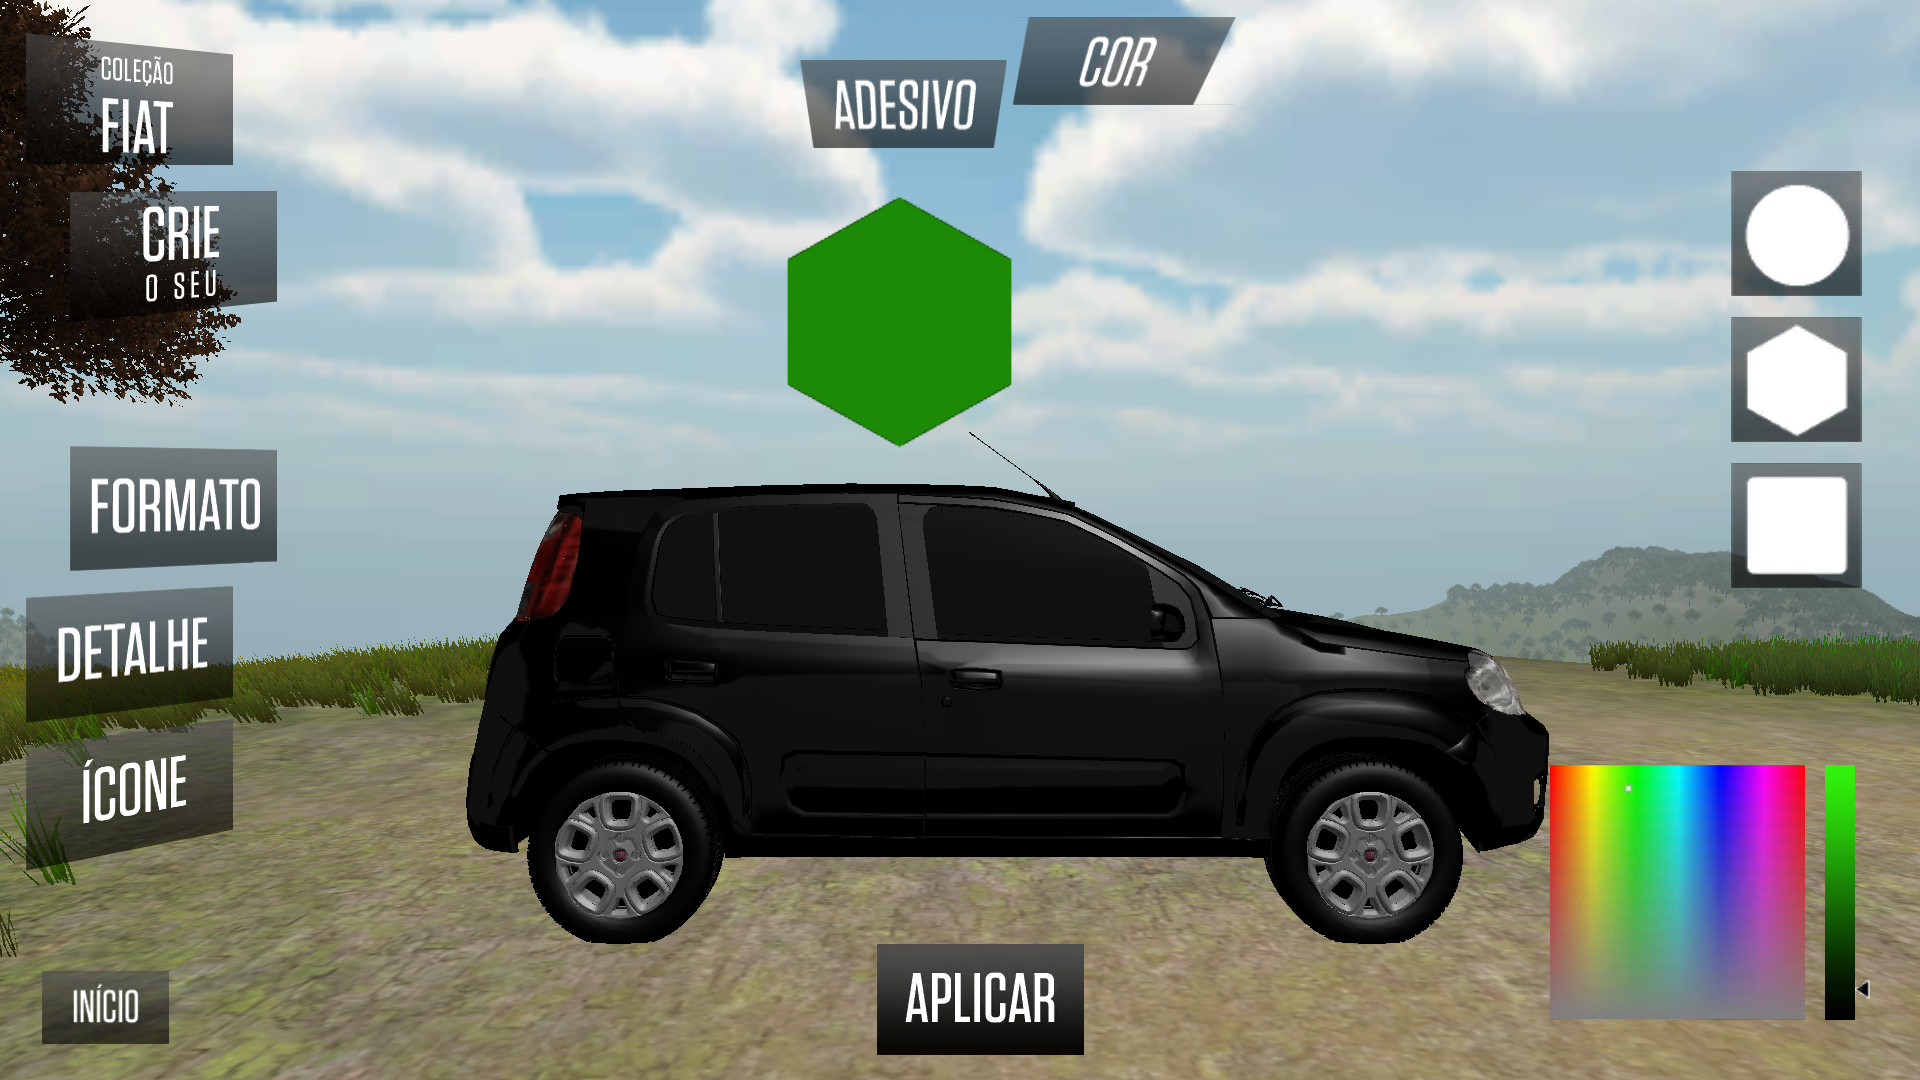
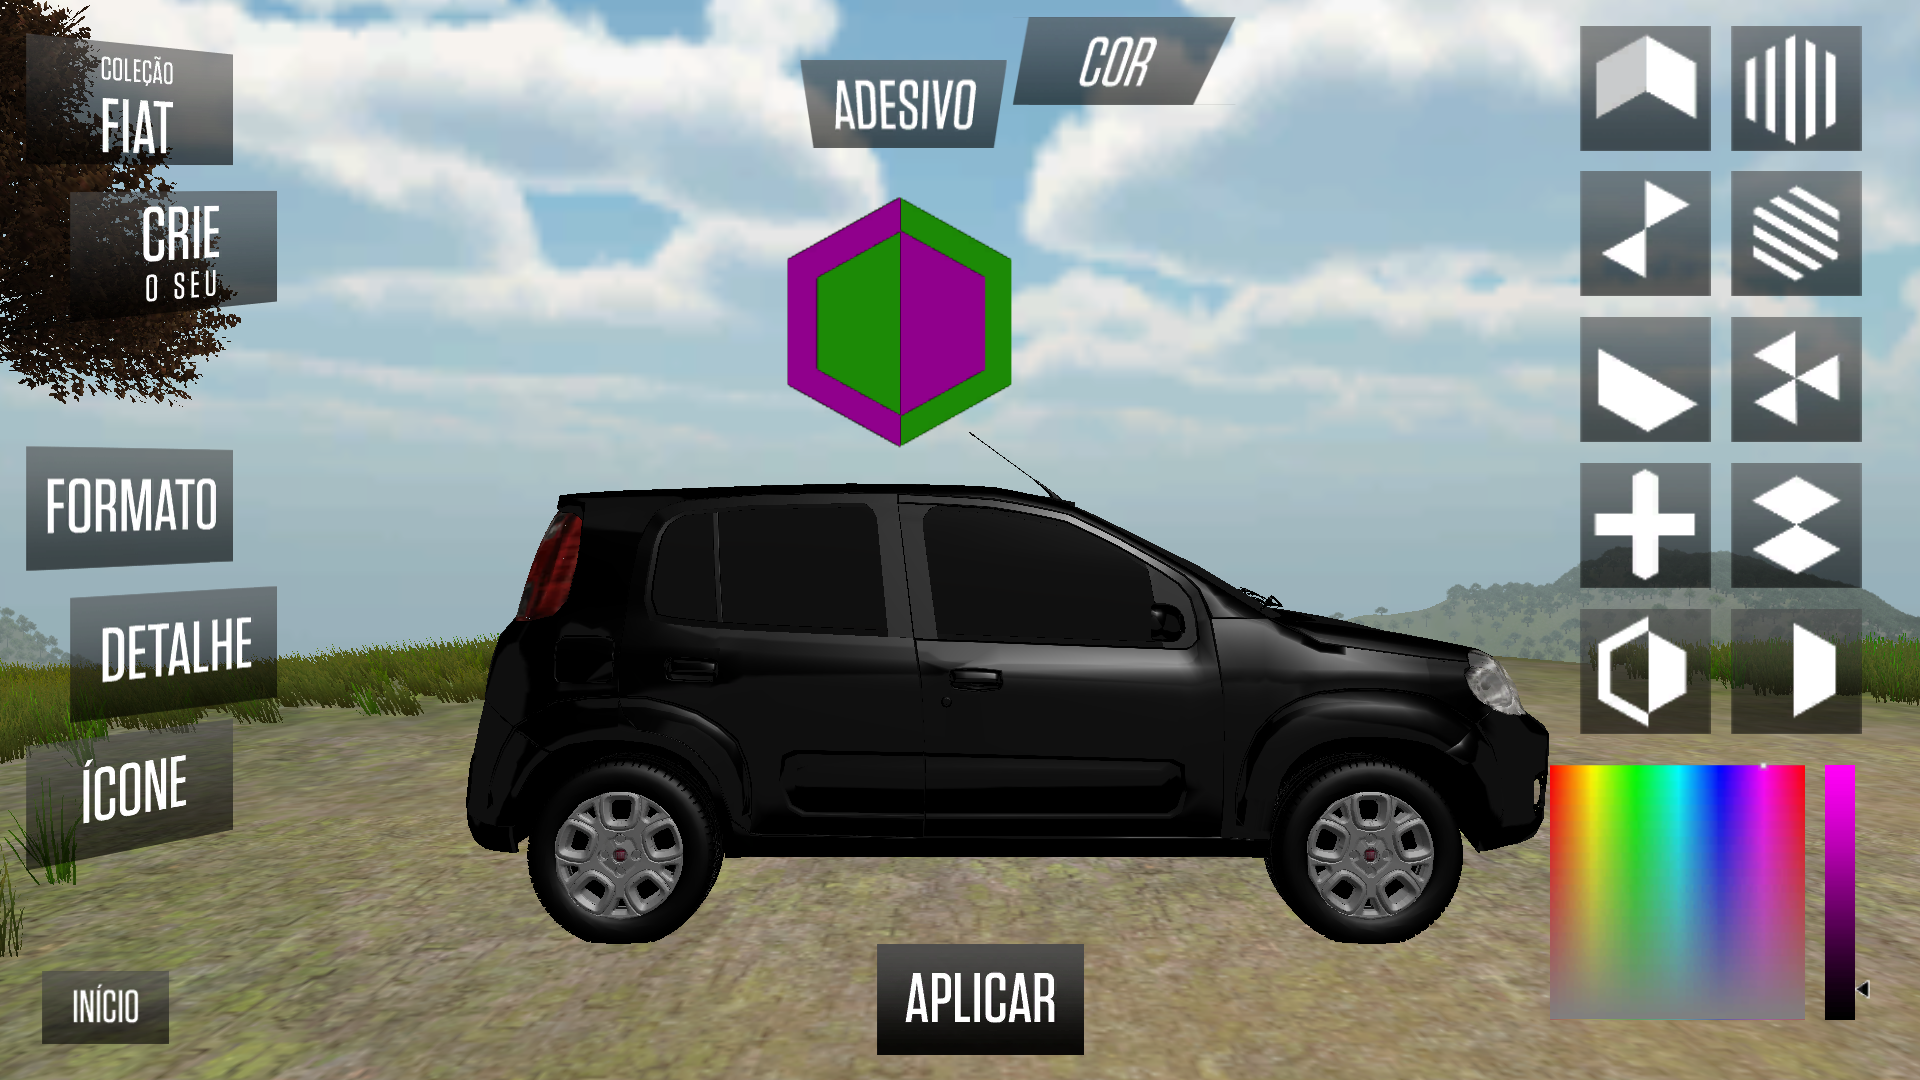
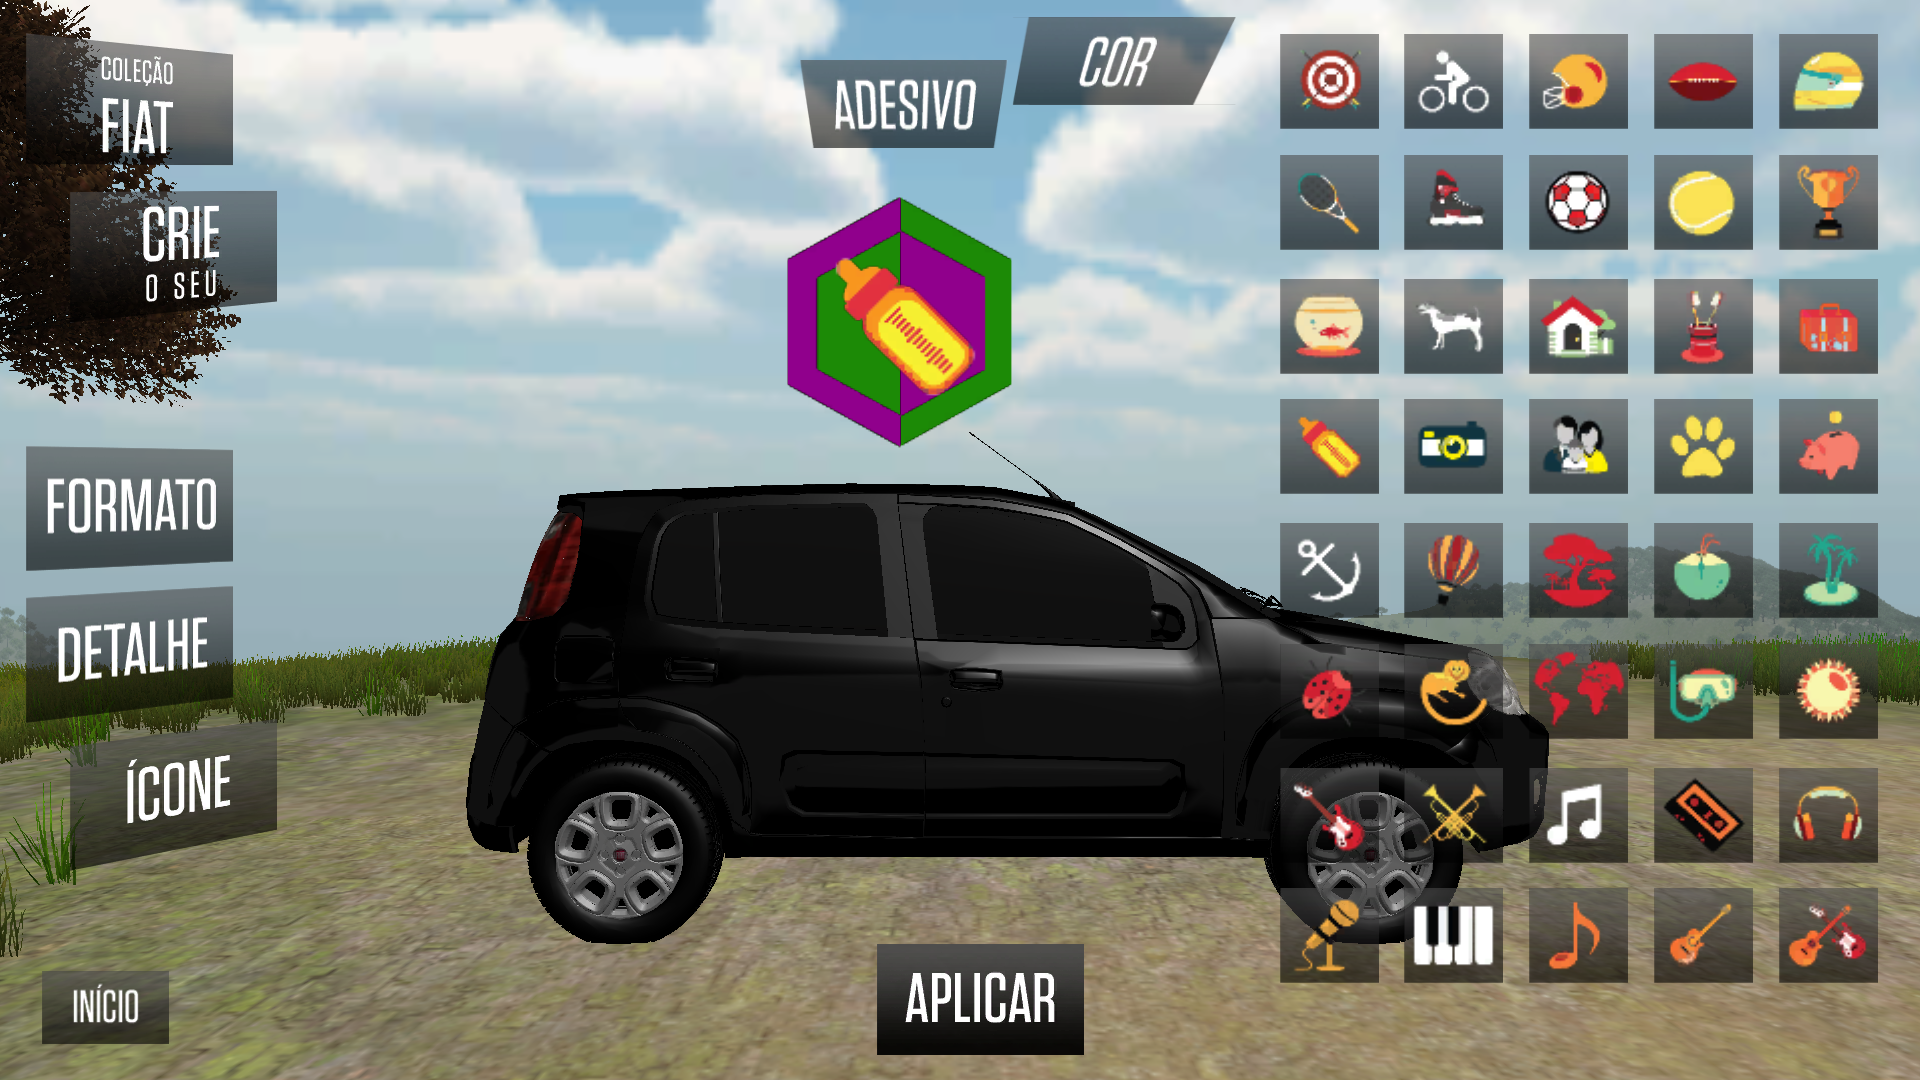
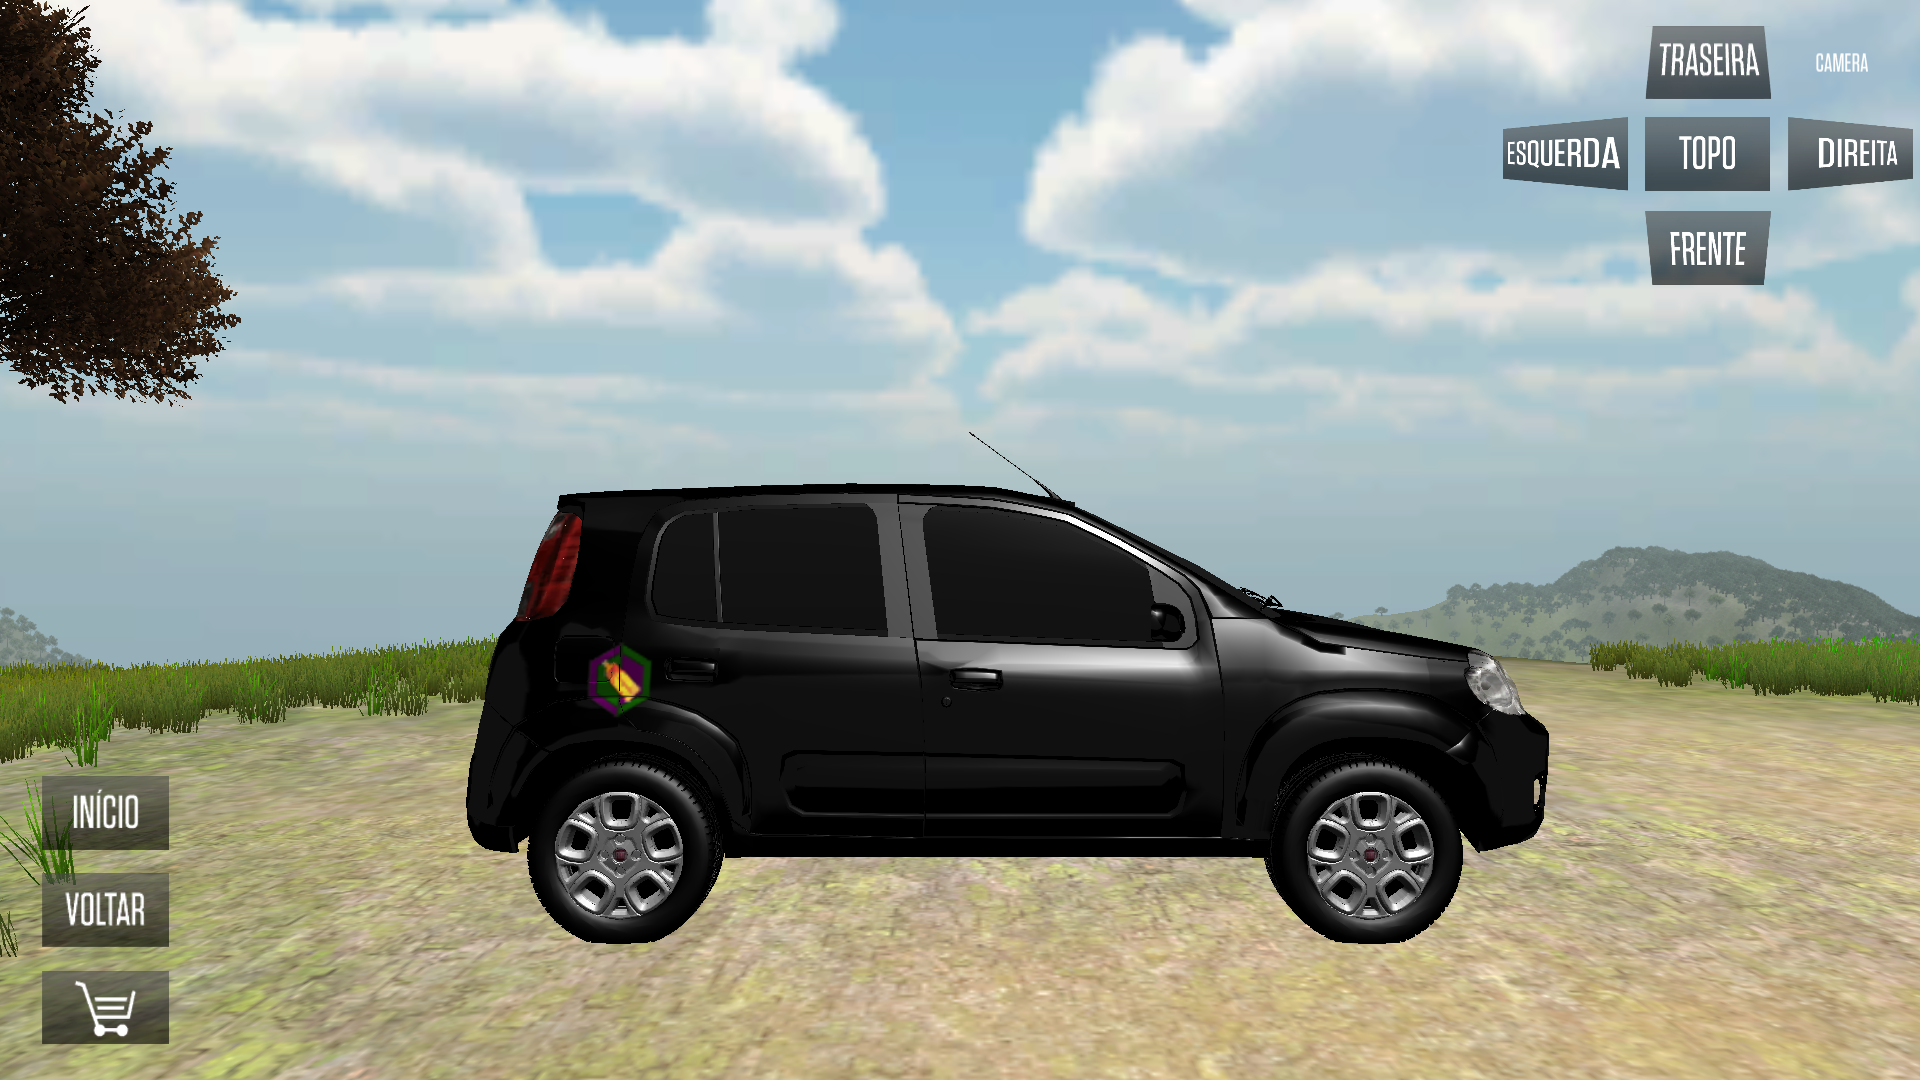
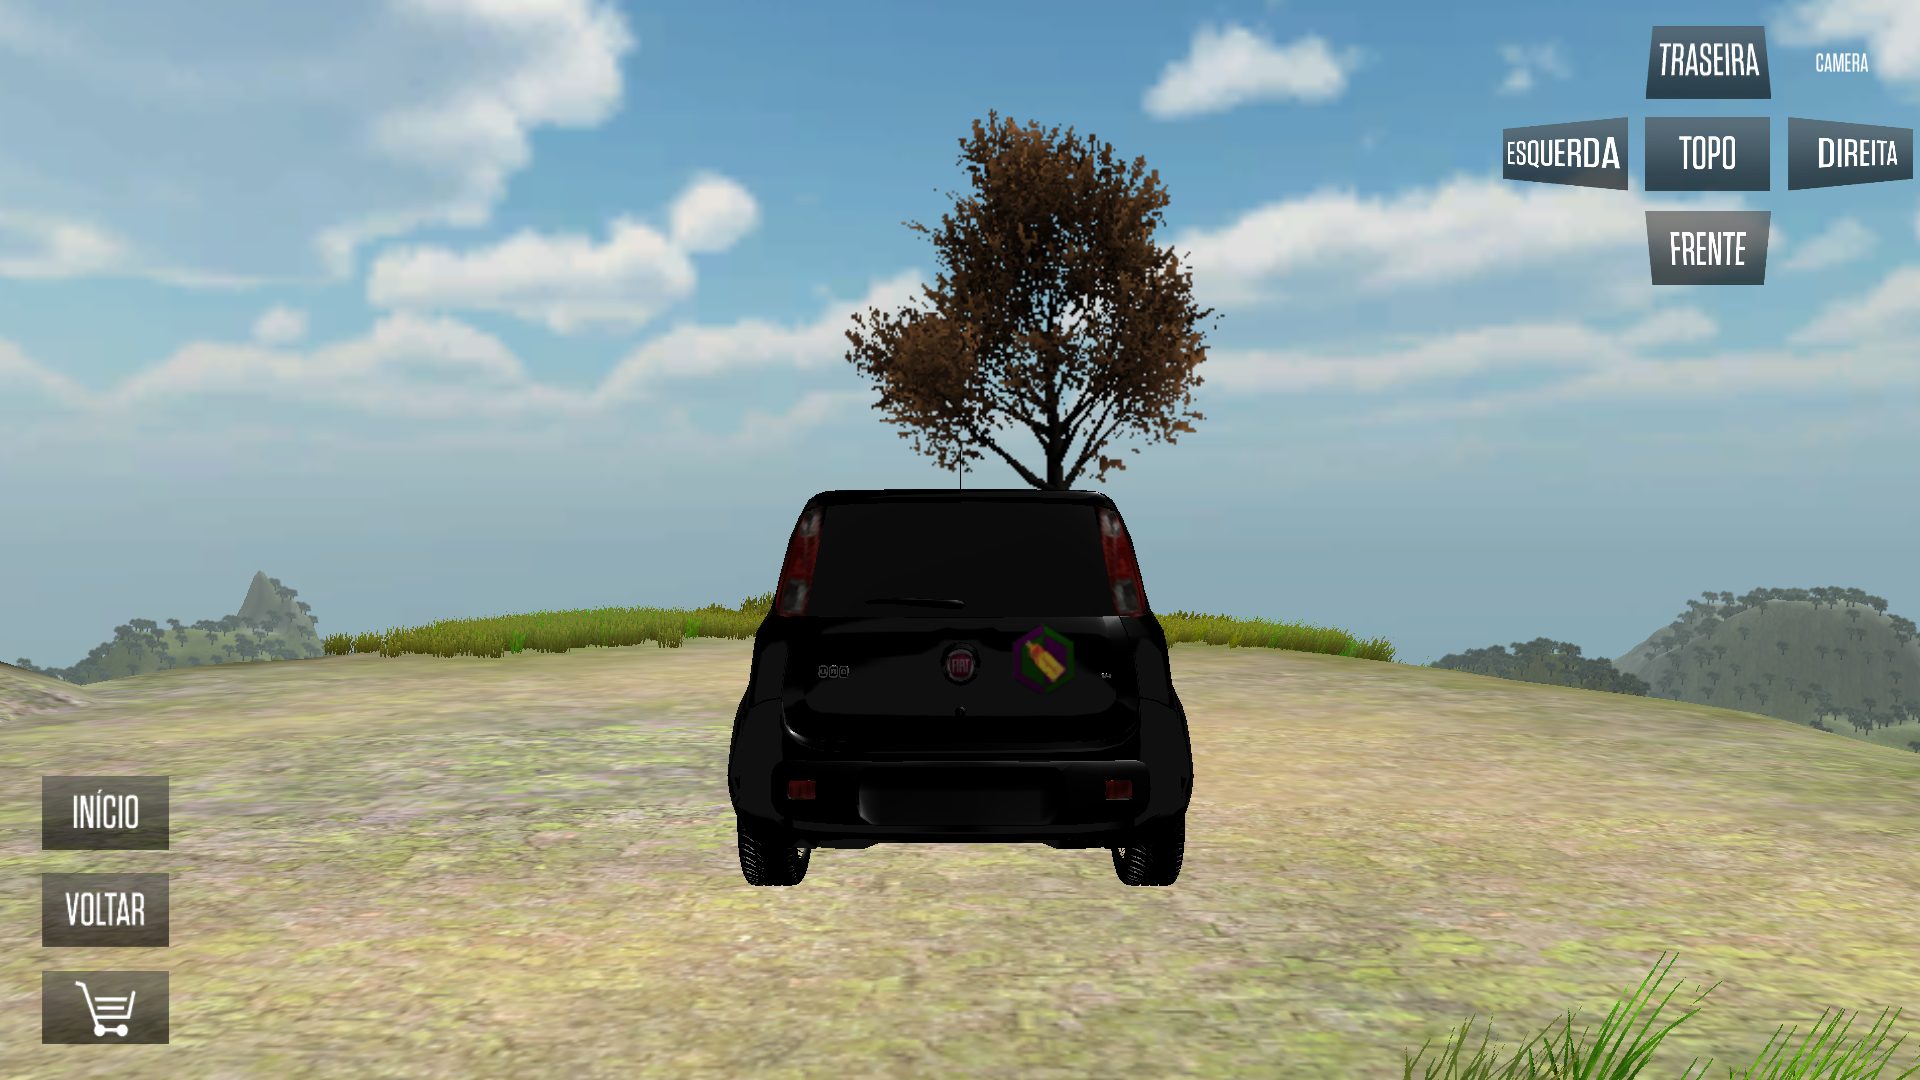
It allowed the client to create his own sticker, by choosing colors and forms, visualize it in a 3D simulation where it would apply the sticker on the vehicle to see how it would look like and afterwards, buy the sticker on a e-commerce platform. This project we used a touchscreen PC and was a promotional event by Fiat on a selling stand on Minas Tênis Clube - Belo Horizonte.”
CLICK FOR MORE
How it works
- Enter your name by clicking on “Nome”, not in the blank space, and type it in.
- Your email
- Birth year - it will be hidden from view, because it’s very common for women to feel uncomfortable with answering that question (at least in Brazil).
- Now, you can choose the car settings, if you want a already completed design or do one yourself, choose shapes, and so on. You can also rotate the camera.
Challenges
We had 10 days to make this project, it was mostly a pitch from D2R to Fiat. As an intern an with only a year and a half working with Unity, I barely had the knowledge to do it, so I had to crunch and figuring out if I could find a plugin to help me with the decal system since the math for it was not that easy to understand (deform a plane to fit a mesh).
Since this project was for a company that owns the code, I cannot showcase.
Images
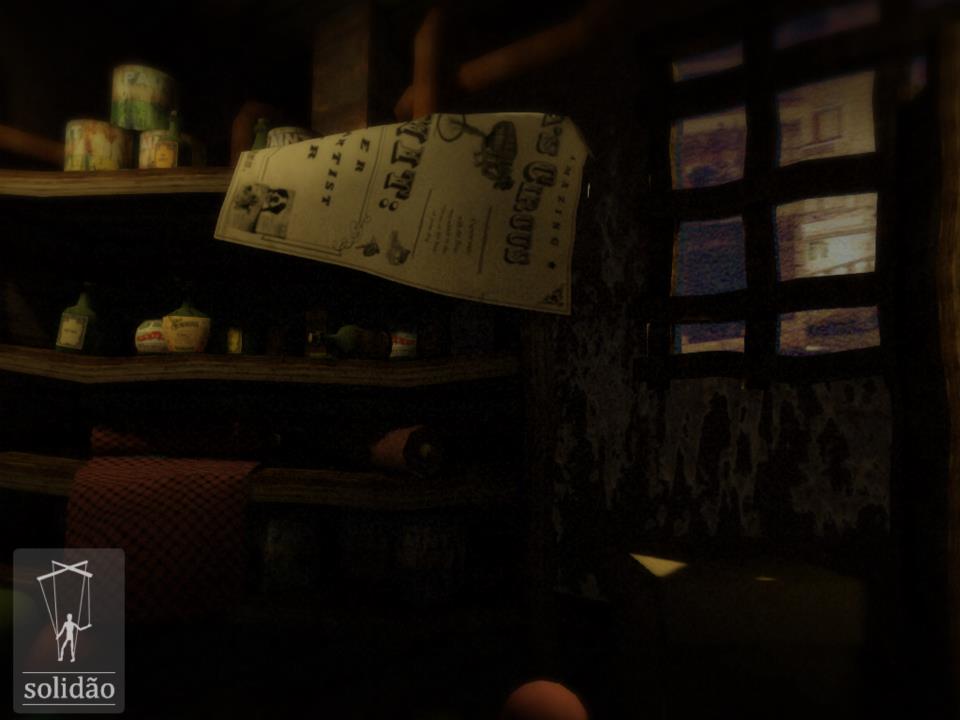
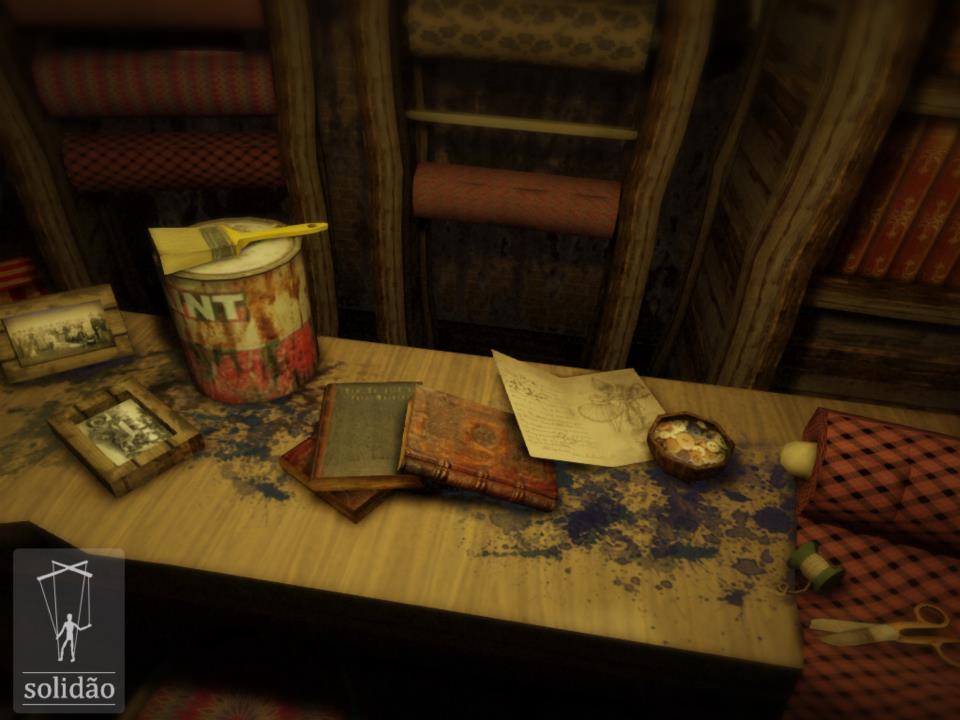
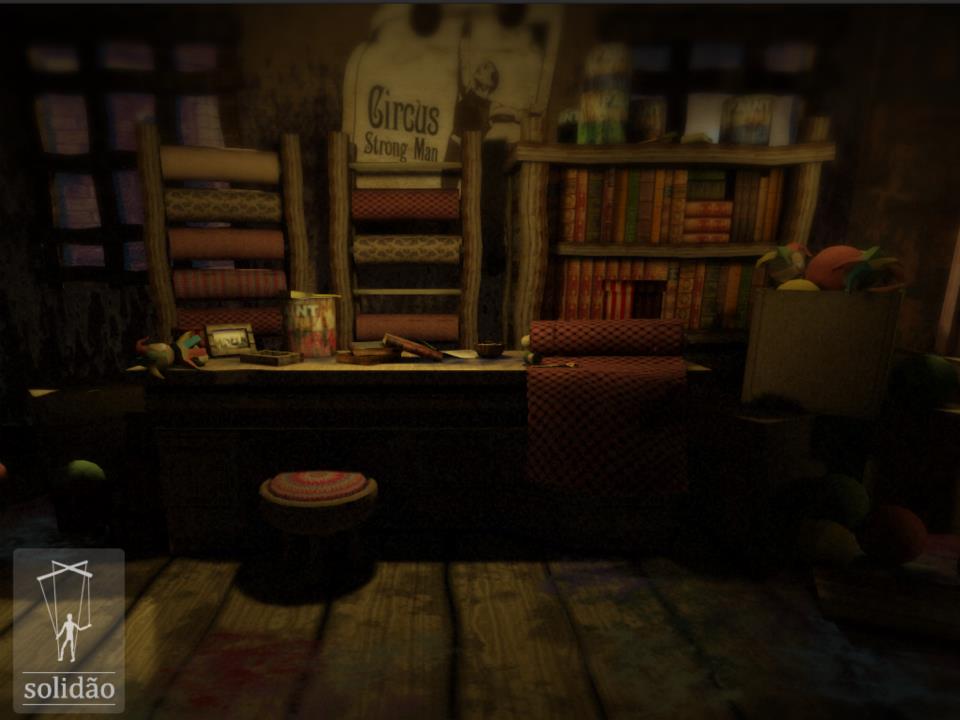
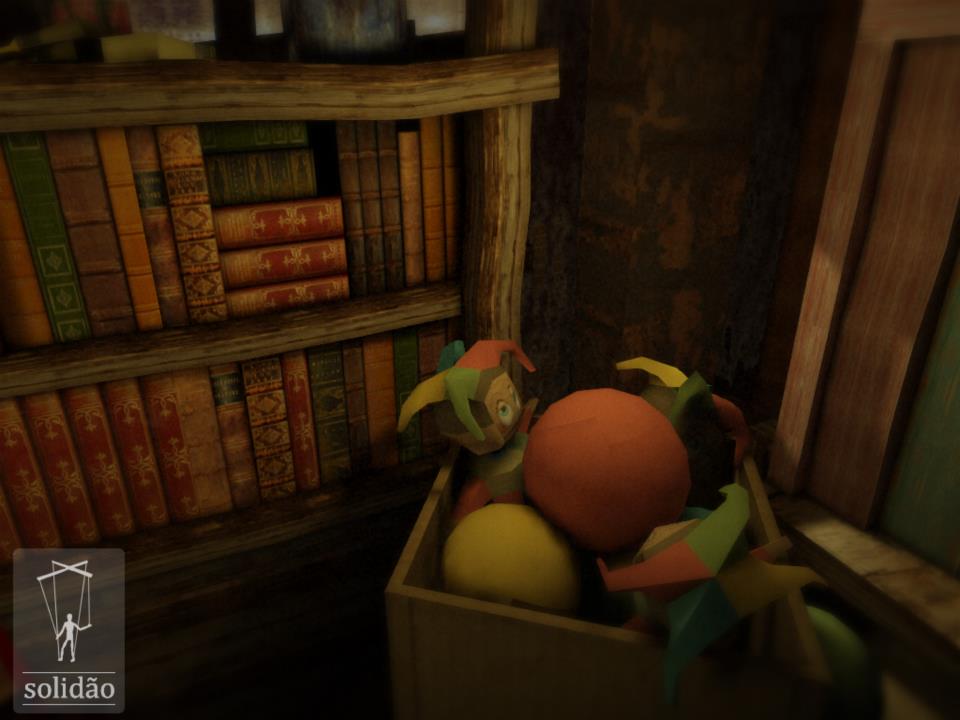
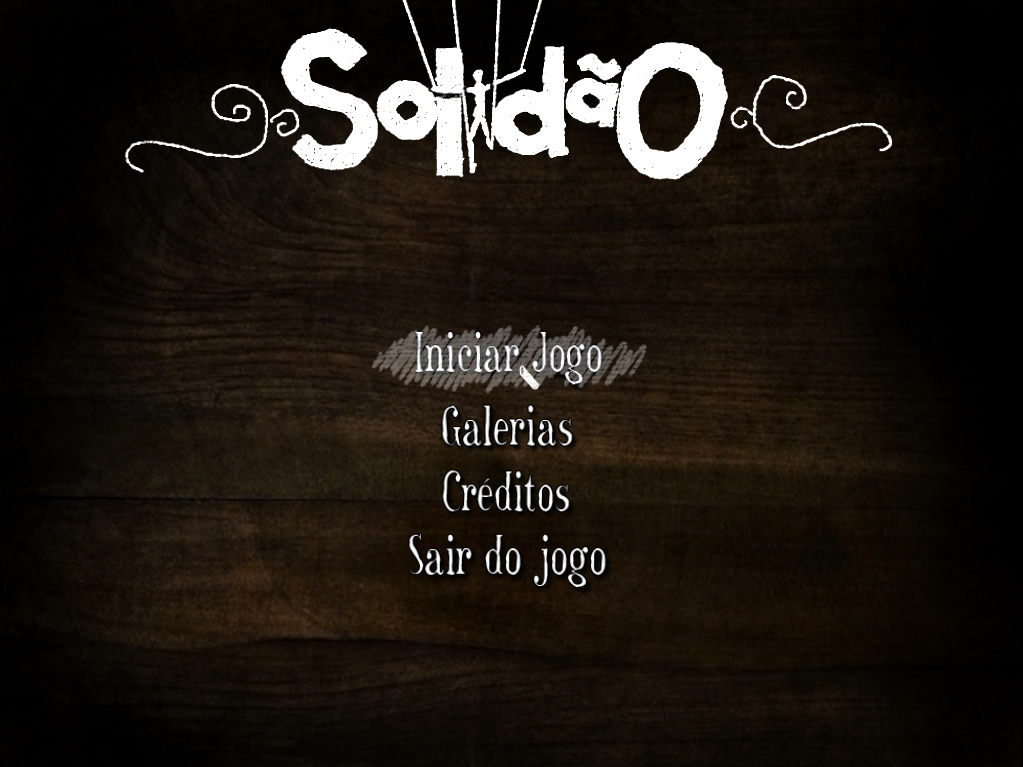
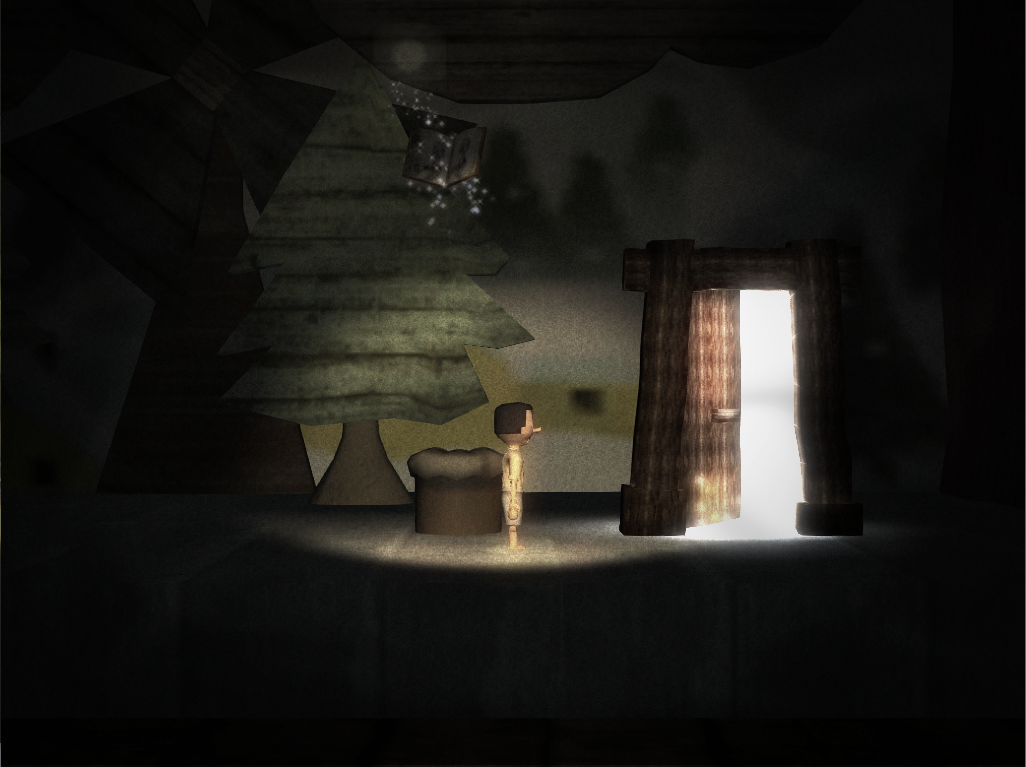
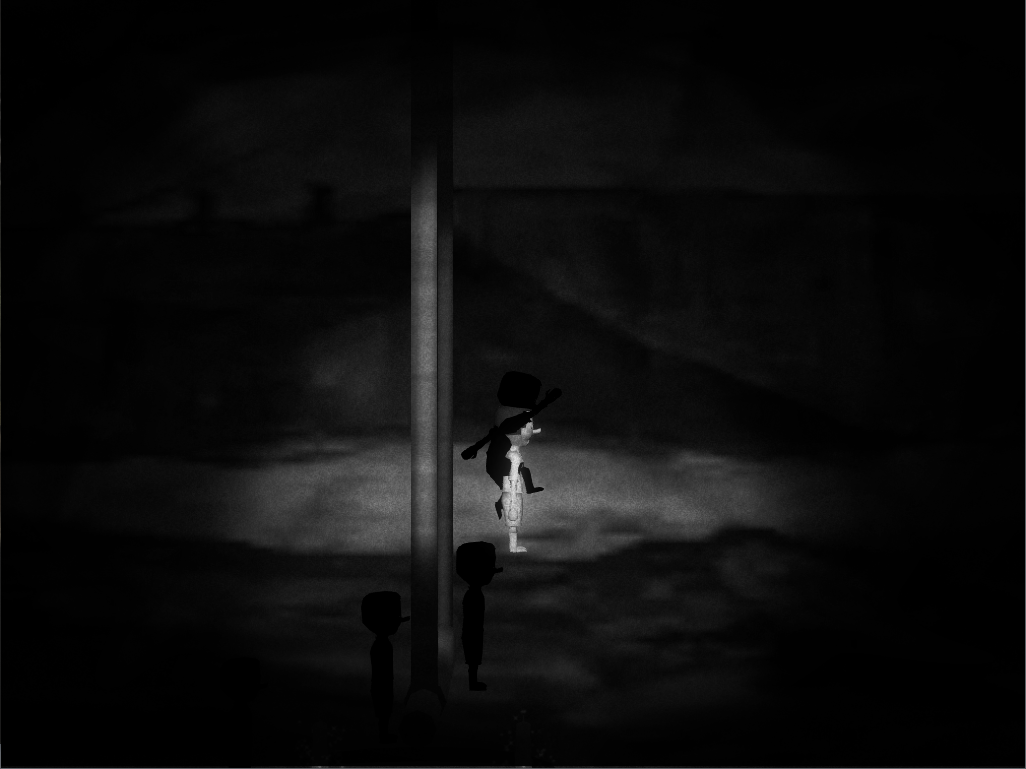
Loneliness
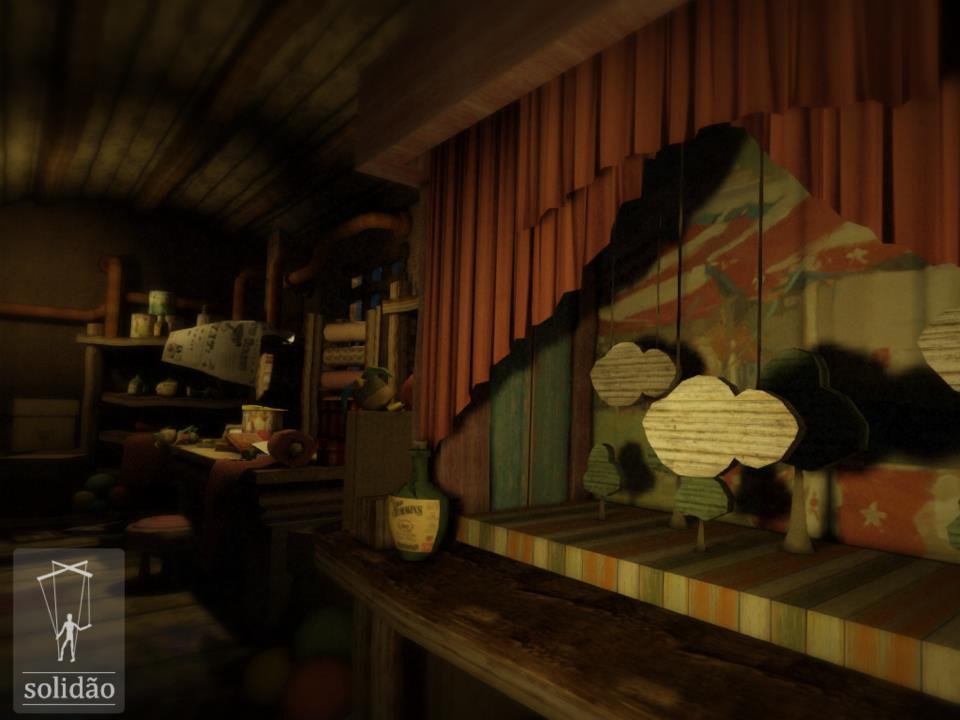
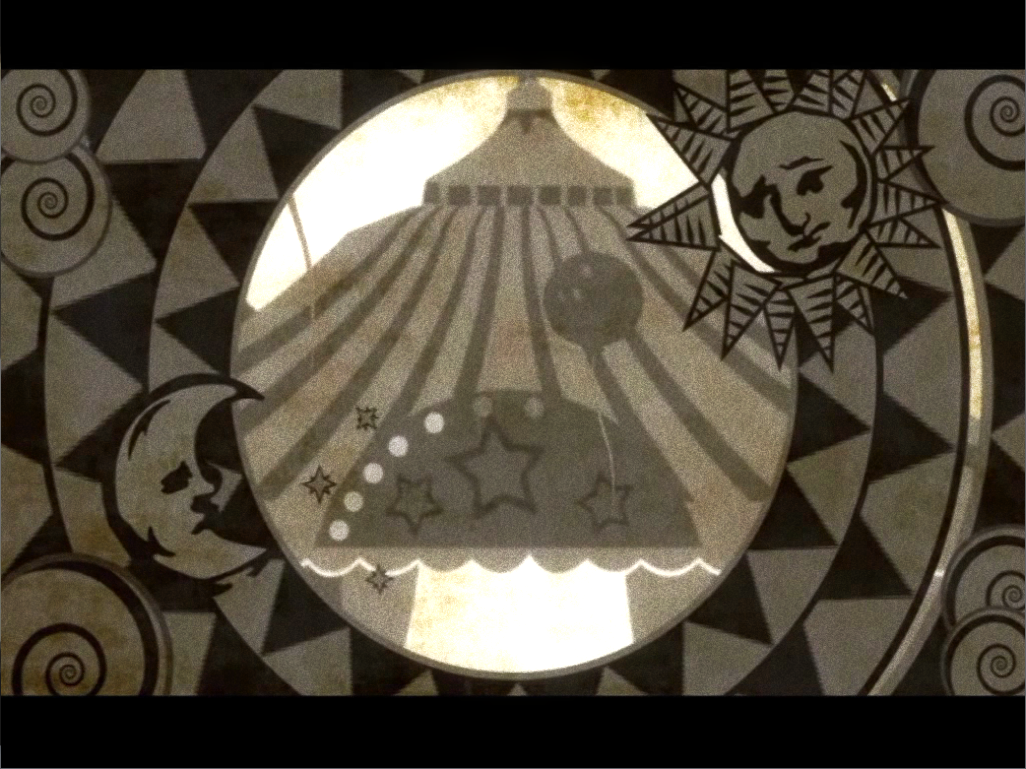
Overview
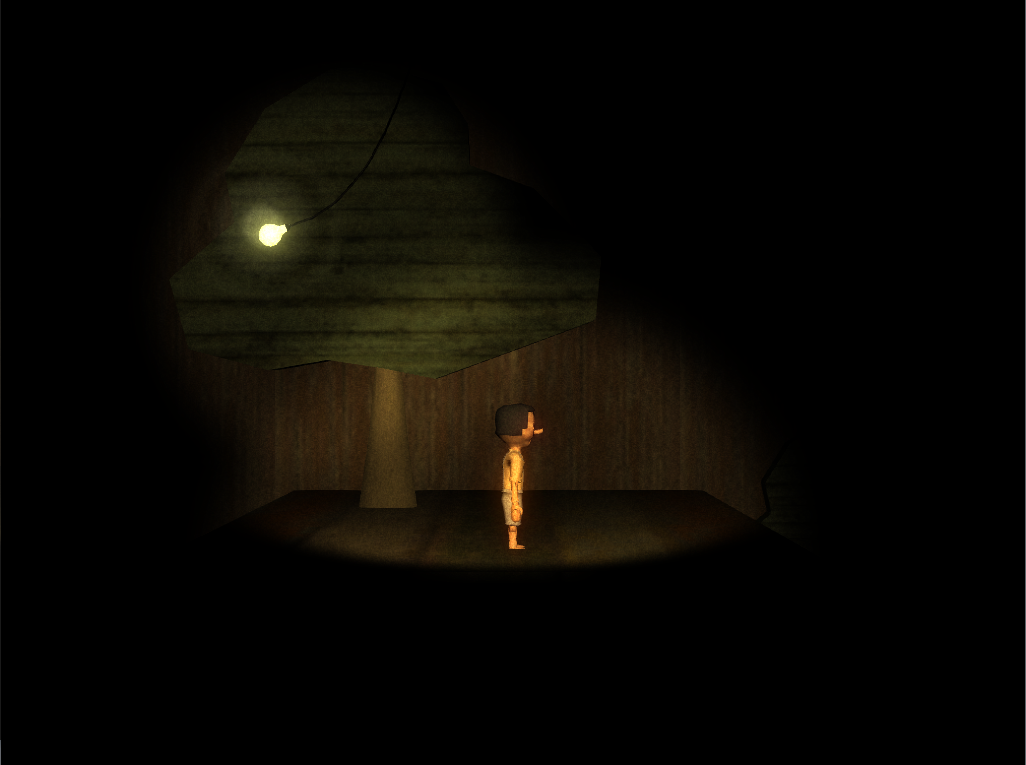
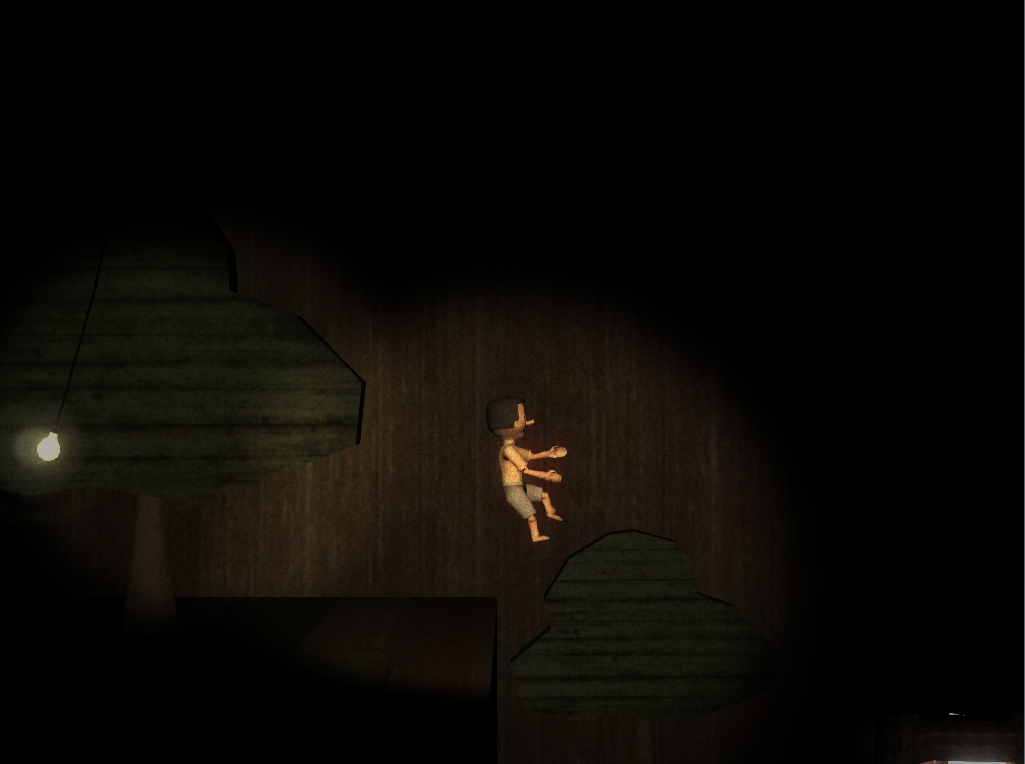
This was my college masterpiece and my Program Conclusion Project. I wanted to write about something I had recently gone through with a similar mechanic to a game that I love called The Company of Myself.
Awards
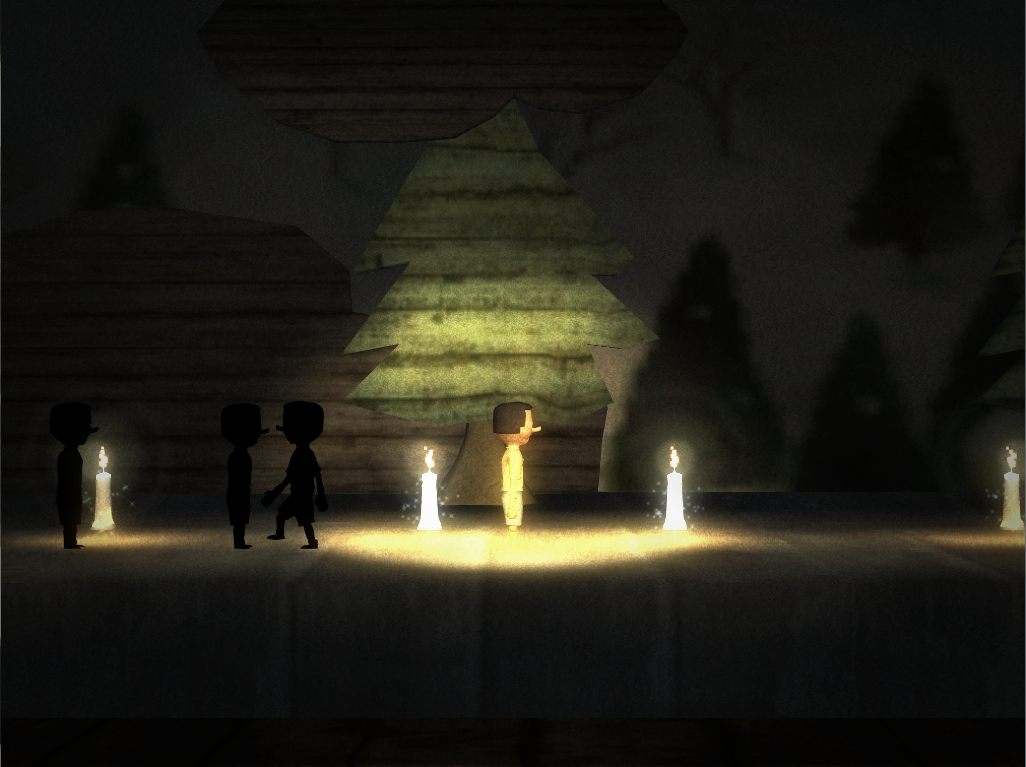
The game was well received with warm feelings from people during SBGames 2013, where, even incomplete - with only three basic and barely done tutorial levels - it achieved third place in the category of Popular Vote. That was the ONLY category an incomplete game could run. It’s theme and way of being expressed was explained in a short paper that got Best Short Paper in the Trilha de Arte e Design (Art and Design Track).
Placements link: Search for Solidão. “Voto popular” means “Popular Vote” in Portuguese. Article Link: Best Short Paper Certificate Link
Aftermath
Just a bit after we delivered the project to PUC, we were looked into by PlayTV with “Indiana Produções” to make a video and allow them to use it during their documentary about video games history in Brazil. We appeared alongside great titles like GTA, Resident Evil, and others, which was a HUGE honor.
CLICK FOR MORE
Regrets
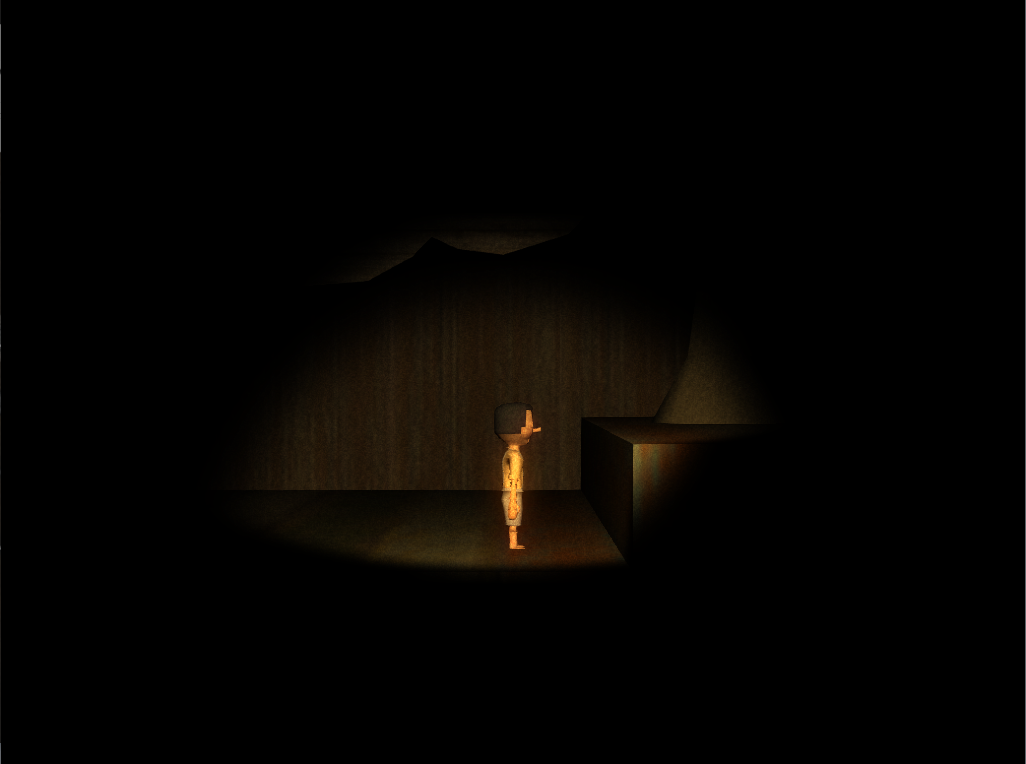
With the passing time in production, people in the college were wanting to participate somehow in the development of it - after all, spotlight were on this, mostly after SBGames accepted us to go, and more after we got the prize. So, everyone was like: “Oh, you should change this. You should change that”, even the base mechanic was remade because it “wasn’t well done enough”. And most of this were comments by teachers, people that would judge our game in the final day, so we believed in their opinions more than our own, something I did not do in the first half of this project, and I did right. I had a lot of complaints in the first semester of that year because I did not have any enemies. In reality, I did, the dark. But no enemies that can actually kill you, or had a health, or anything. And the teacher kept trying forcing me into it, until I agreed to deliver 18 stages instead of 3, if I could not change that design. THIS was a good move from me, not what I am about to tell.
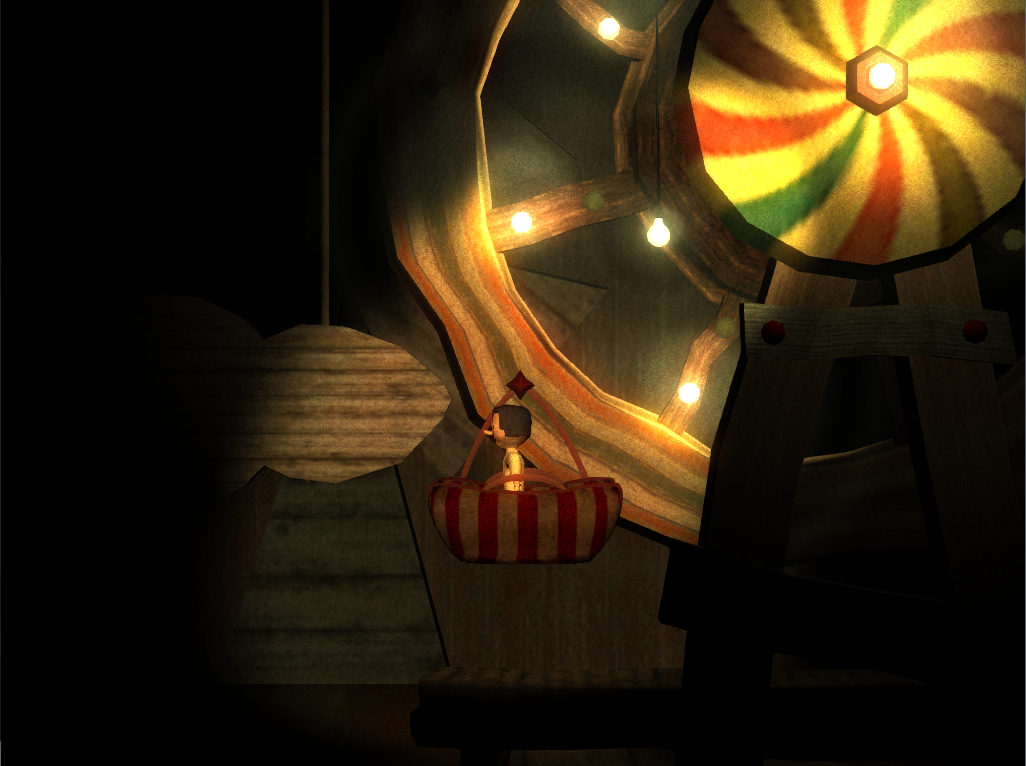
I rewrote the basic mechanic, and I hate that I feel like the end version of the game, it’s beautiful but barely playable, compared to the first versions. Had a TON of bugs. I had to scrap some stuff that behaved different in the state machine that controlled the shadows because it wasn’t thought before that a ferris wheel would come into the game, with a bad solution - from a teacher that hated that I use 3d planes to make jump-through platforms (basic 3d modeling, planes have one side. You can use an invisible one as a jump-through platform) and decided to do the ferris wheel with a double trigger, to know when you are below or above, and change if the hit box was active for the floor. What happened? If you, or the shadow got into the ferris wheel, and the other tried to get in the same floor as you, they wouldn’t be able to.
What was so buggy in the first version of the game on the base mechanic that made me agree to change? If you had a fps drop, not a few frames, but around 10+, you would have a desync between your shadows and the spots they should end up on. I was doing frame data saves, and tried to change it, around the project end, to a state machine saving only what you pressed, and until you hit where and snap the shadow into place before changing to the next command. This poorly constructed state machine had a lot of stuff left out, and each modification I put on it made it worse.
But hey! Lesson learned. Plan and execute. If too late to make changes, accept them, even try turning bugs into features. But don’t do things without proper planning, they can really mess a project up to the point you feel like not working with it anymore, and making it harder for you to conclude it.
I have remade the game design of this game recently and I plan to tackle back on it and do it justice someday.
Images